I've altered the proportions of the frame package about a dozen times, building a prototype for most variants, before arriving to this one which I'm happy with.
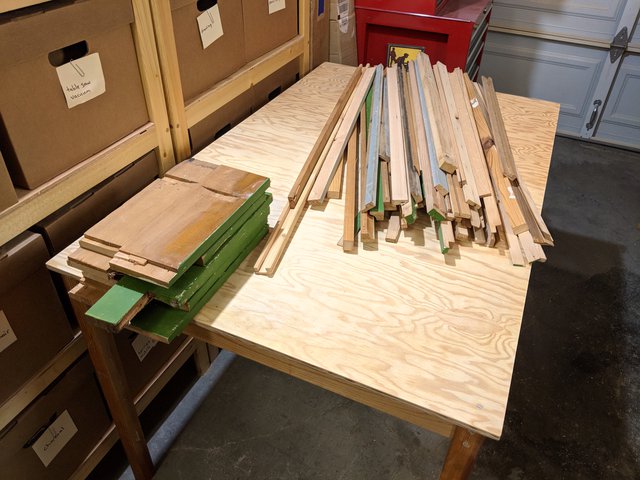
This first batch of frames is made from a combination of reclaimed and new wood. I make lots of repeated rip cuts on the table saw to turn my material into pieces of the right width and height.
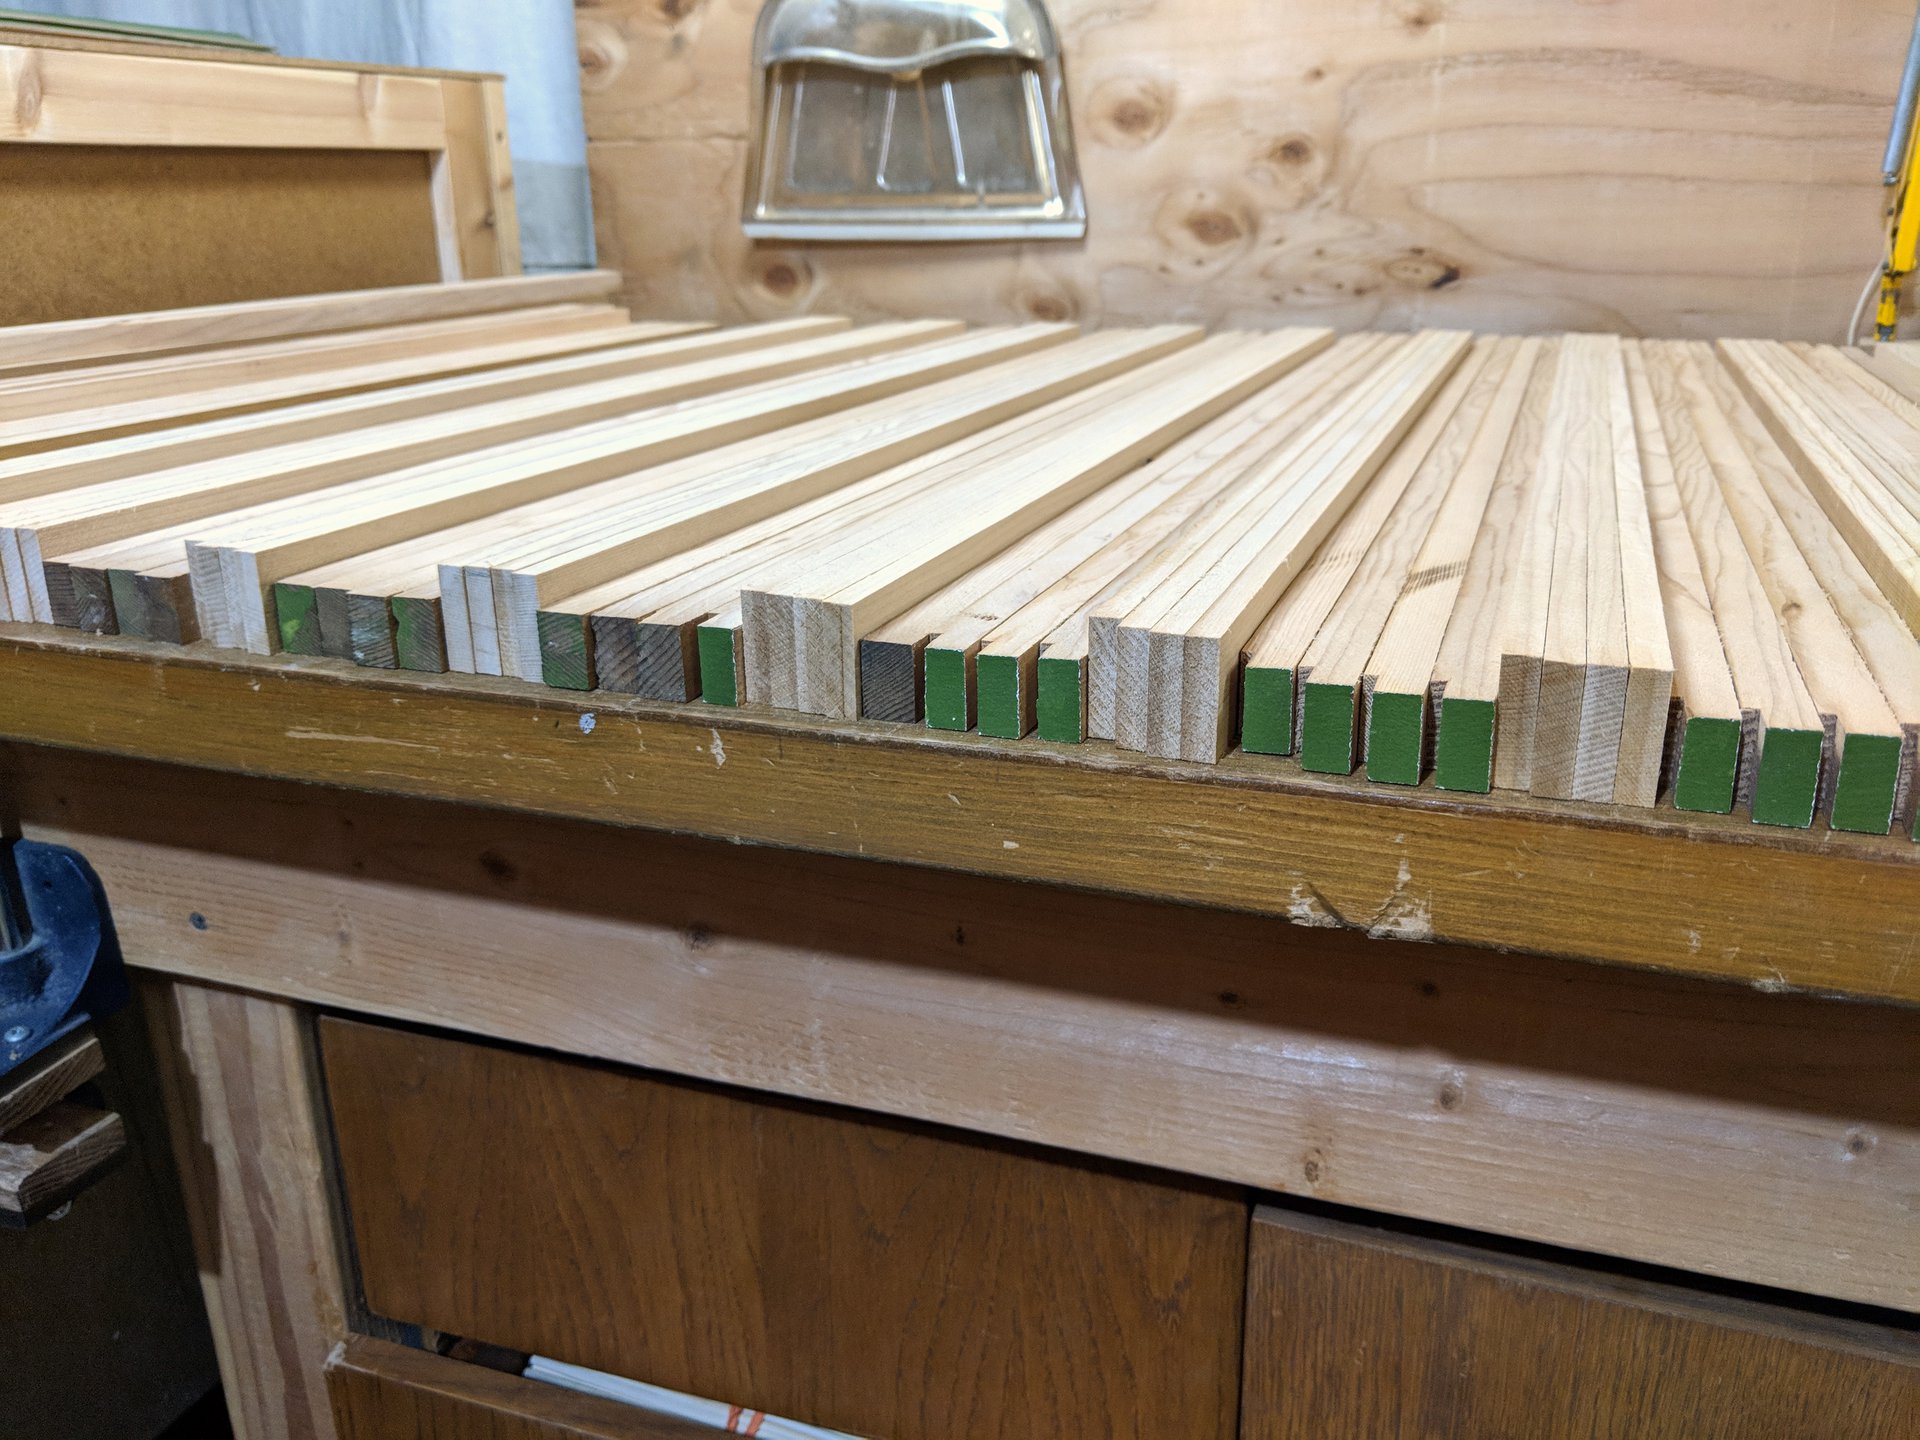
These pieces are brought to size with 3 cuts each. One face remains the raw uncut face. Depending on the characteristics of that uncut face (it may be desirable or undesirable) it will be oriented to be shown, hidden, or trimmed off after the initial glue-up.
Since the stock is so small, I end up with no scrap (and make a lot of sawdust). The old-growth pine comes from a discarded dresser, and the maple comes from a discarded cabinet.
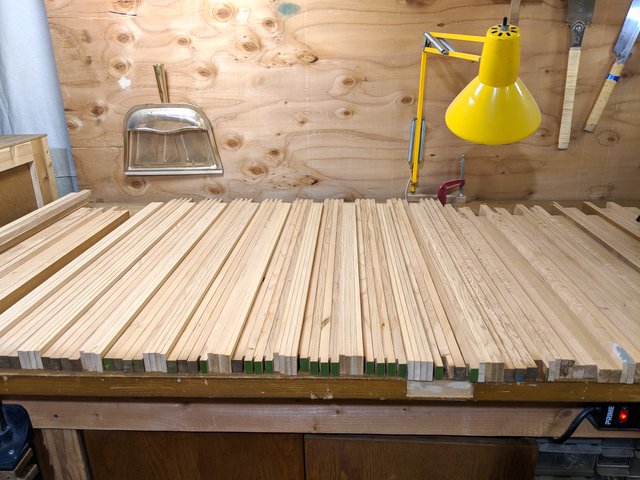
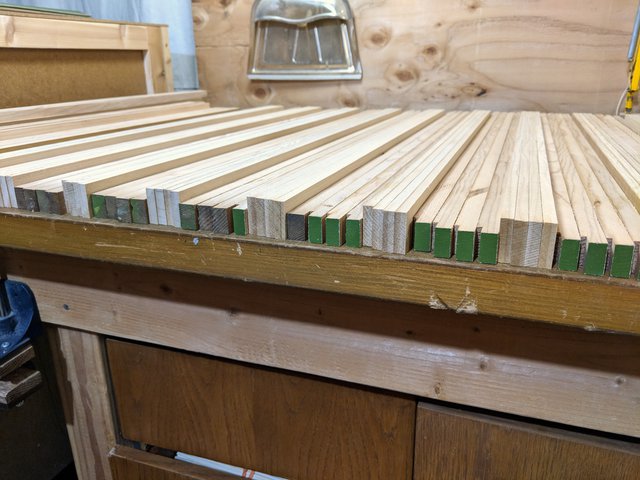
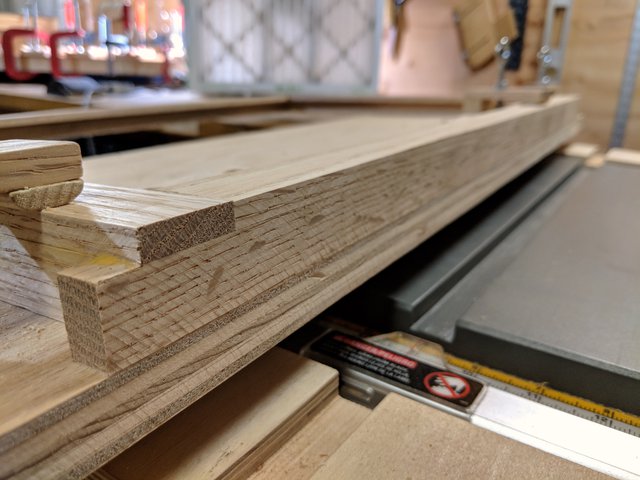
There are 4 different length components that make up a frame. It takes a pair of each which is 8 pieces to make a whole frame. Here are the pieces all cross cut to length using the table saw sled. Each piece is about 1/4" over length, for convenience during the glue-up process coming up. The excess will be trimmed off on the final table saw operation.
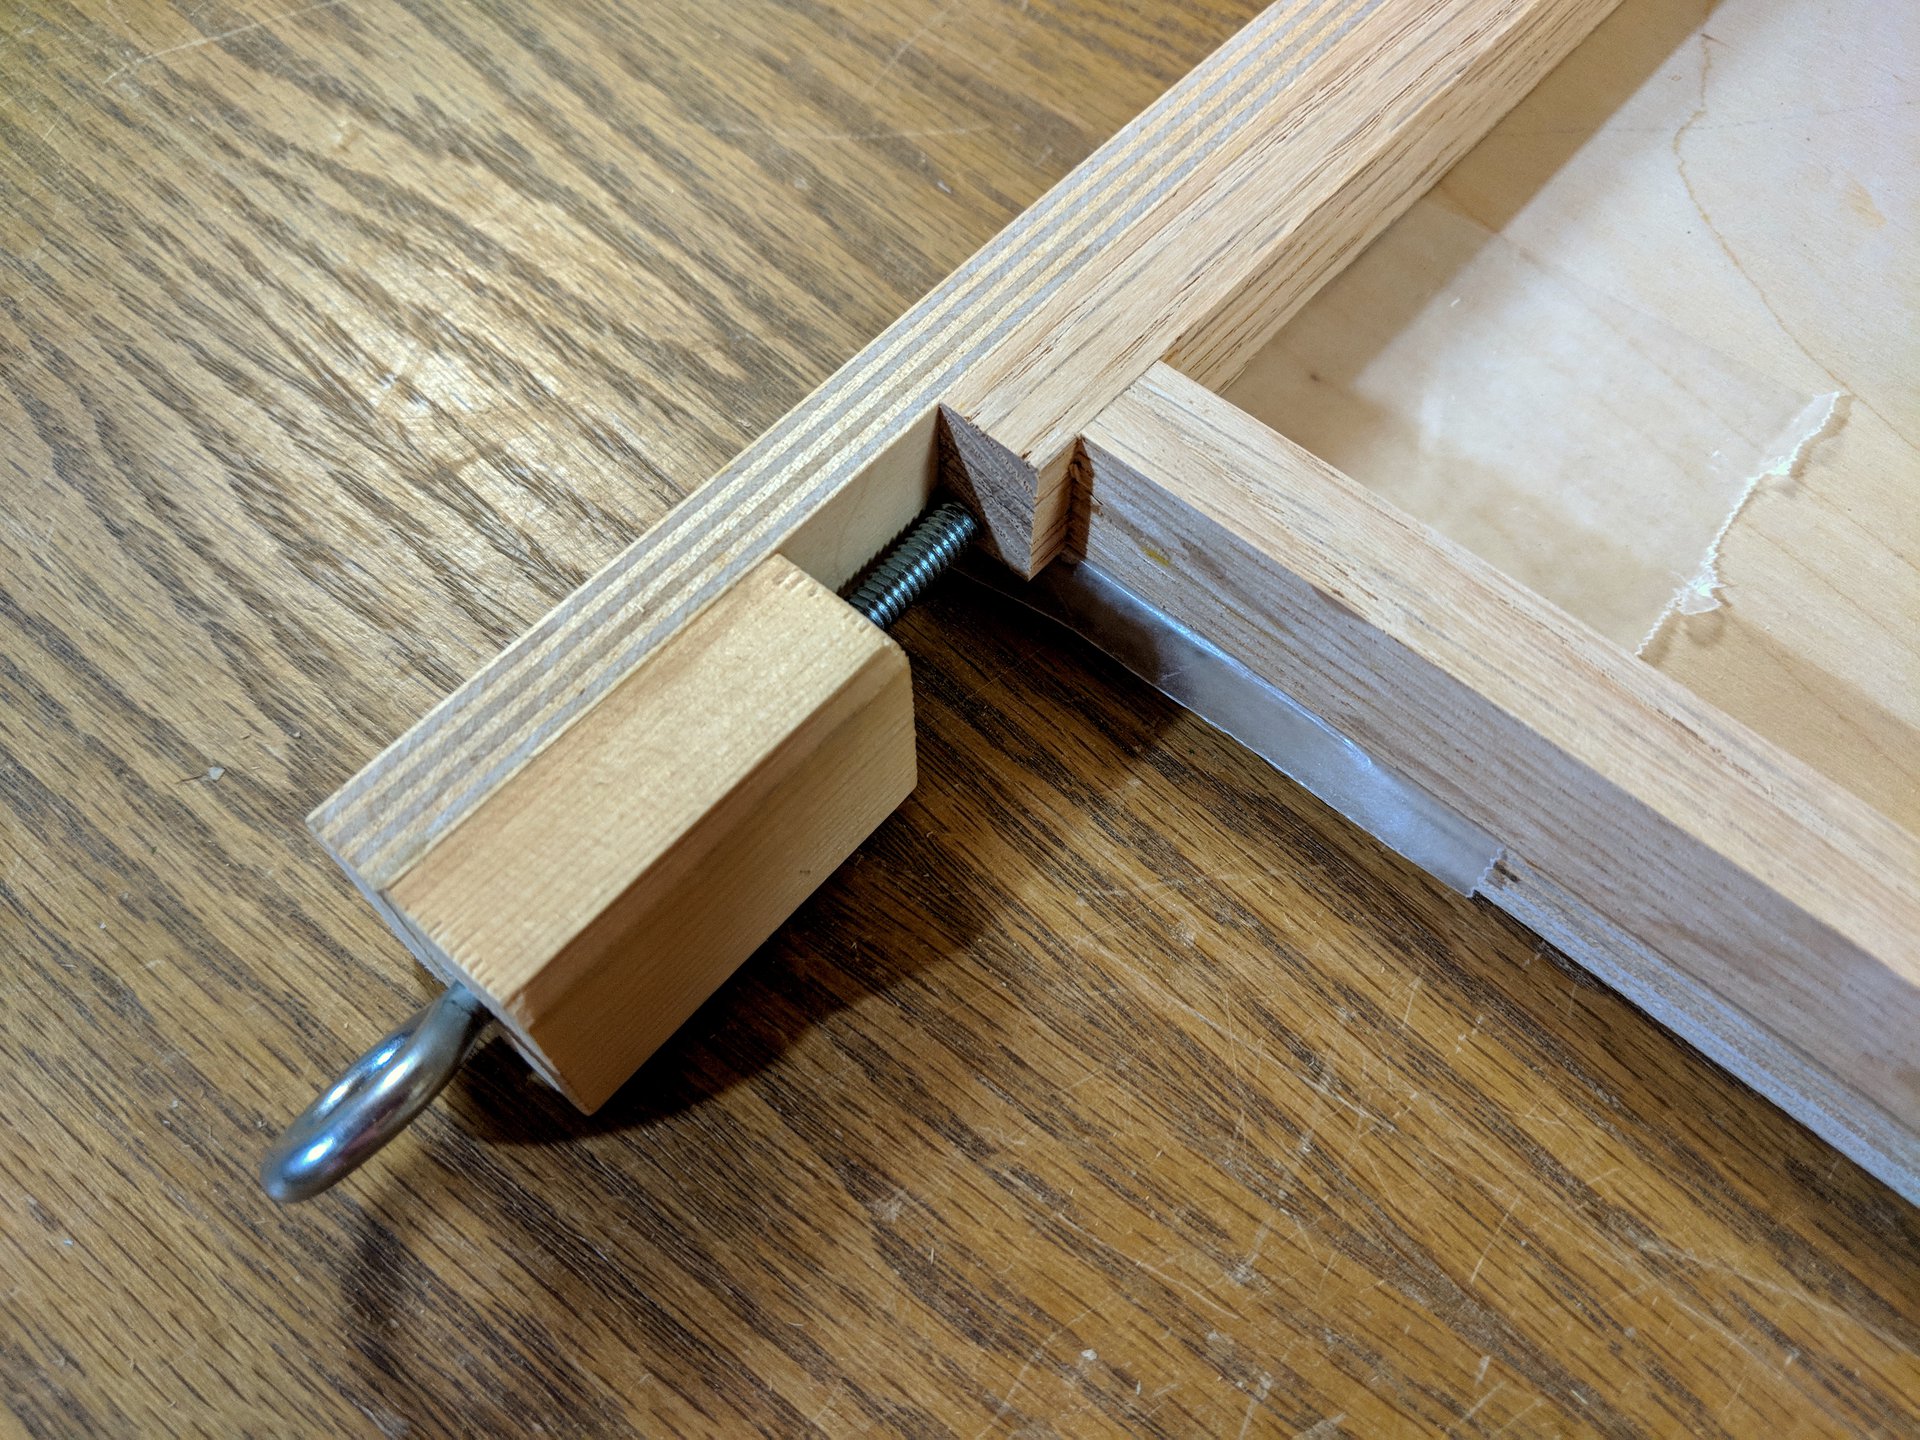
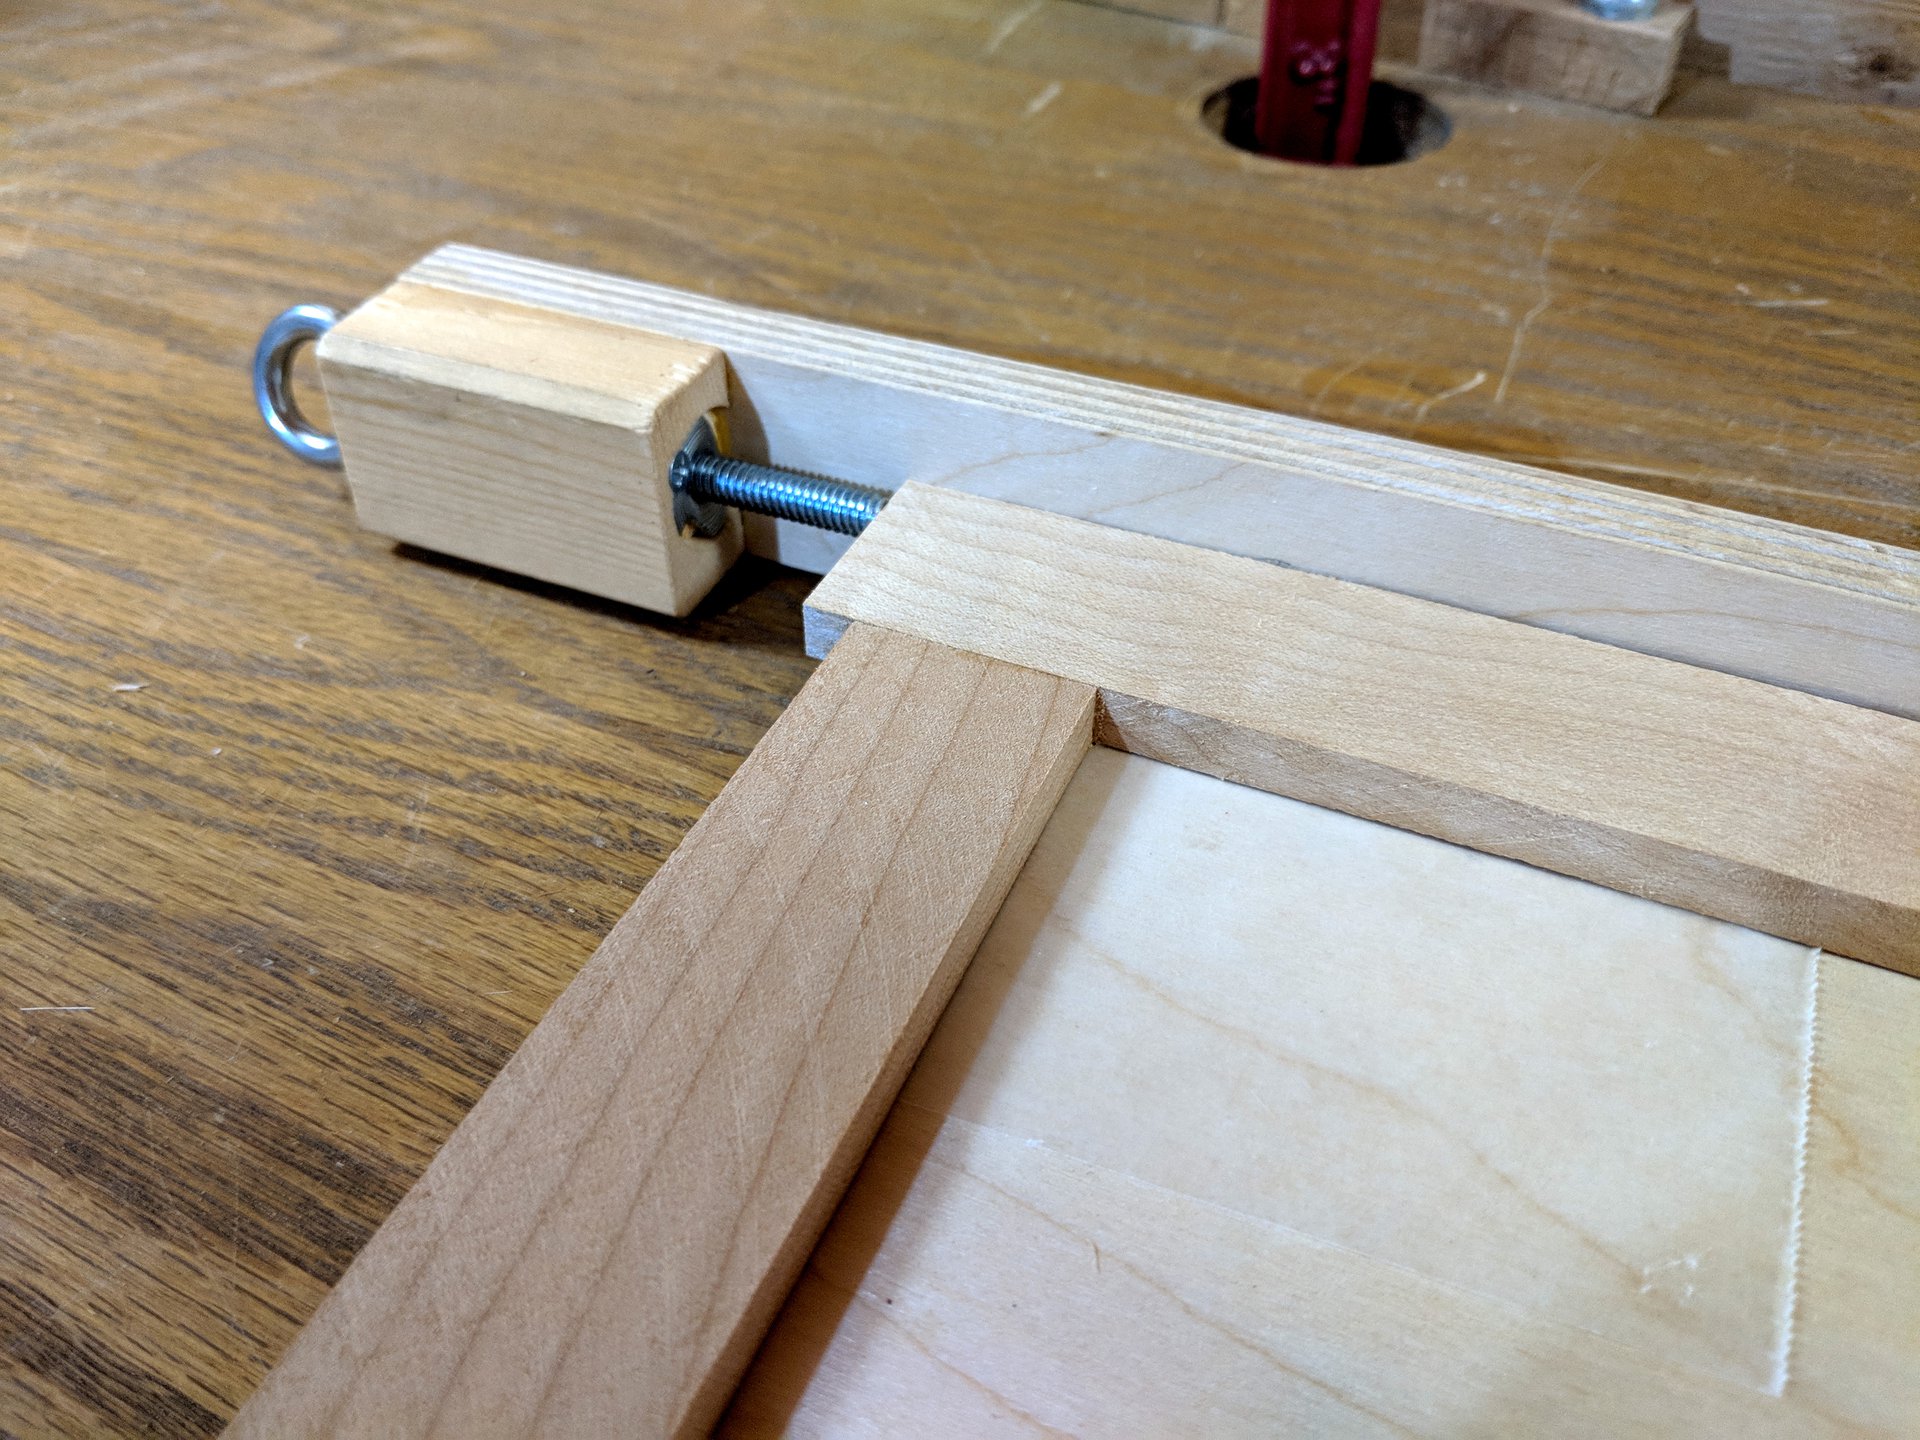
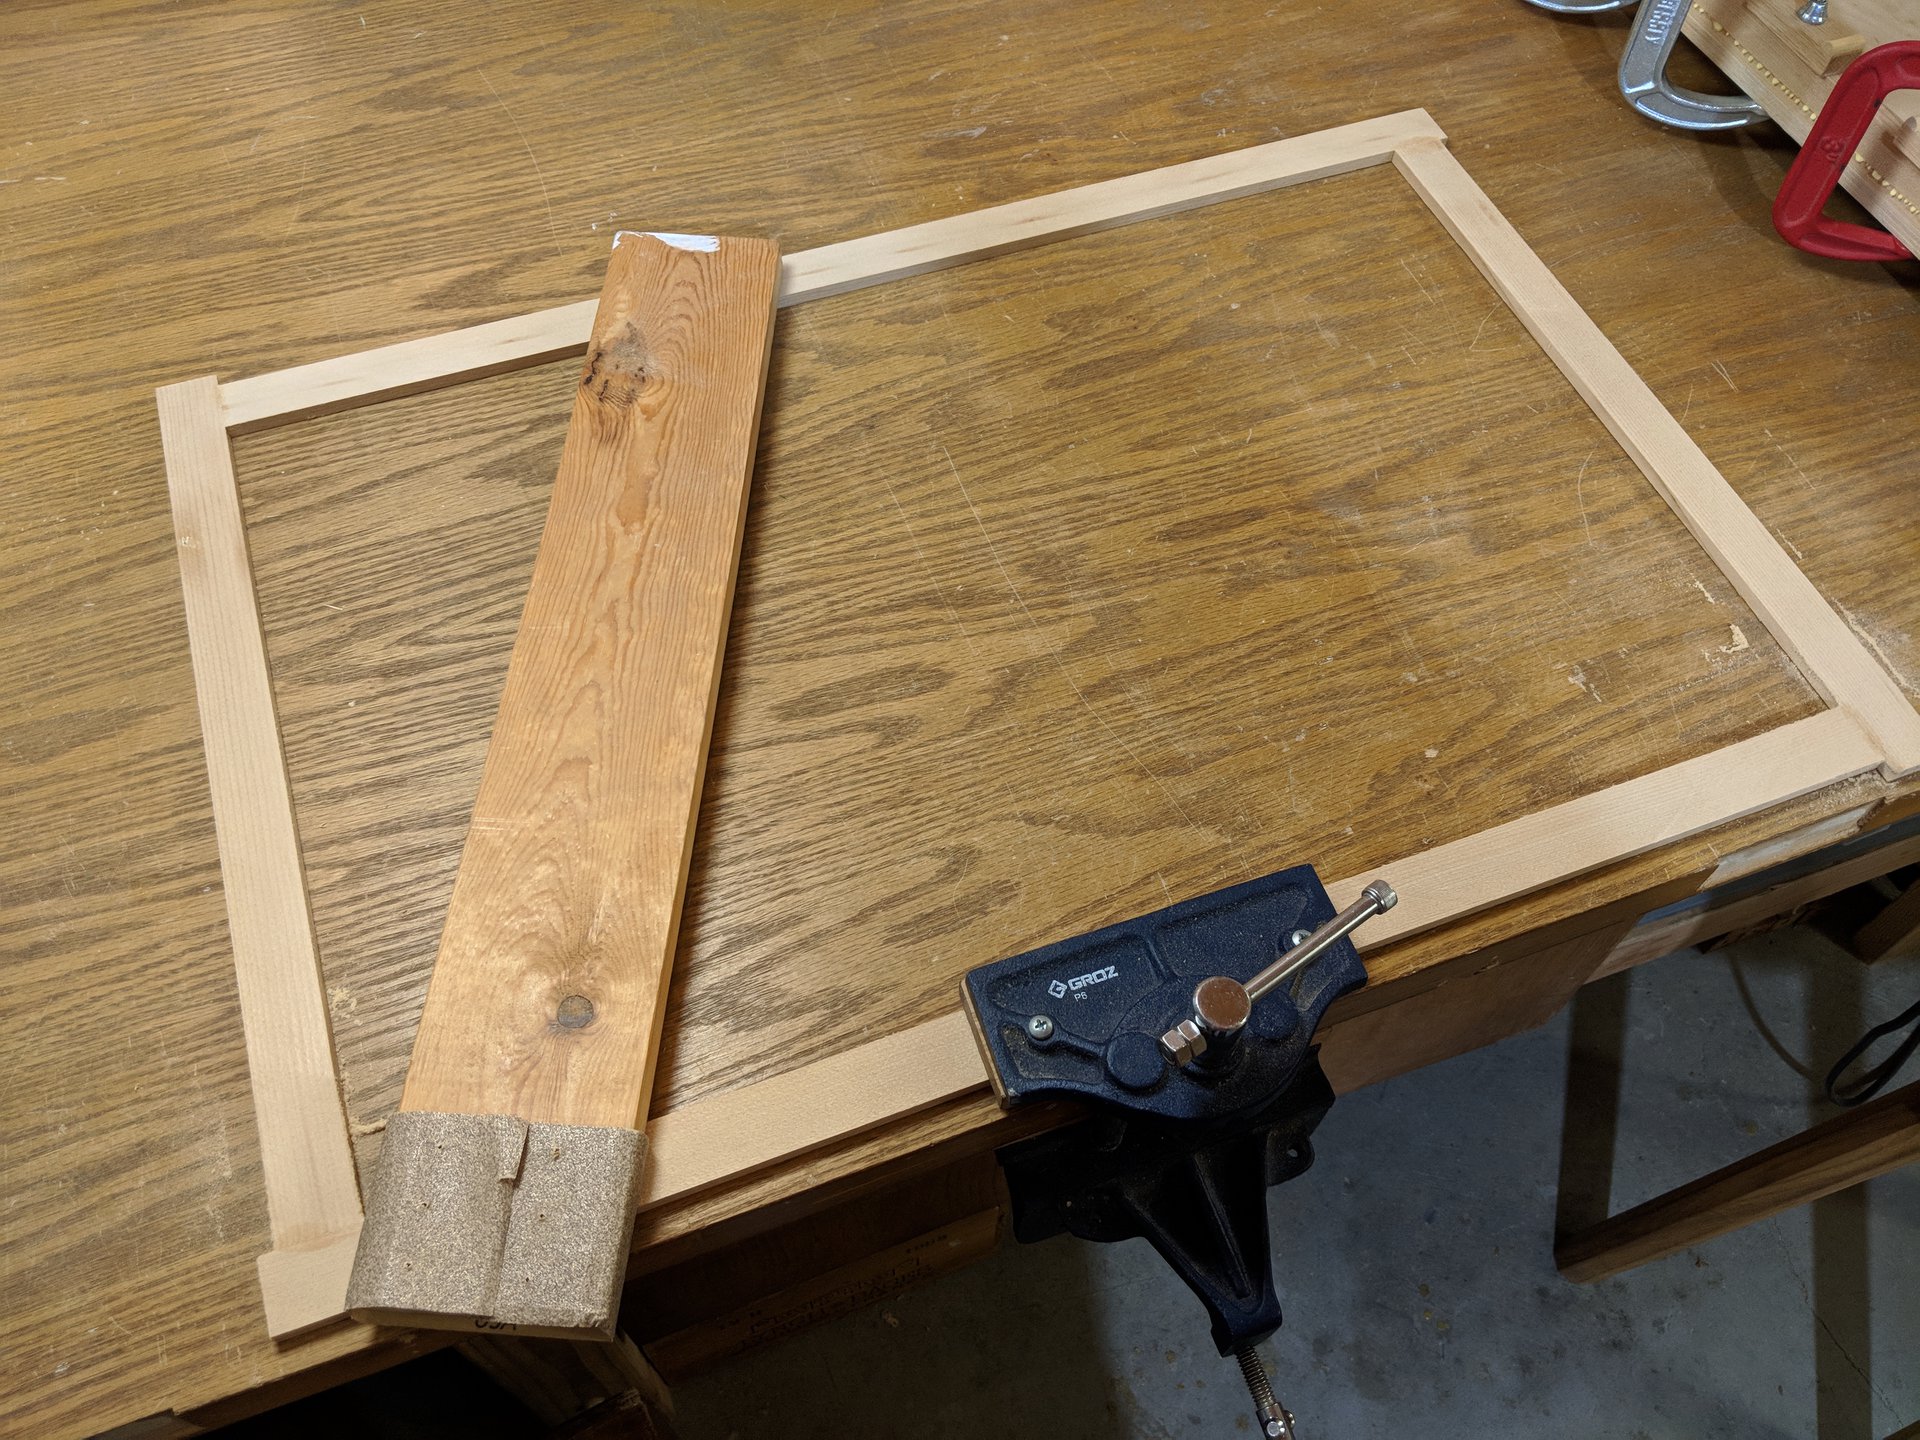
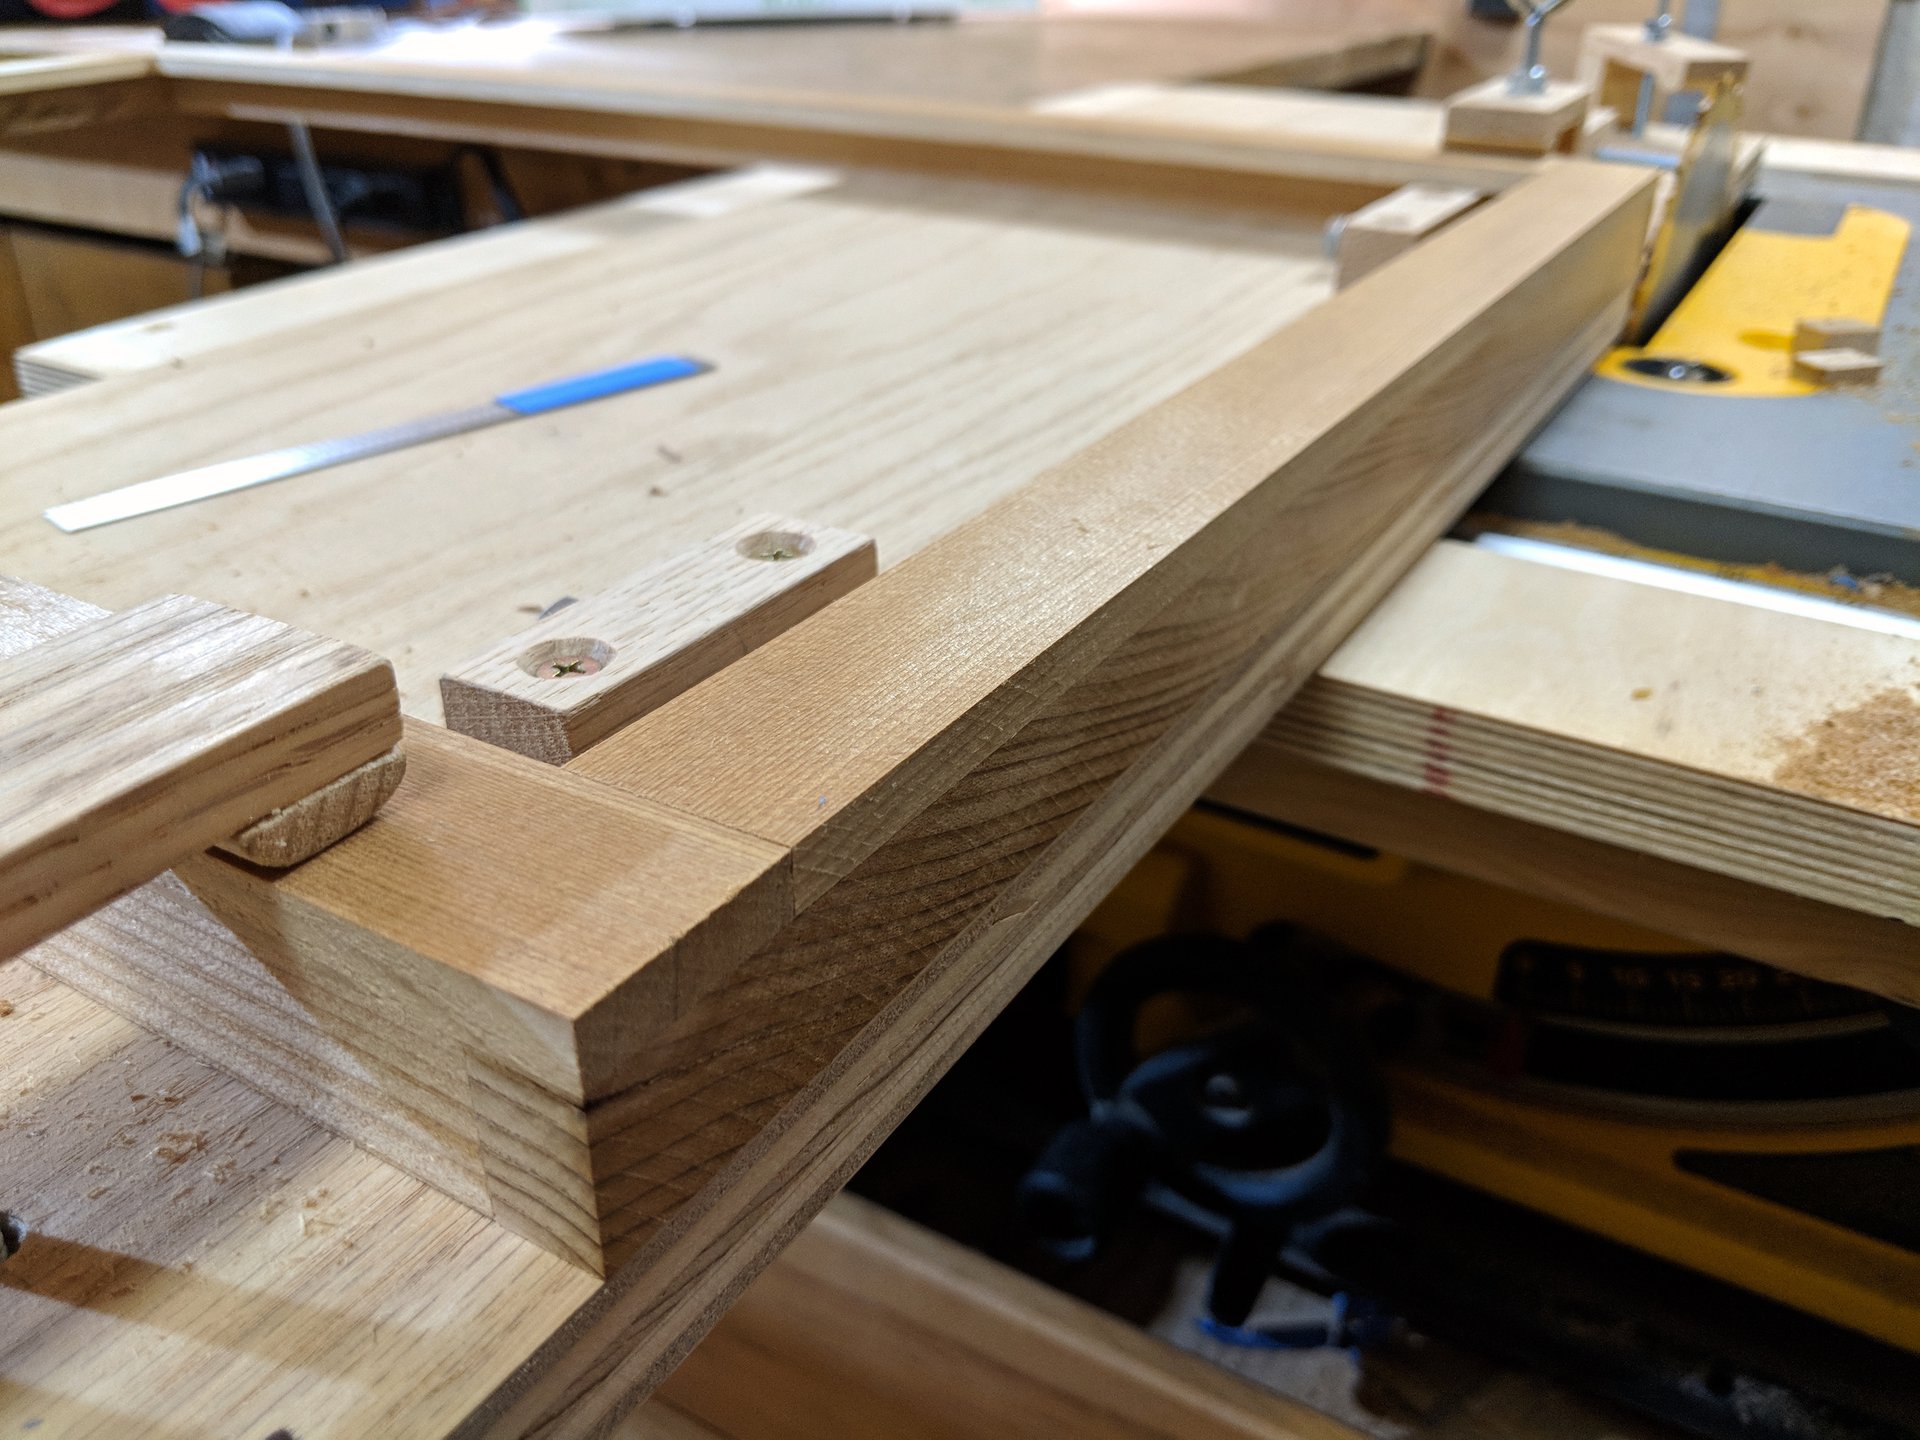
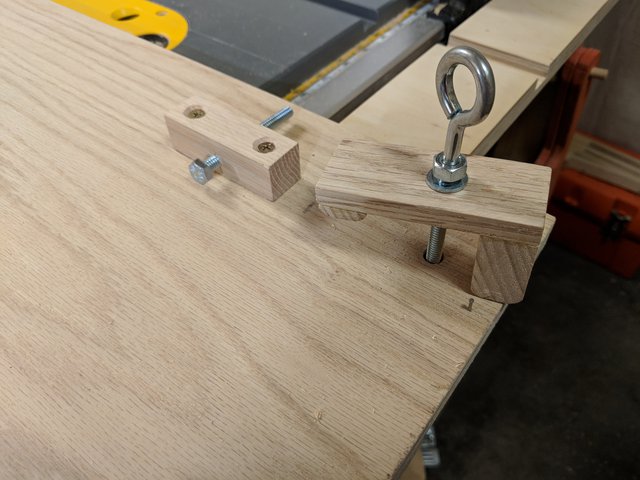
This design for a screw clamp is effective, and not too much trouble to make. I got the idea for using the t-nut with a retention screw from Matthias Wandel.
Each of these homemade special-purpose clamps is held on with a pair of wood screws, so they can each be removed for the upcoming phase of gluing face assemblies to wall assemblies.
These custom made clamps are positioned to be in the right spot to hold either a face piece or a wall piece. The clamp does leave marks on the end of the pieces they are clamping, but this is inconsequential as these ends will be trimmed off in an upcoming step.
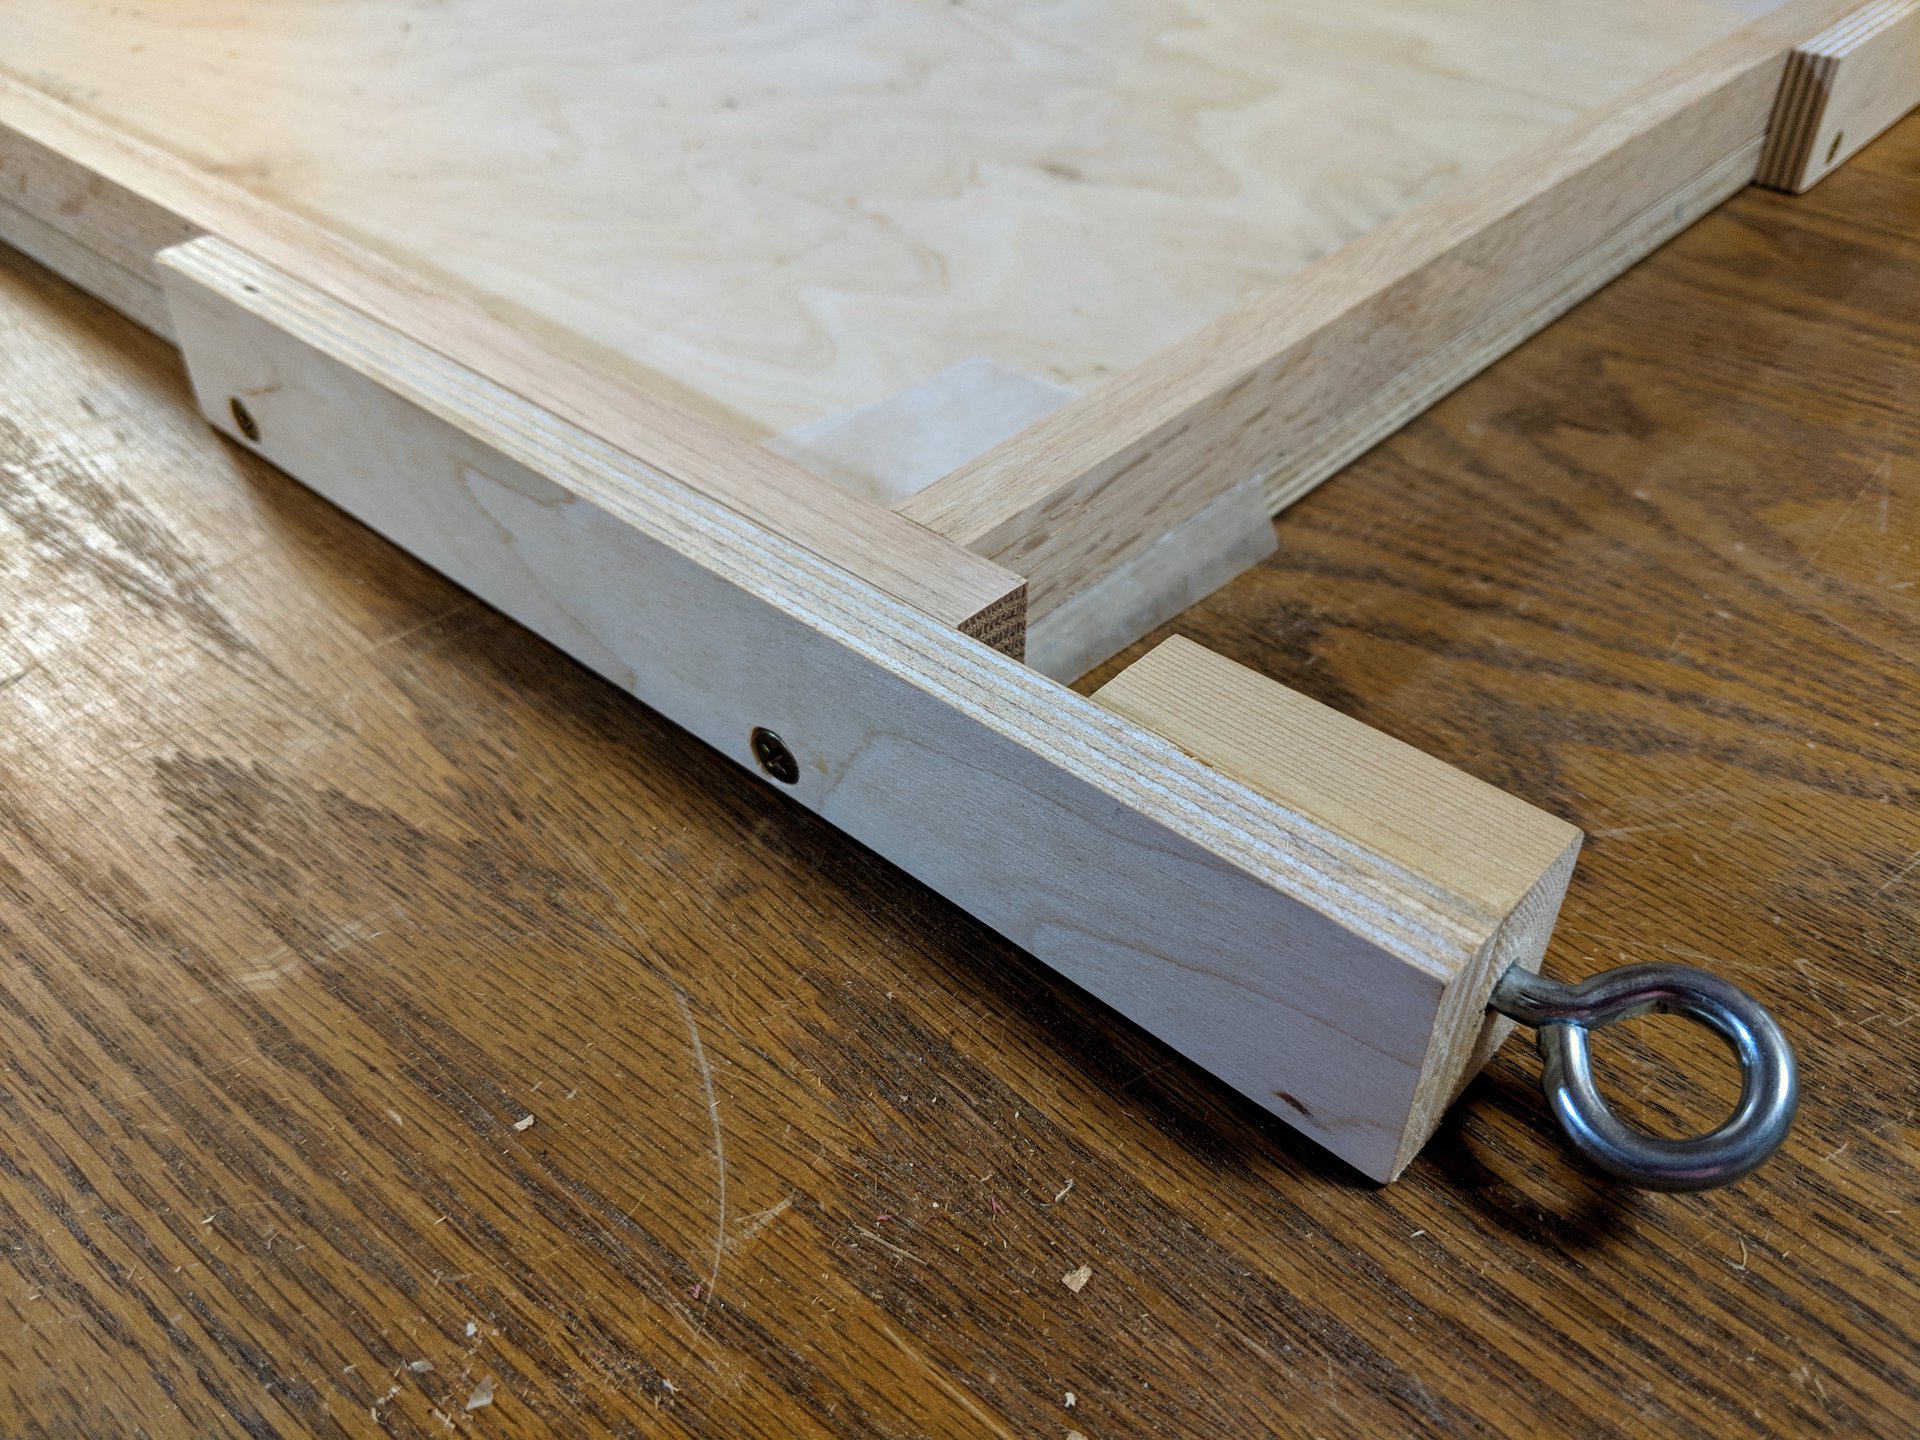
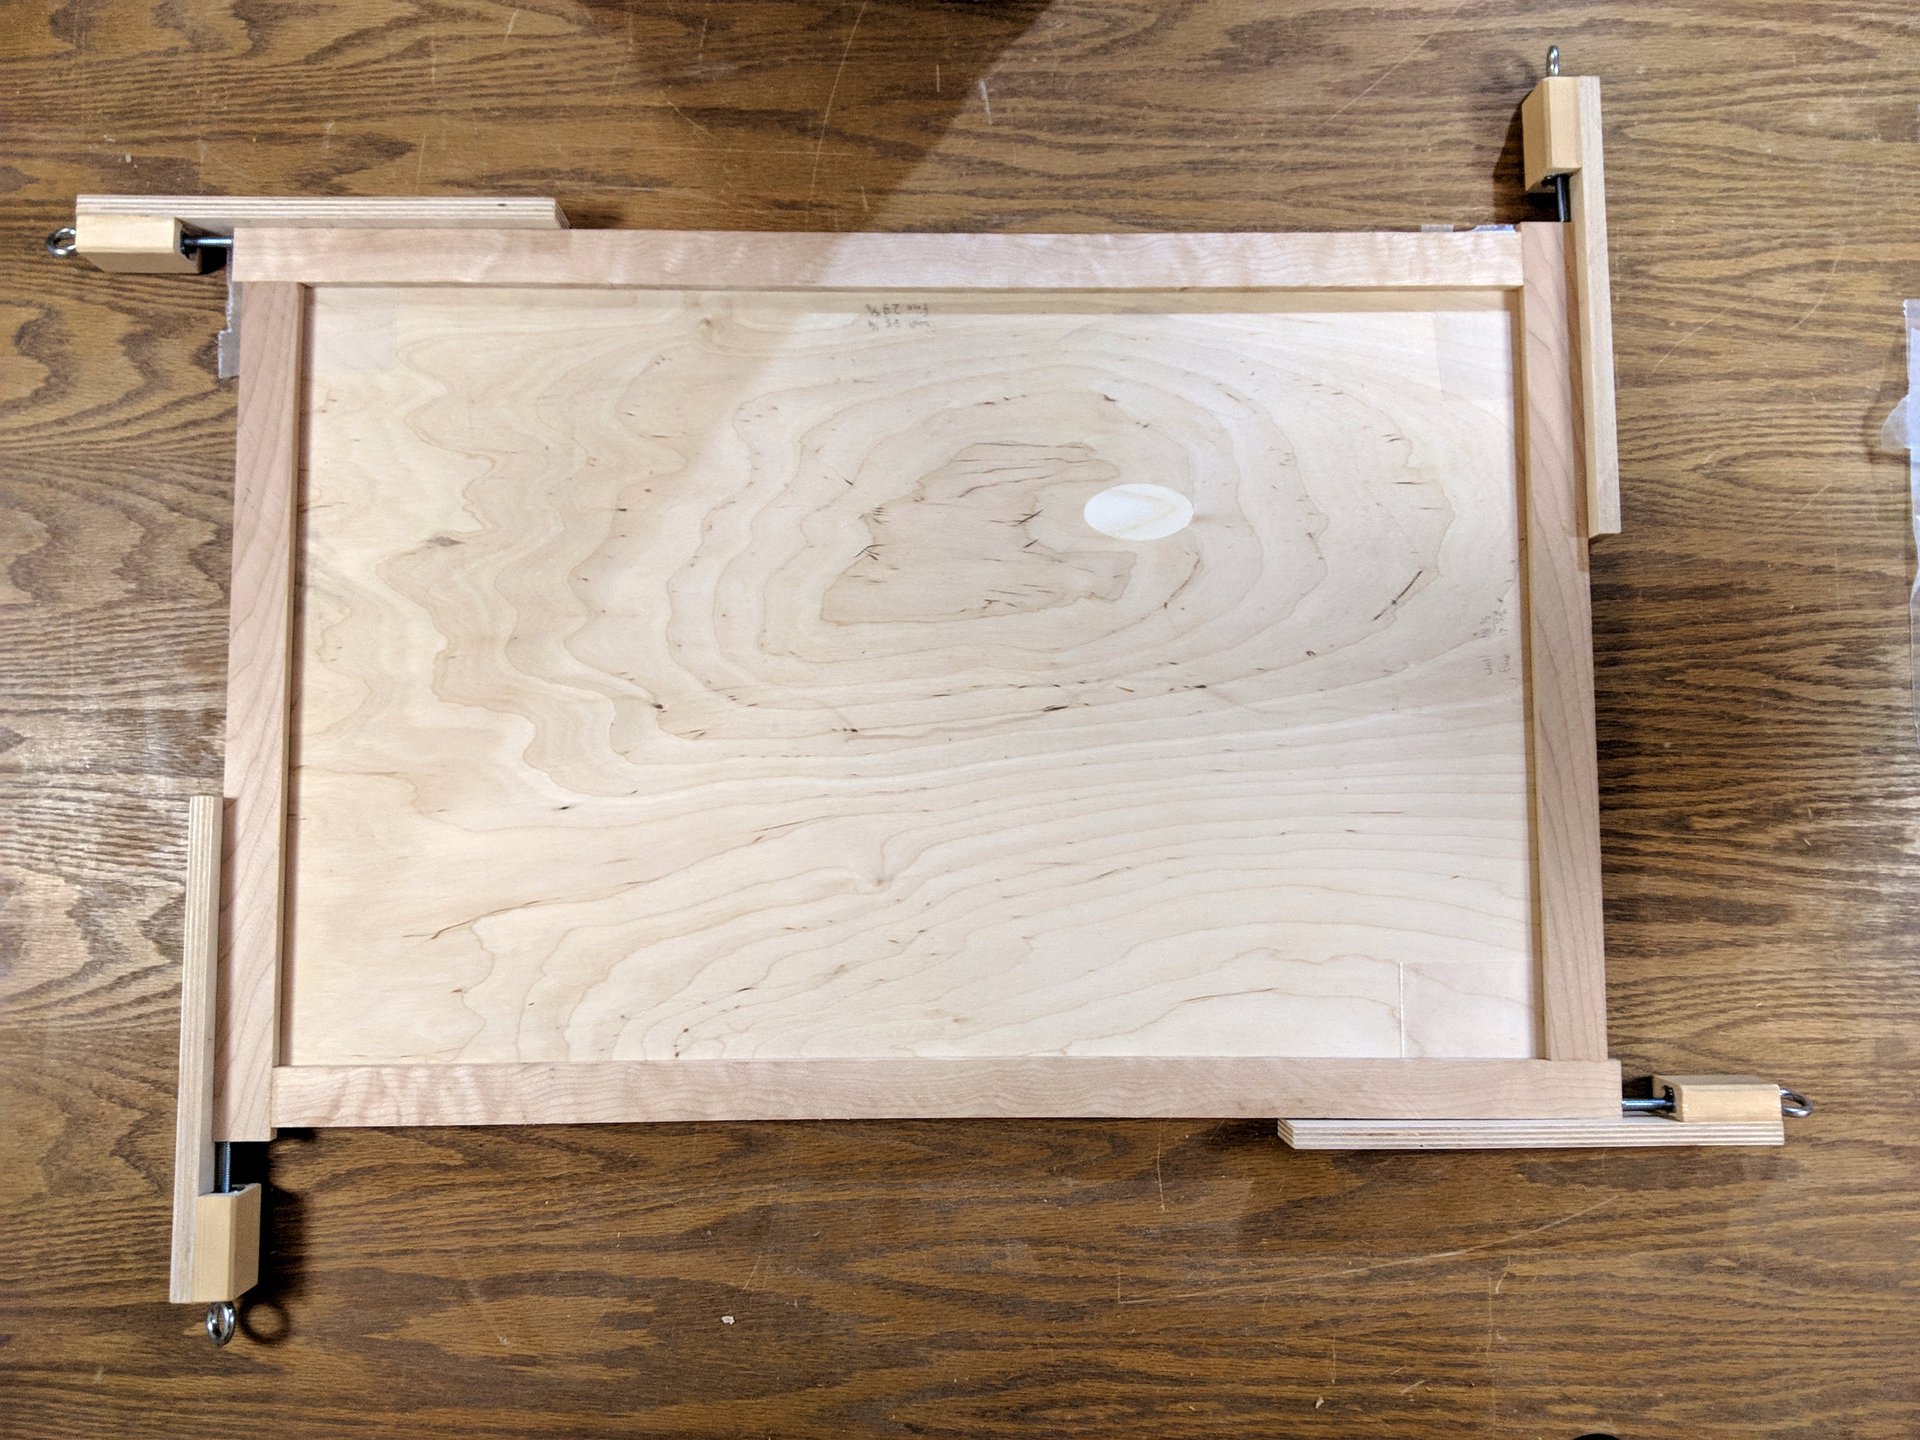
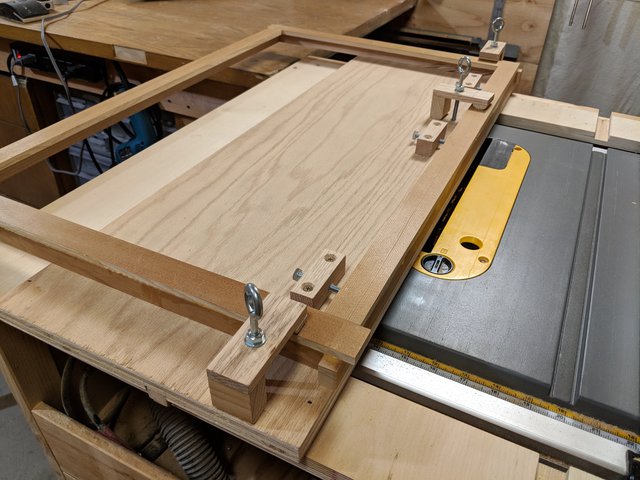
This jig performs the function of joining a set of 4 lengths together to make either a face assembly or a wall assembly. The jig consists of a single piece of plywood, whose exterior dimensions match the desired frame size, with four screw clamps at the corners to hold the pieces together to form butt joints. I place a small piece of wax paper underneath each joint to prevent the glue squeeze-out from bonding the pieces to the jig. Despite the effectiveness of the jig, it is not fully automatic. Care need be taken to ensure alignment of the joints with the perimeter of the rectangular base, and to ensure the assembly is planar by making sure each side of each joint is pressed down snugly against the plywood surface.
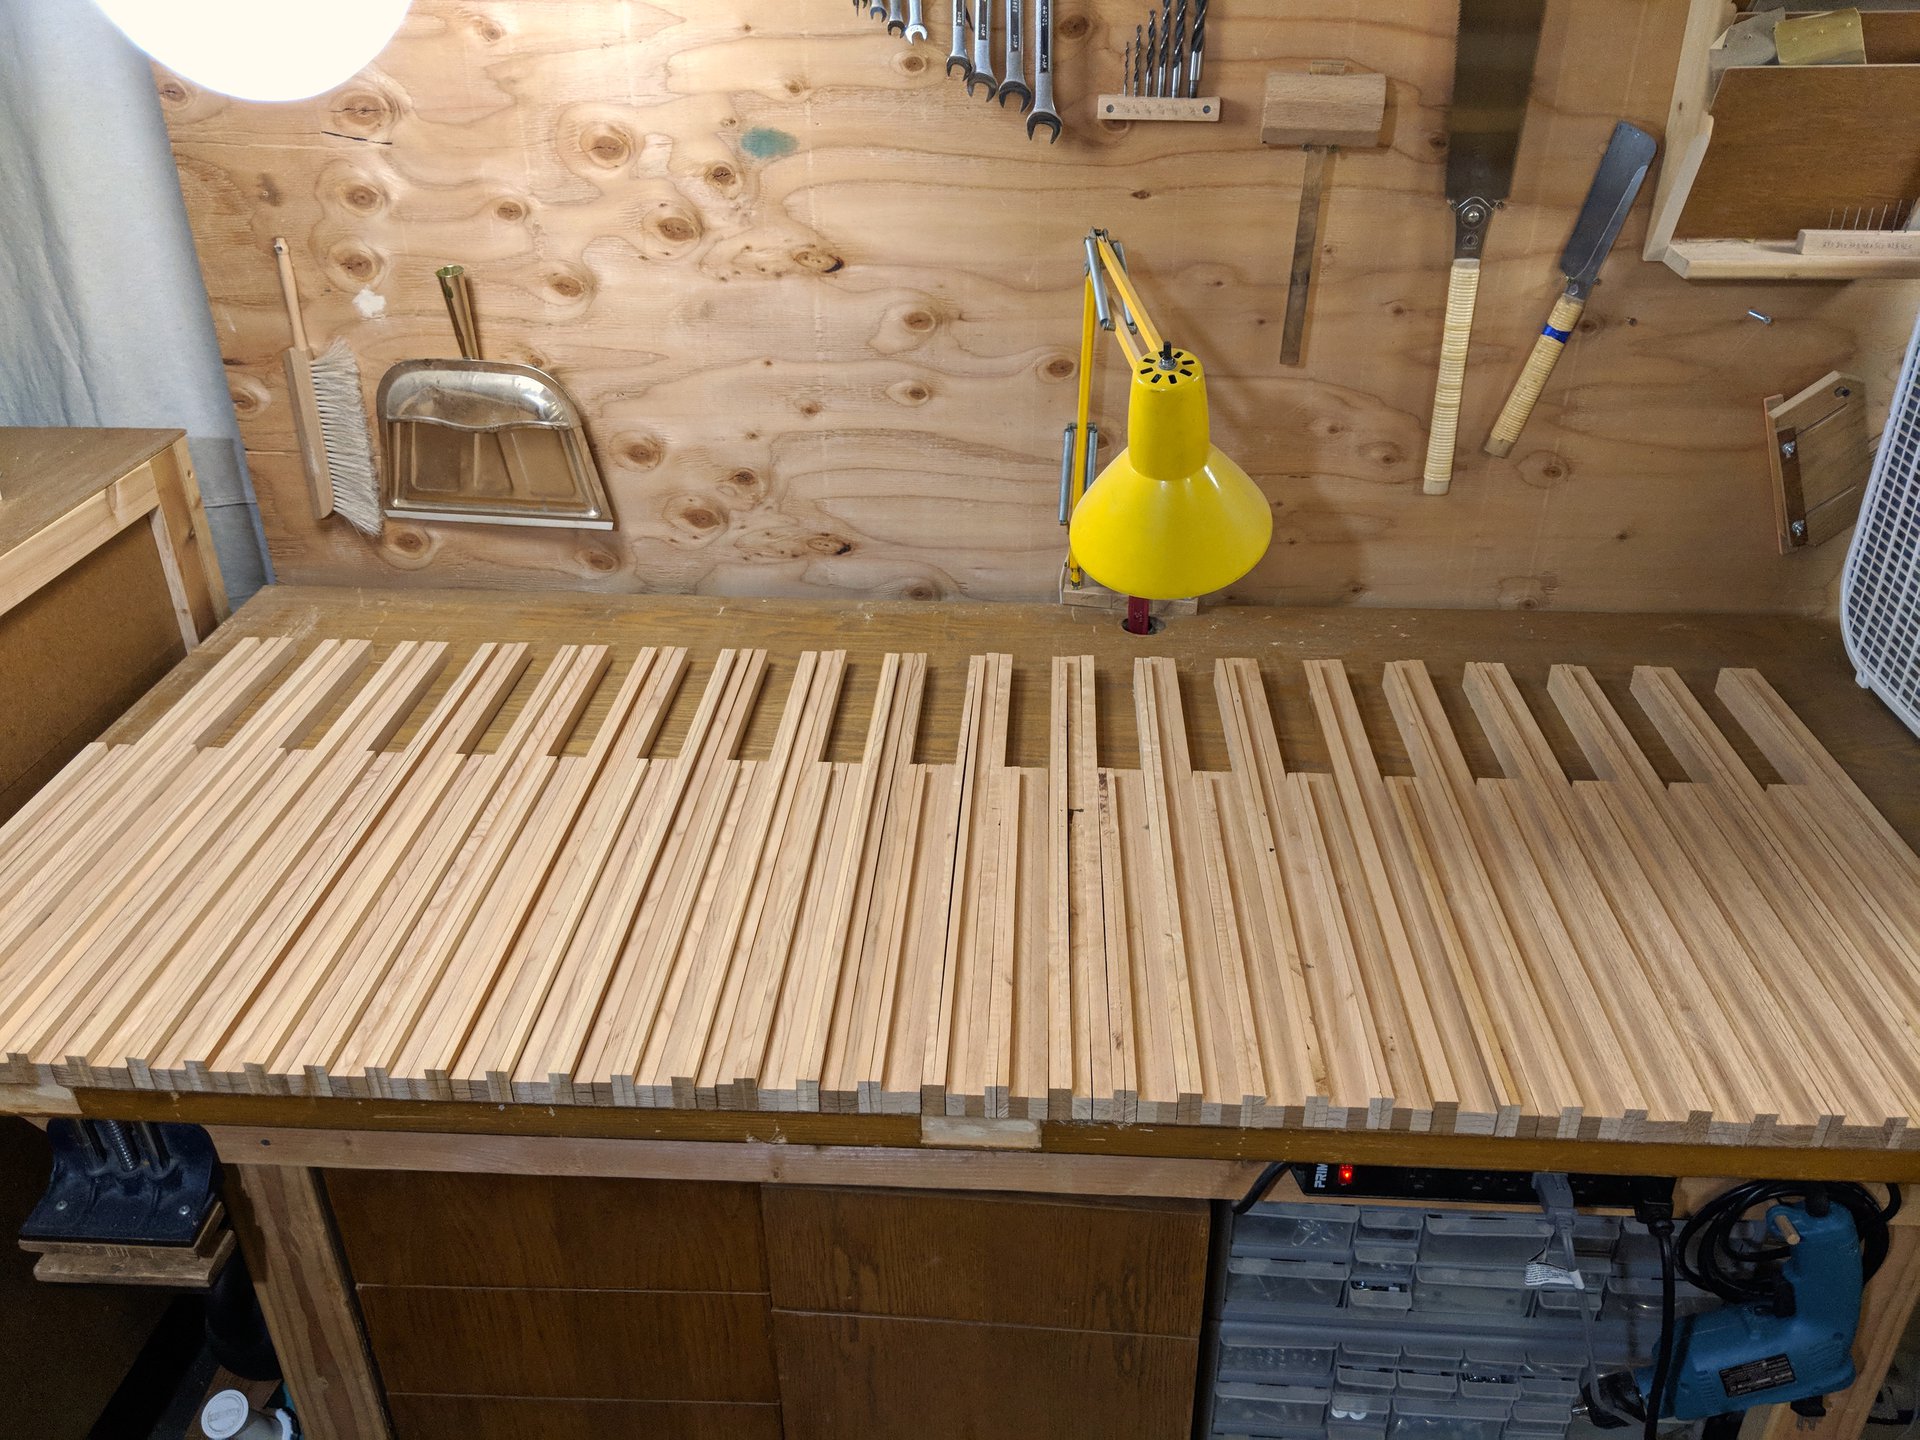
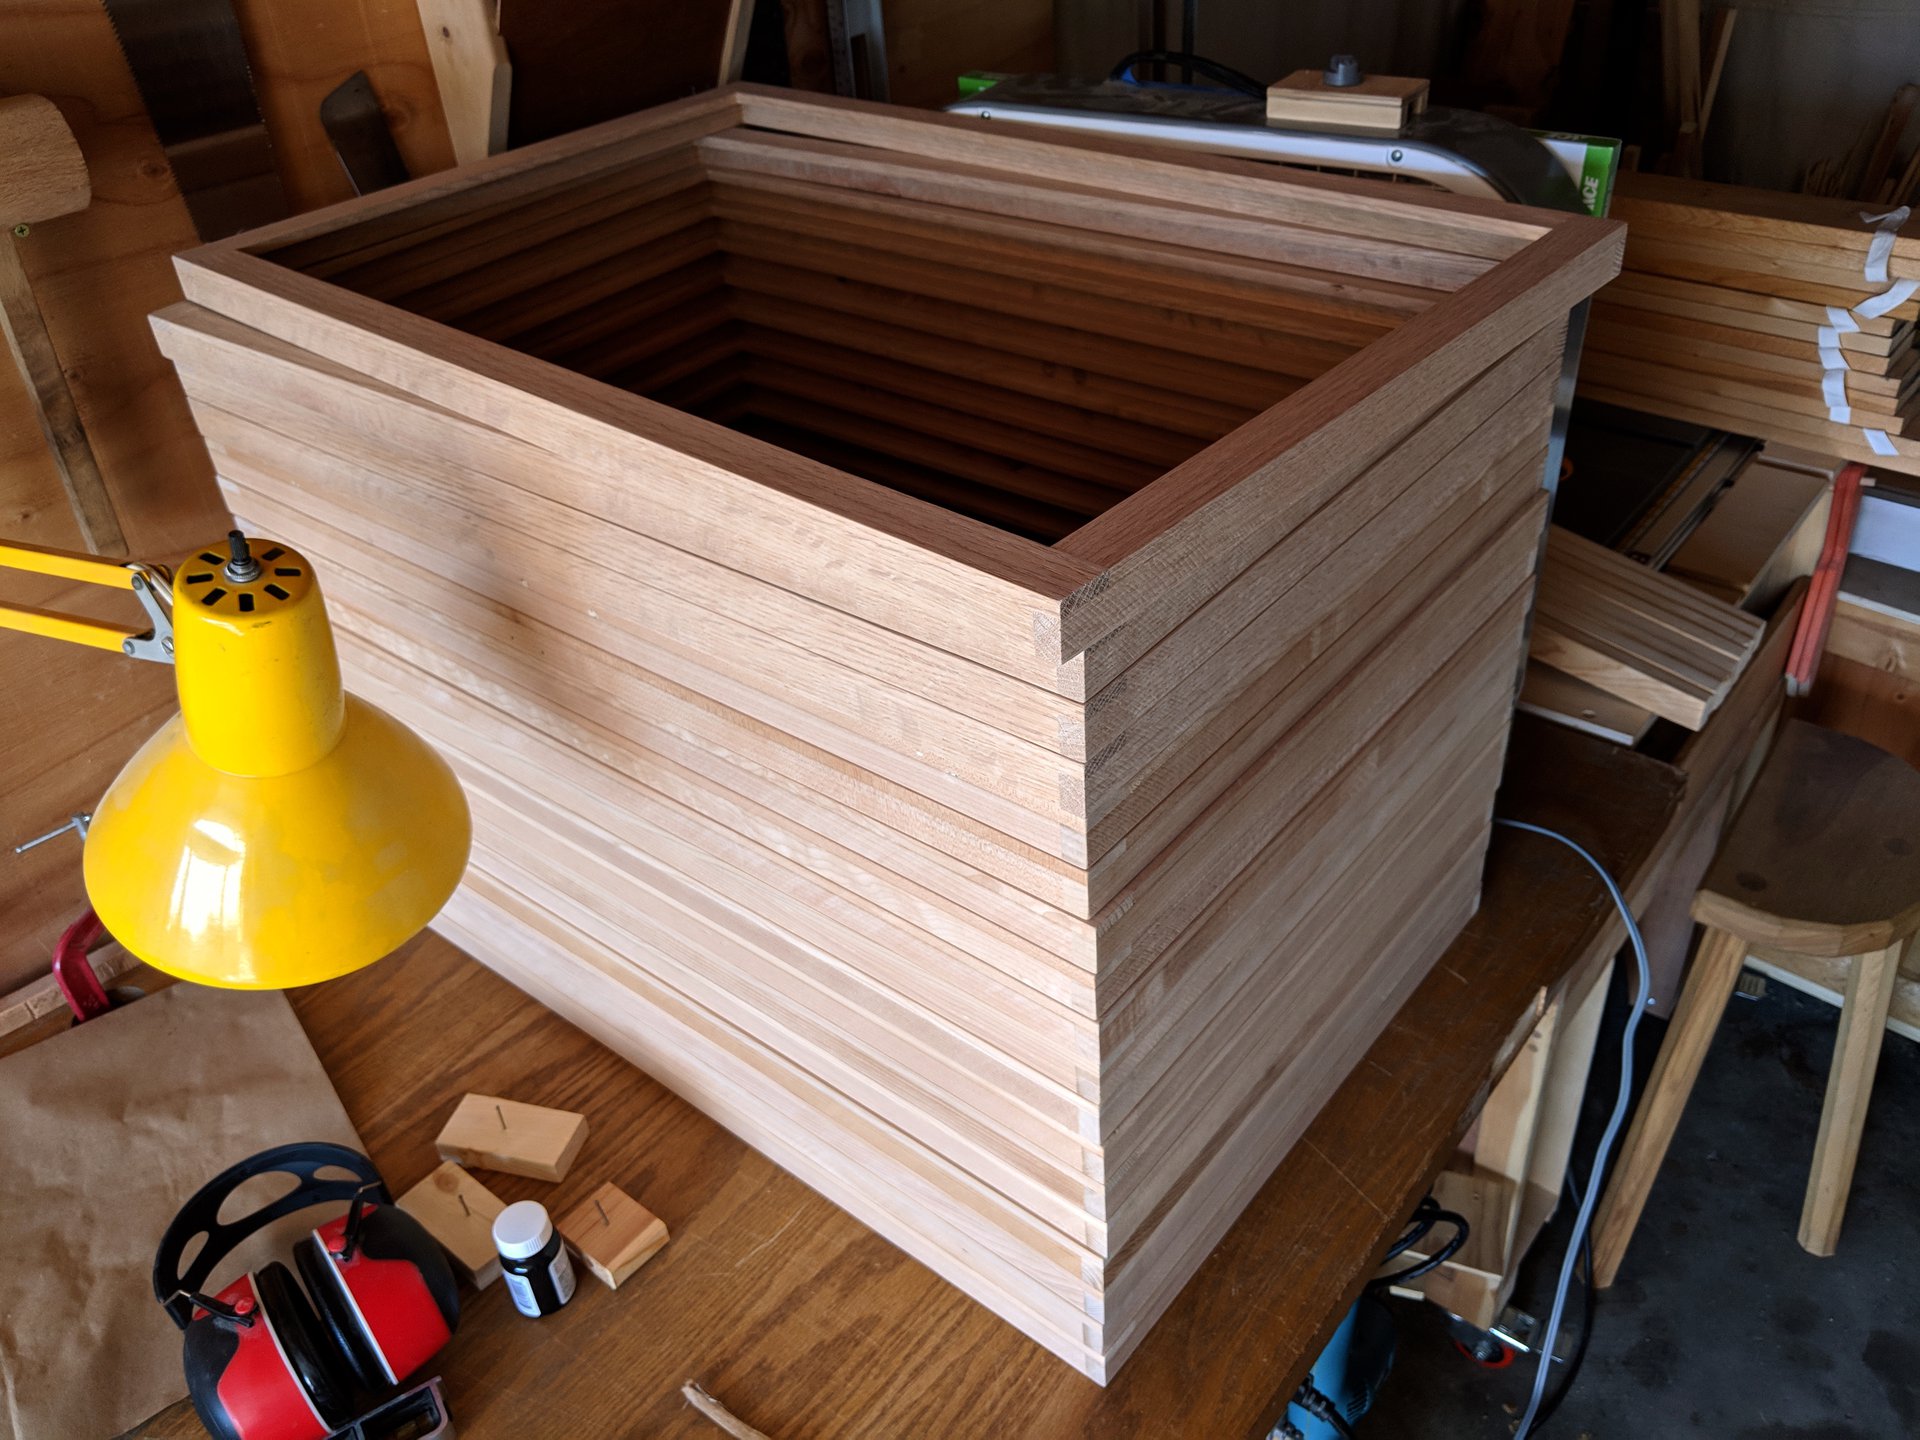
The 4-way clamping jig performs beautifully, I can set an assembly up in a few minutes, and then come back when the glue is dry and do another. About halfway done at this point.
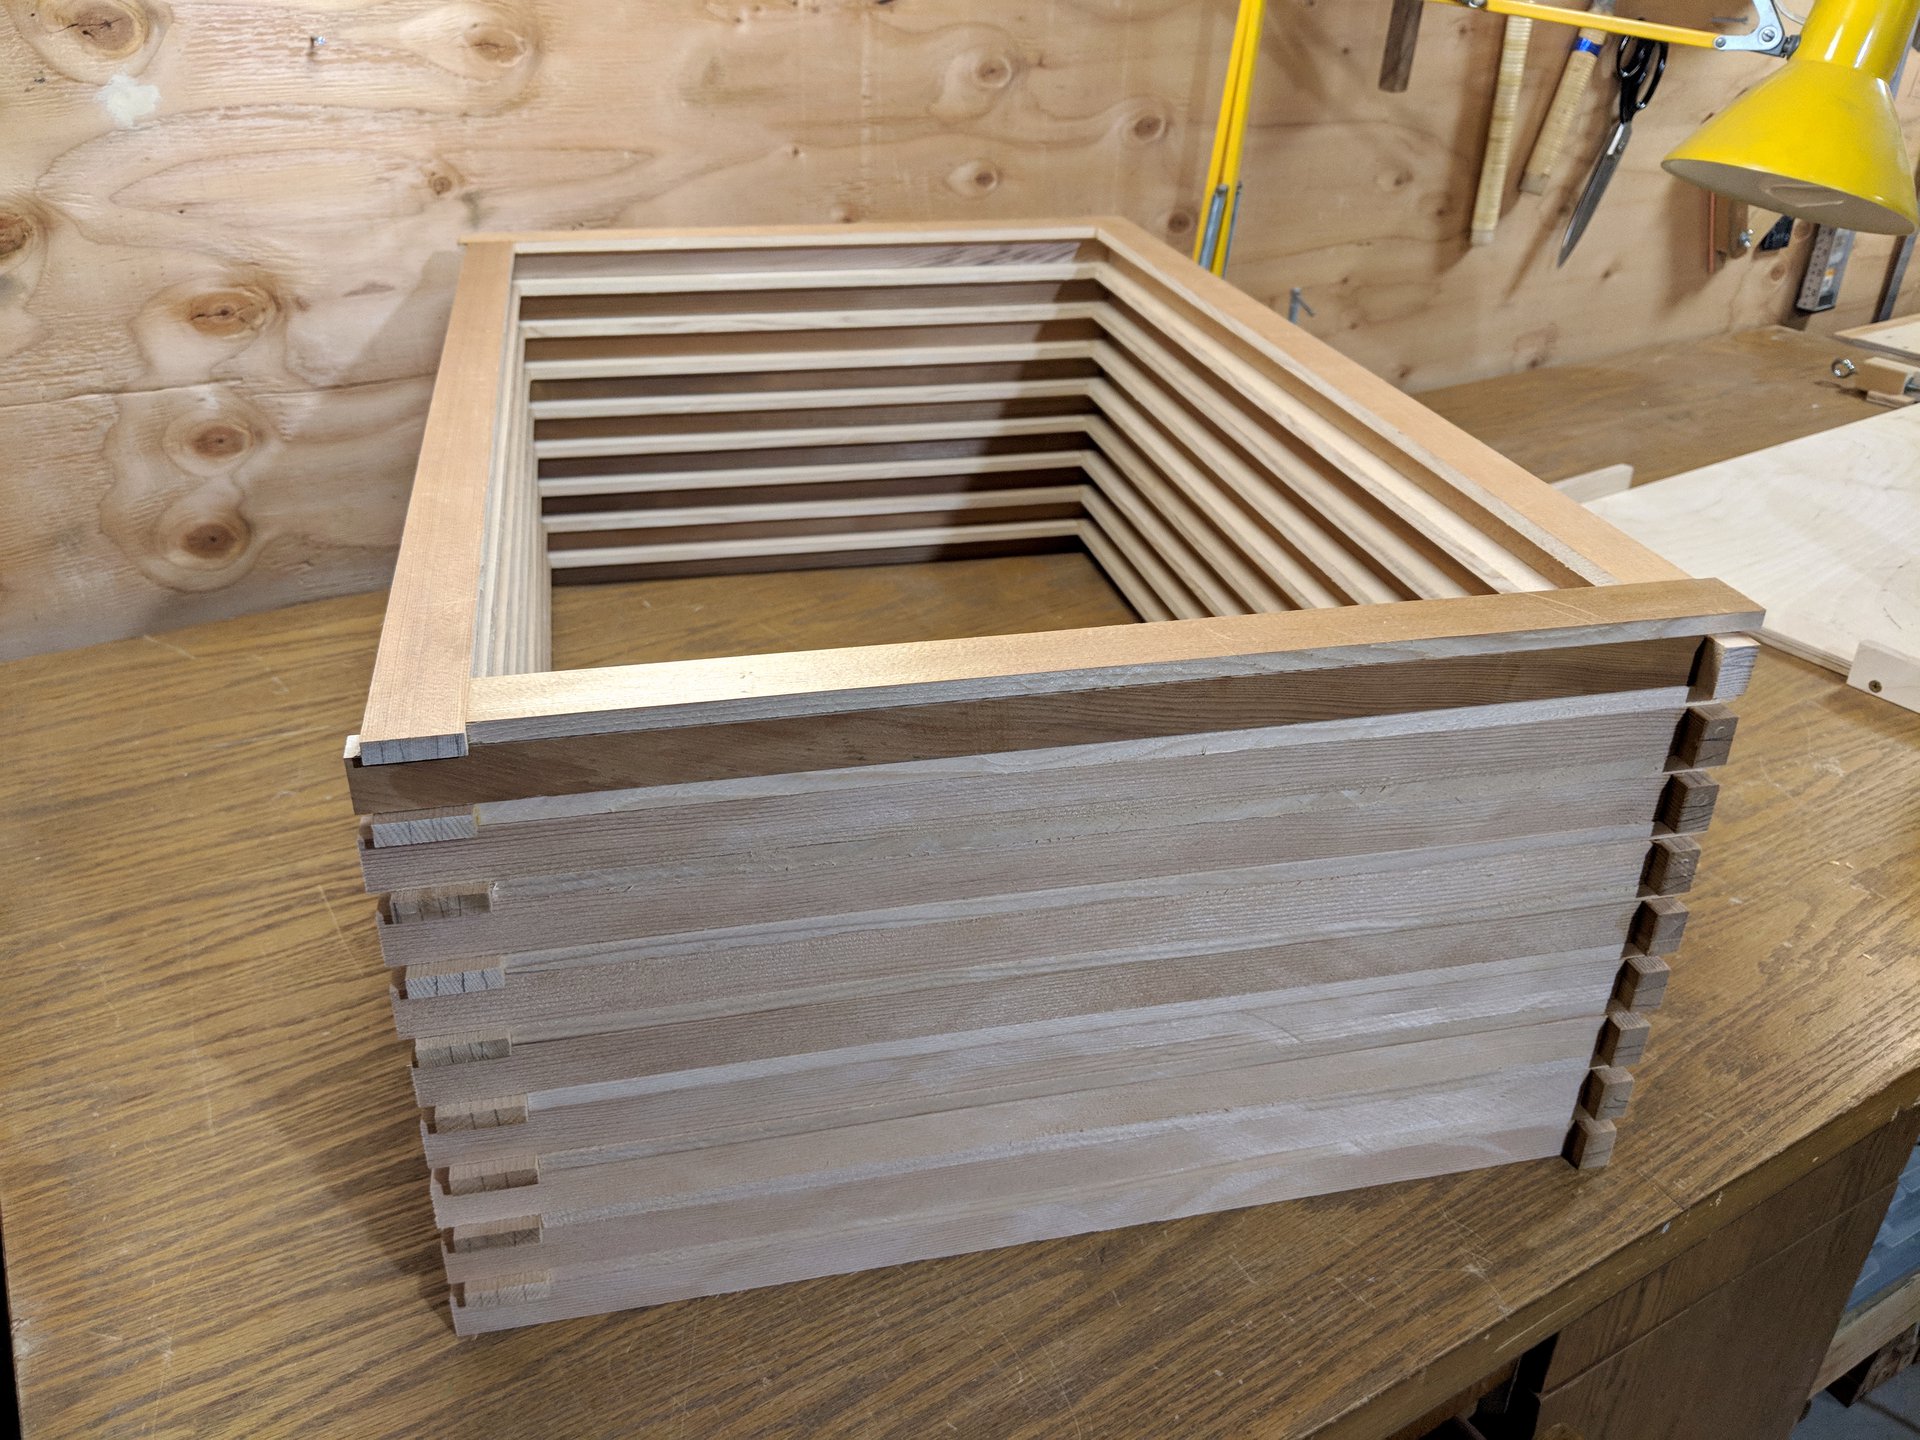
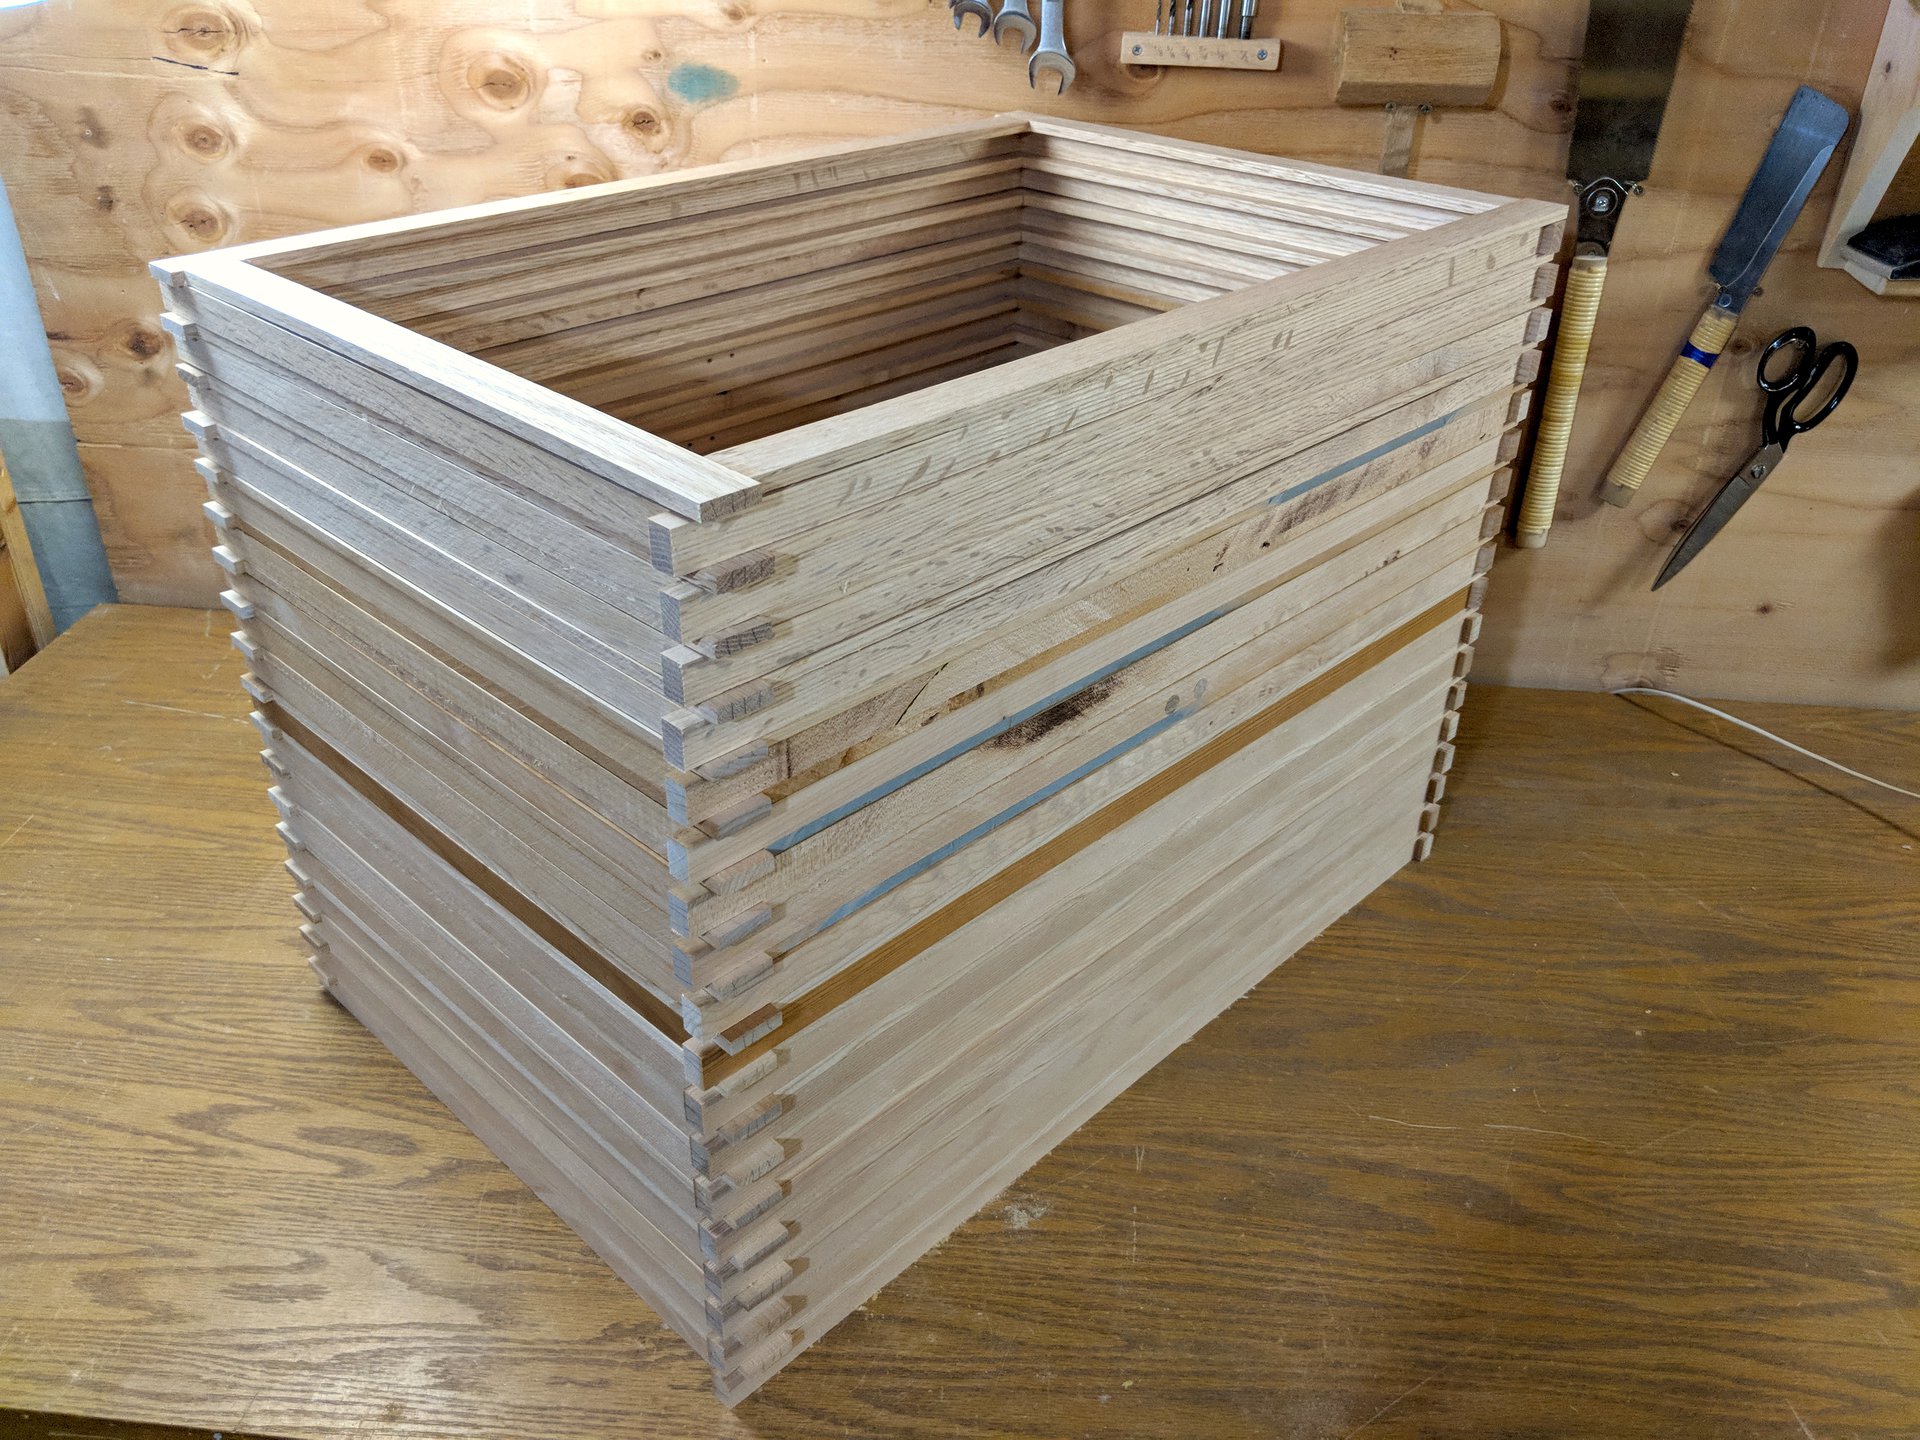
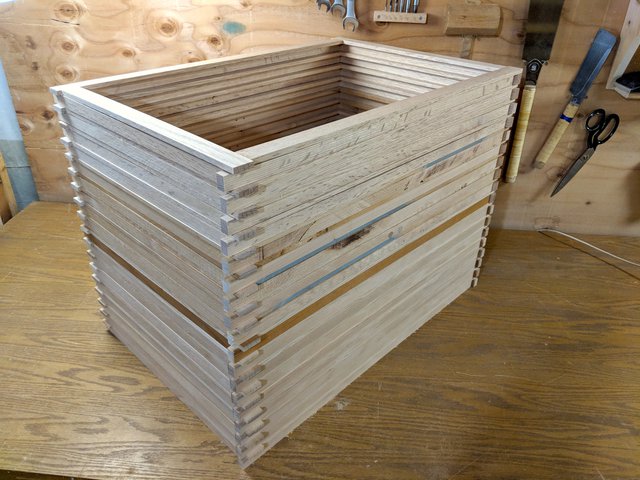
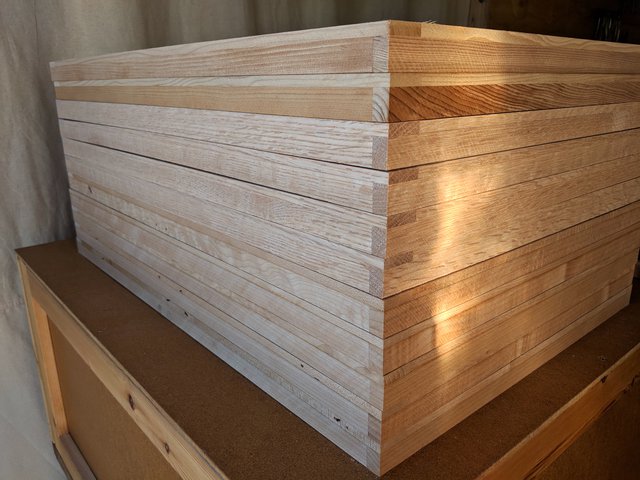
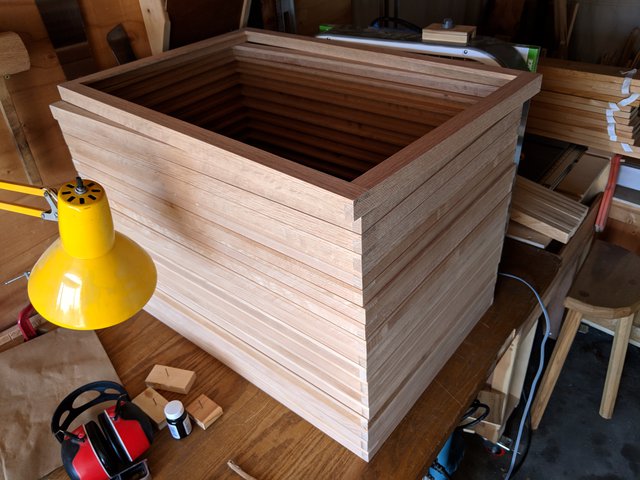
Here is a stack of alternating face assemblies and wall assemblies. Next I'll prepare to unite one of each to make complete frames.
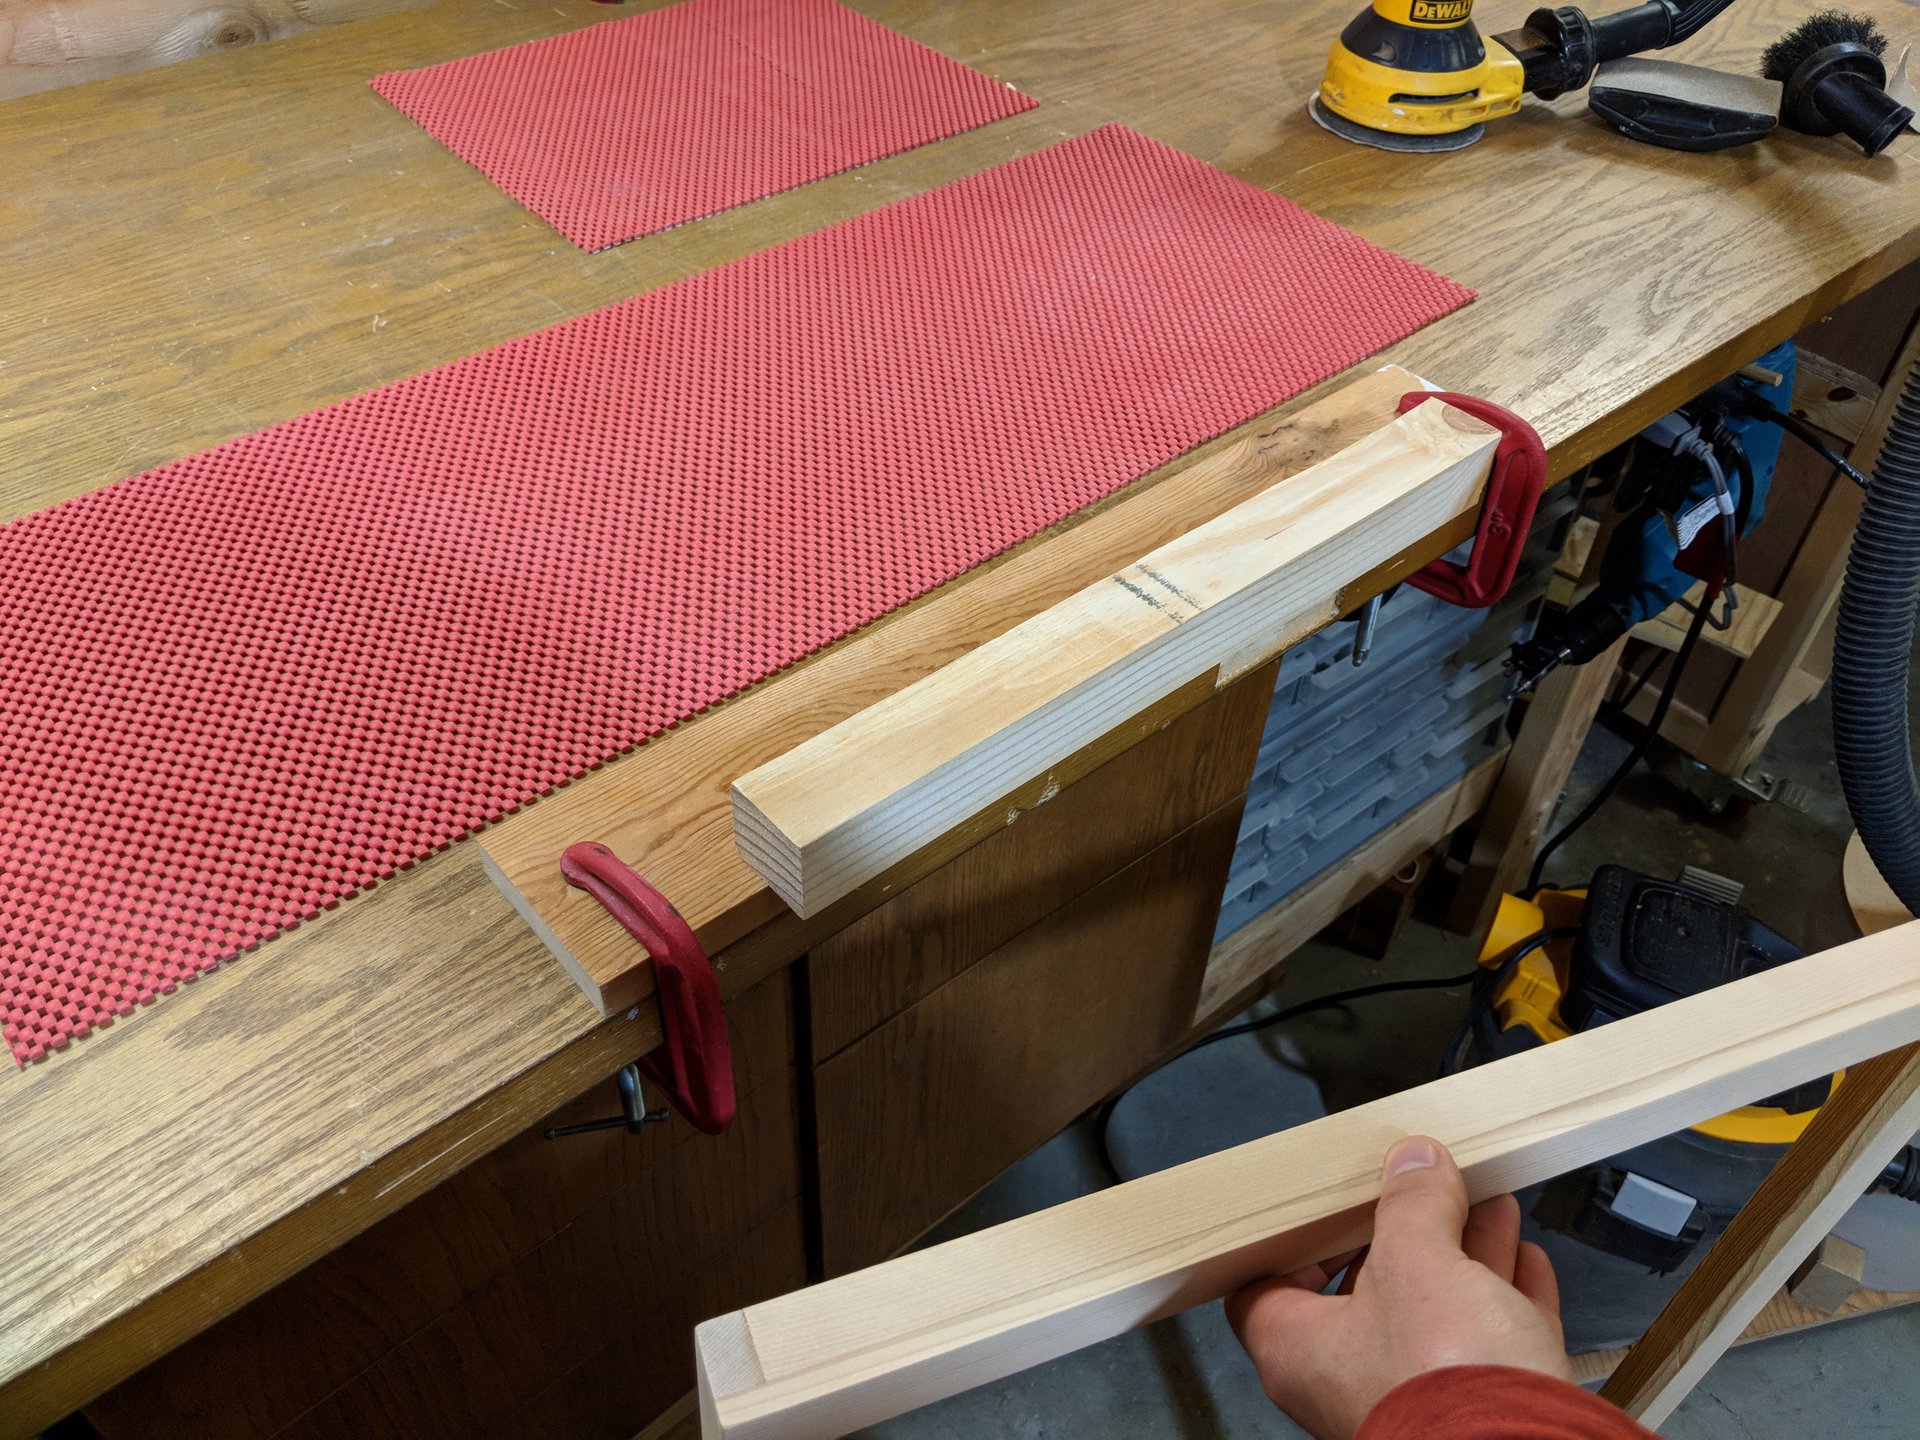
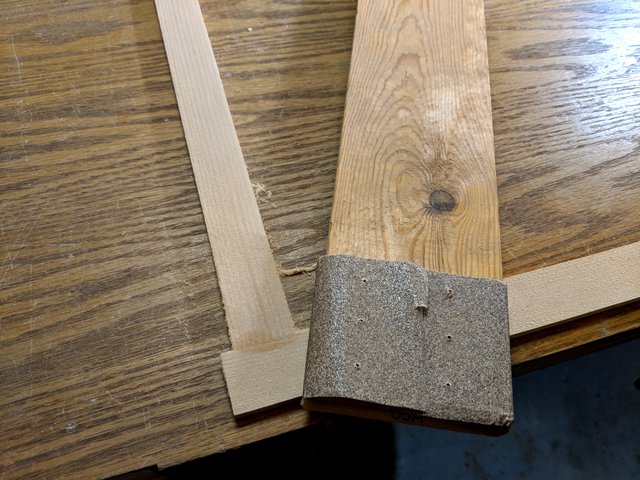
I use a flat board with attached sandpaper so that the sanding preserves the planarity of the assembly. I do this for every joint, both face and wall assemblies, to ensure they'll mate up cleanly.
This attachable vise works nicely as a clamp too, to hold an assembly down to the bench for this sanding operation.
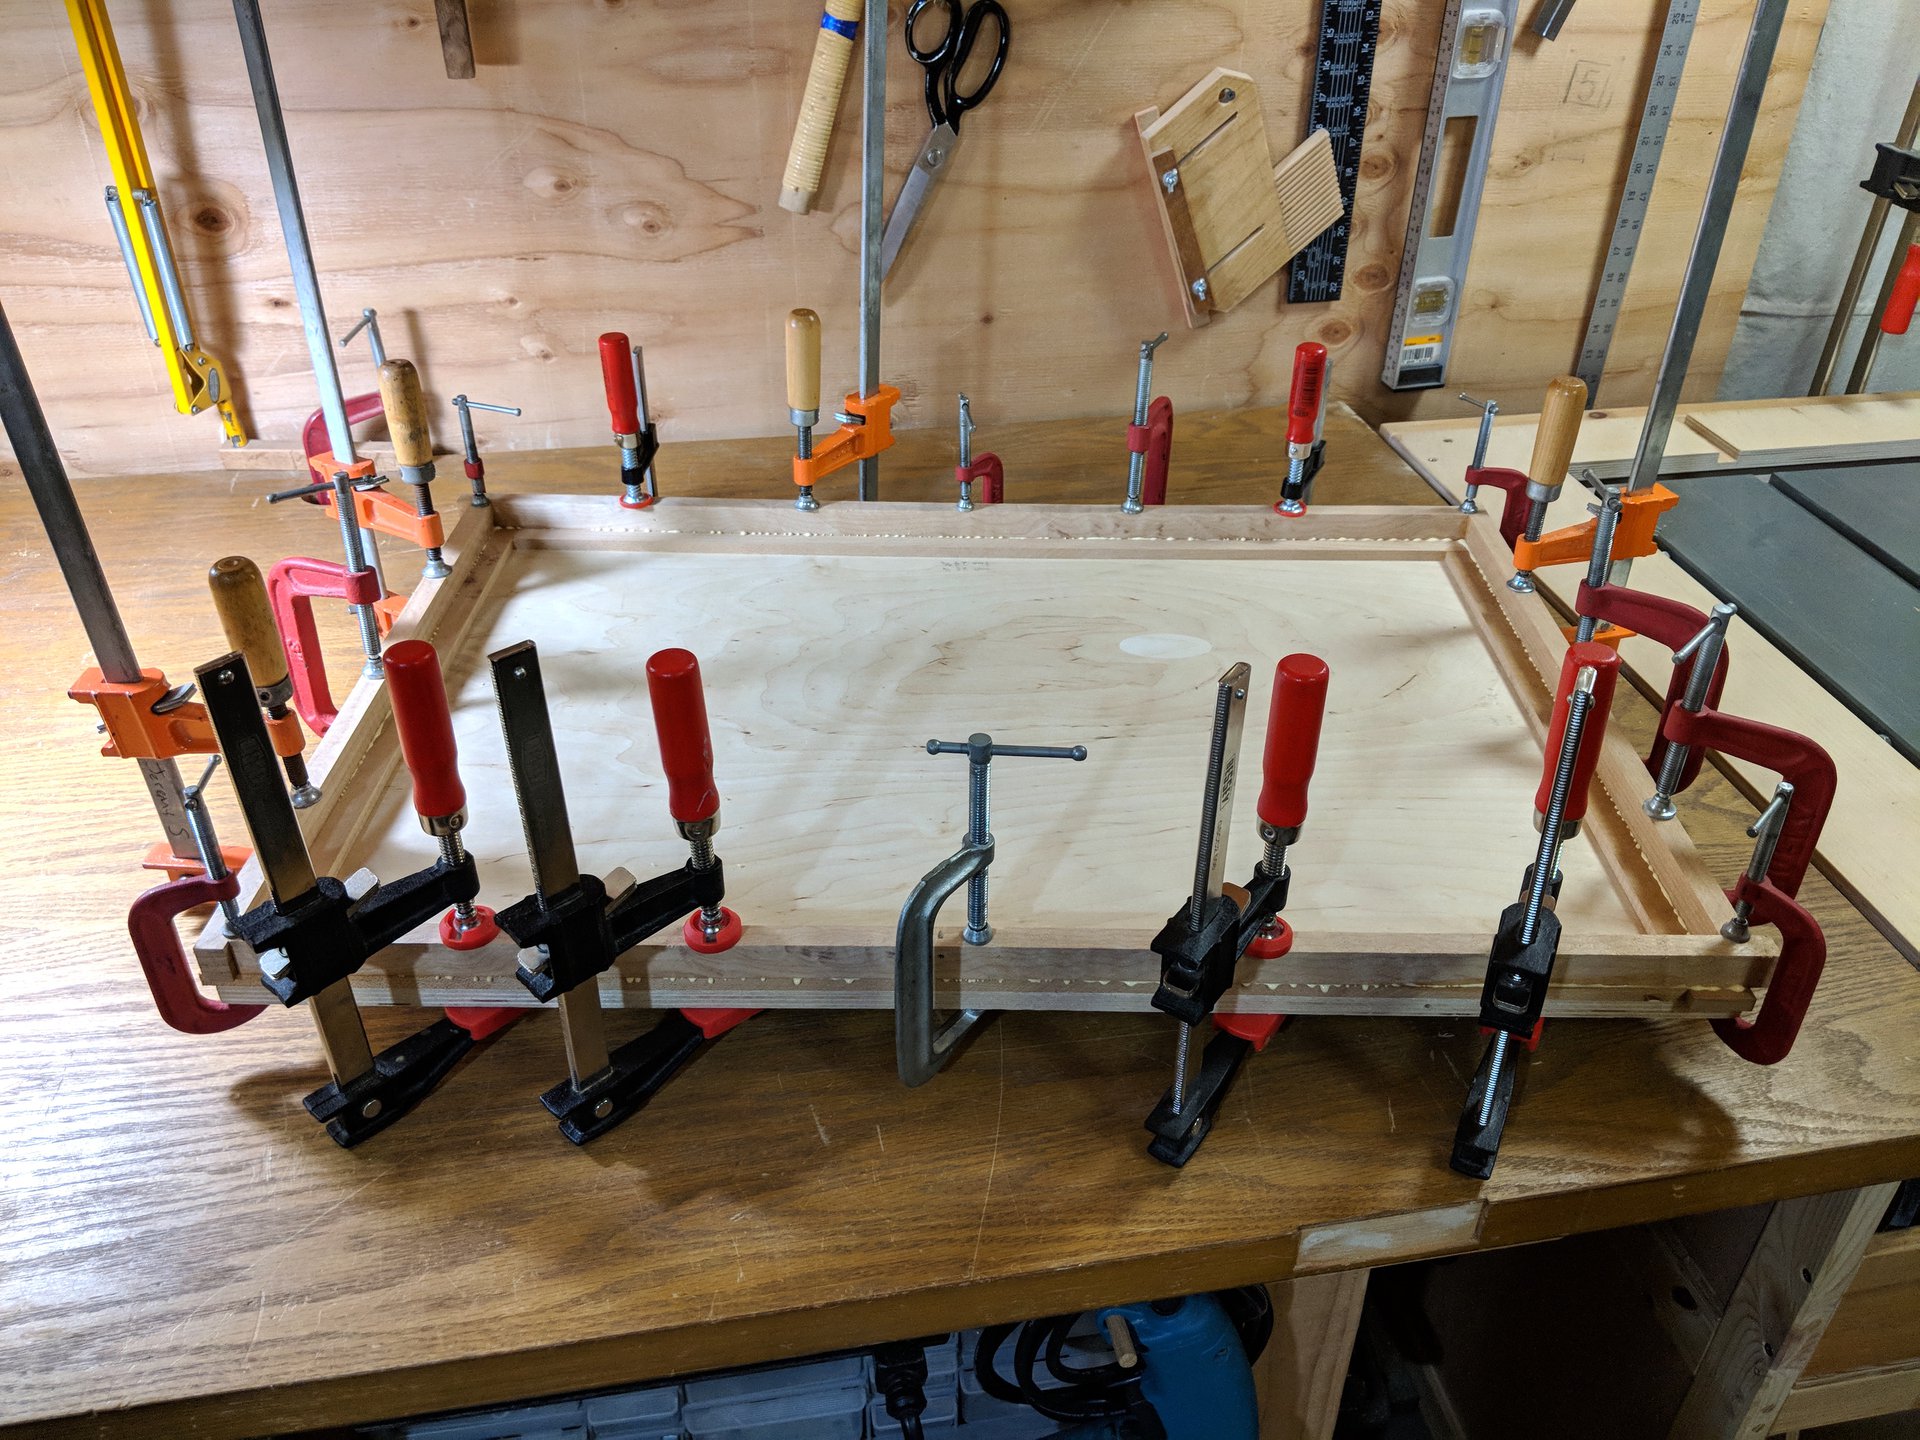
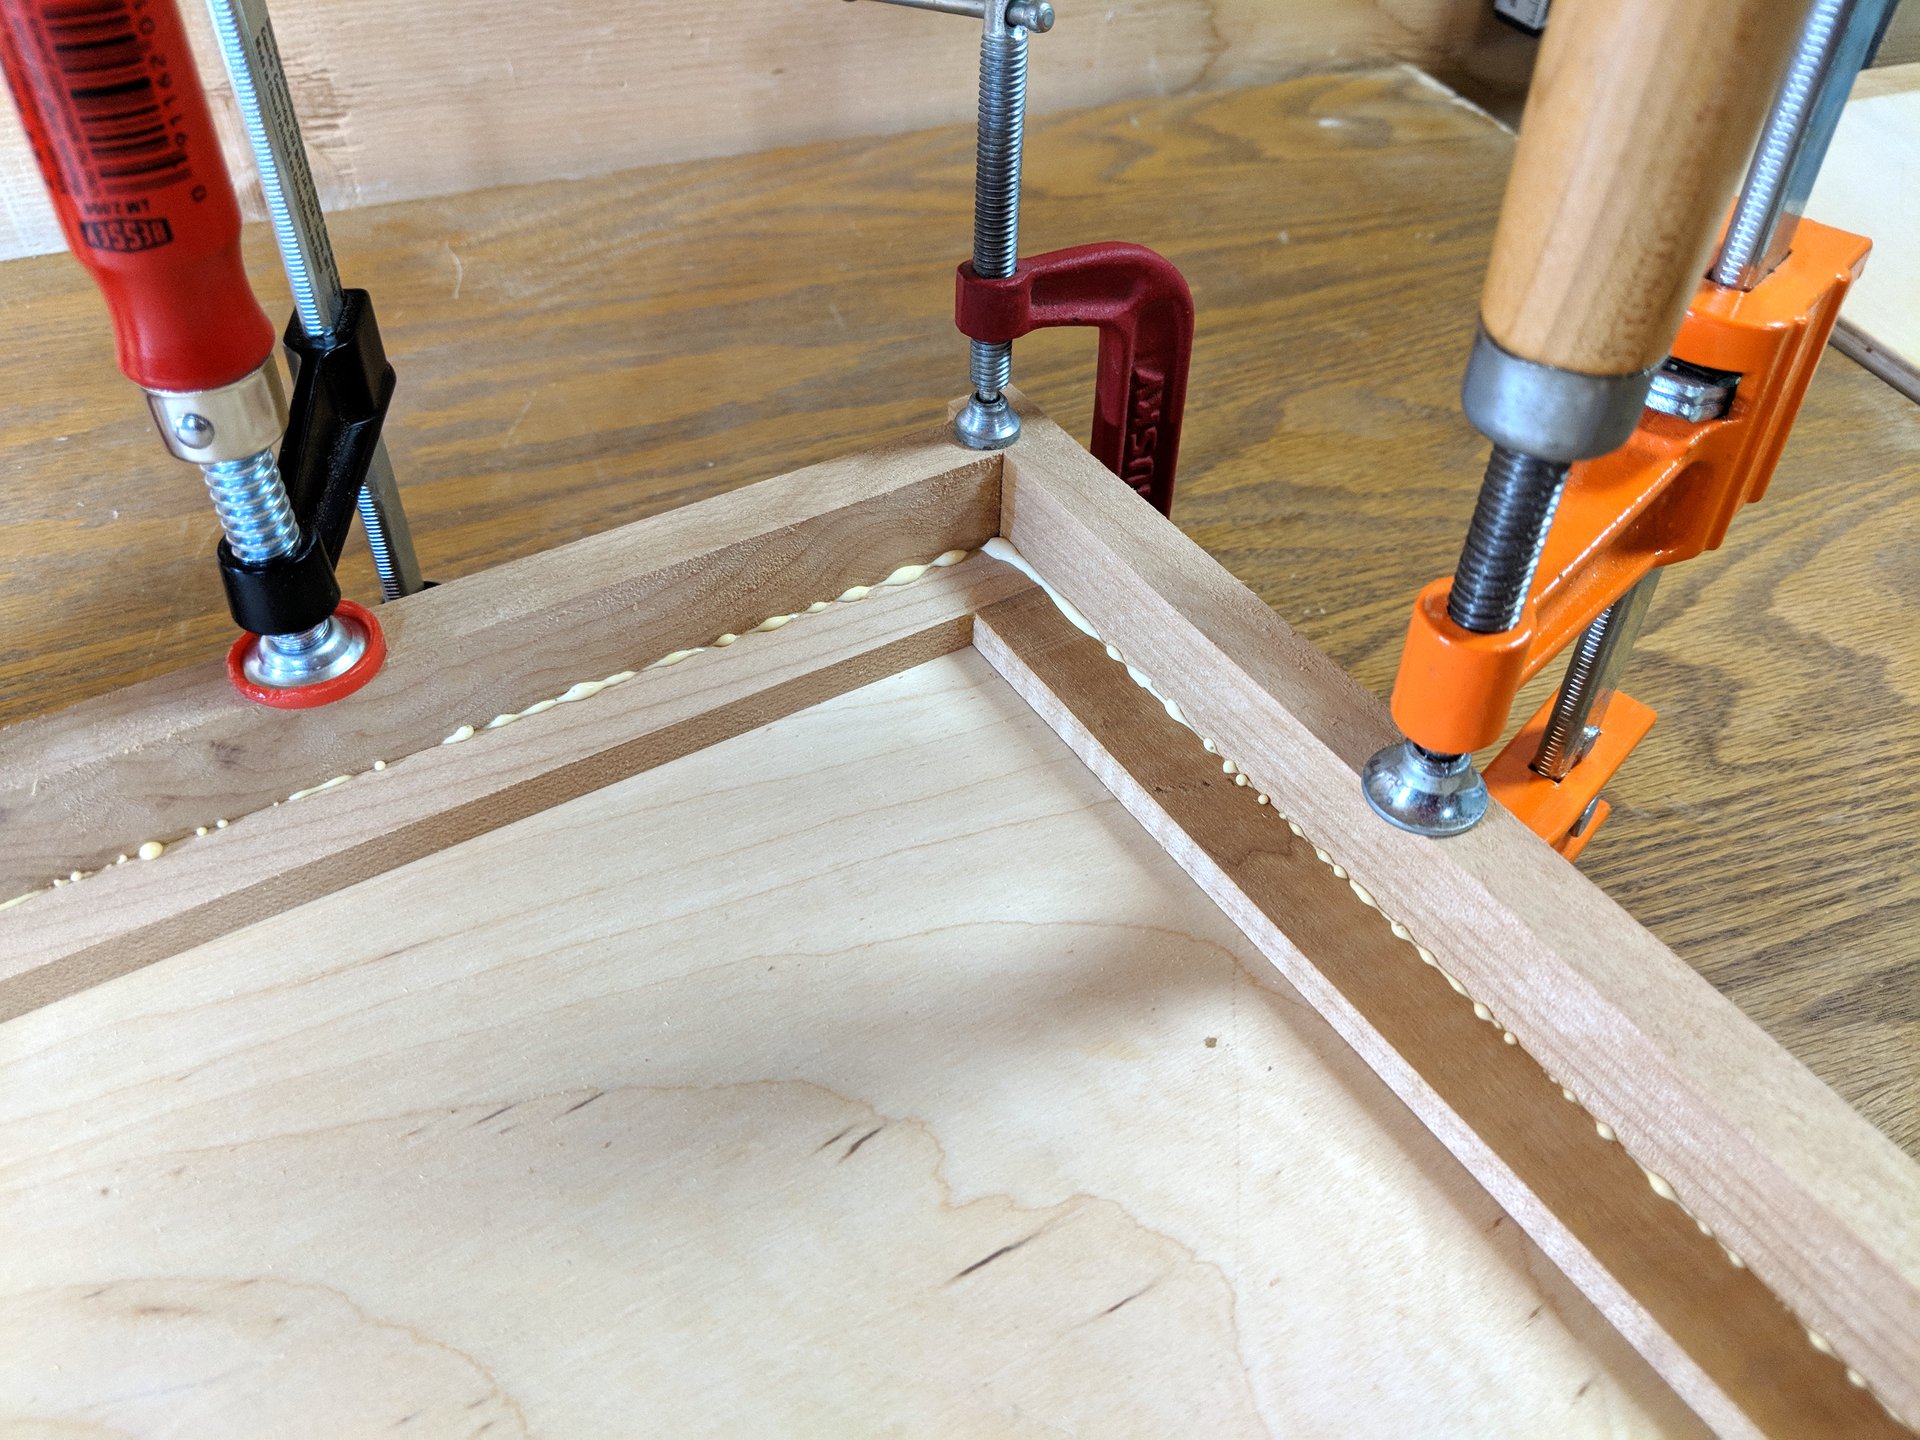
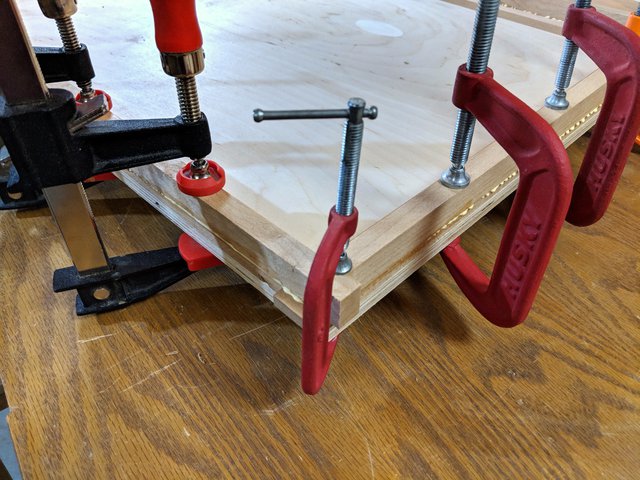
For this phase, I remove the screw clamps from the jig and utilize its rectangular platform to keep everything square and flat for this glue up process. I use plenty of glue, expecting lots of squeeze-out, to ensure a perfectly solid joint.
One advantage of gluing the face to the wall assemblies like this is that you can access the inside joint of the frame, known by framers as the rabbet", in order to remove glue squeeze out while the glue is still fresh. The optimal time to remove wood glue is after about 15 minutes, when it is gummy – no longer liquidy, nor yet solidified.
The rigidity and flatness of the baltic birch base ensures adequate flatness. To ensure squareness when mating two assemblies together, I clamp the corners first, adjusting and pushing or pulling the assemblies in place to align with the plywood base.
The mating step is more time consuming than the butt joints for each of the assemblies. This is because more attention is required to ensure alignment, more clamps are needed, and the glue squeeze out removal in the rabbet requires methodical care. Still, production moves along steadily.
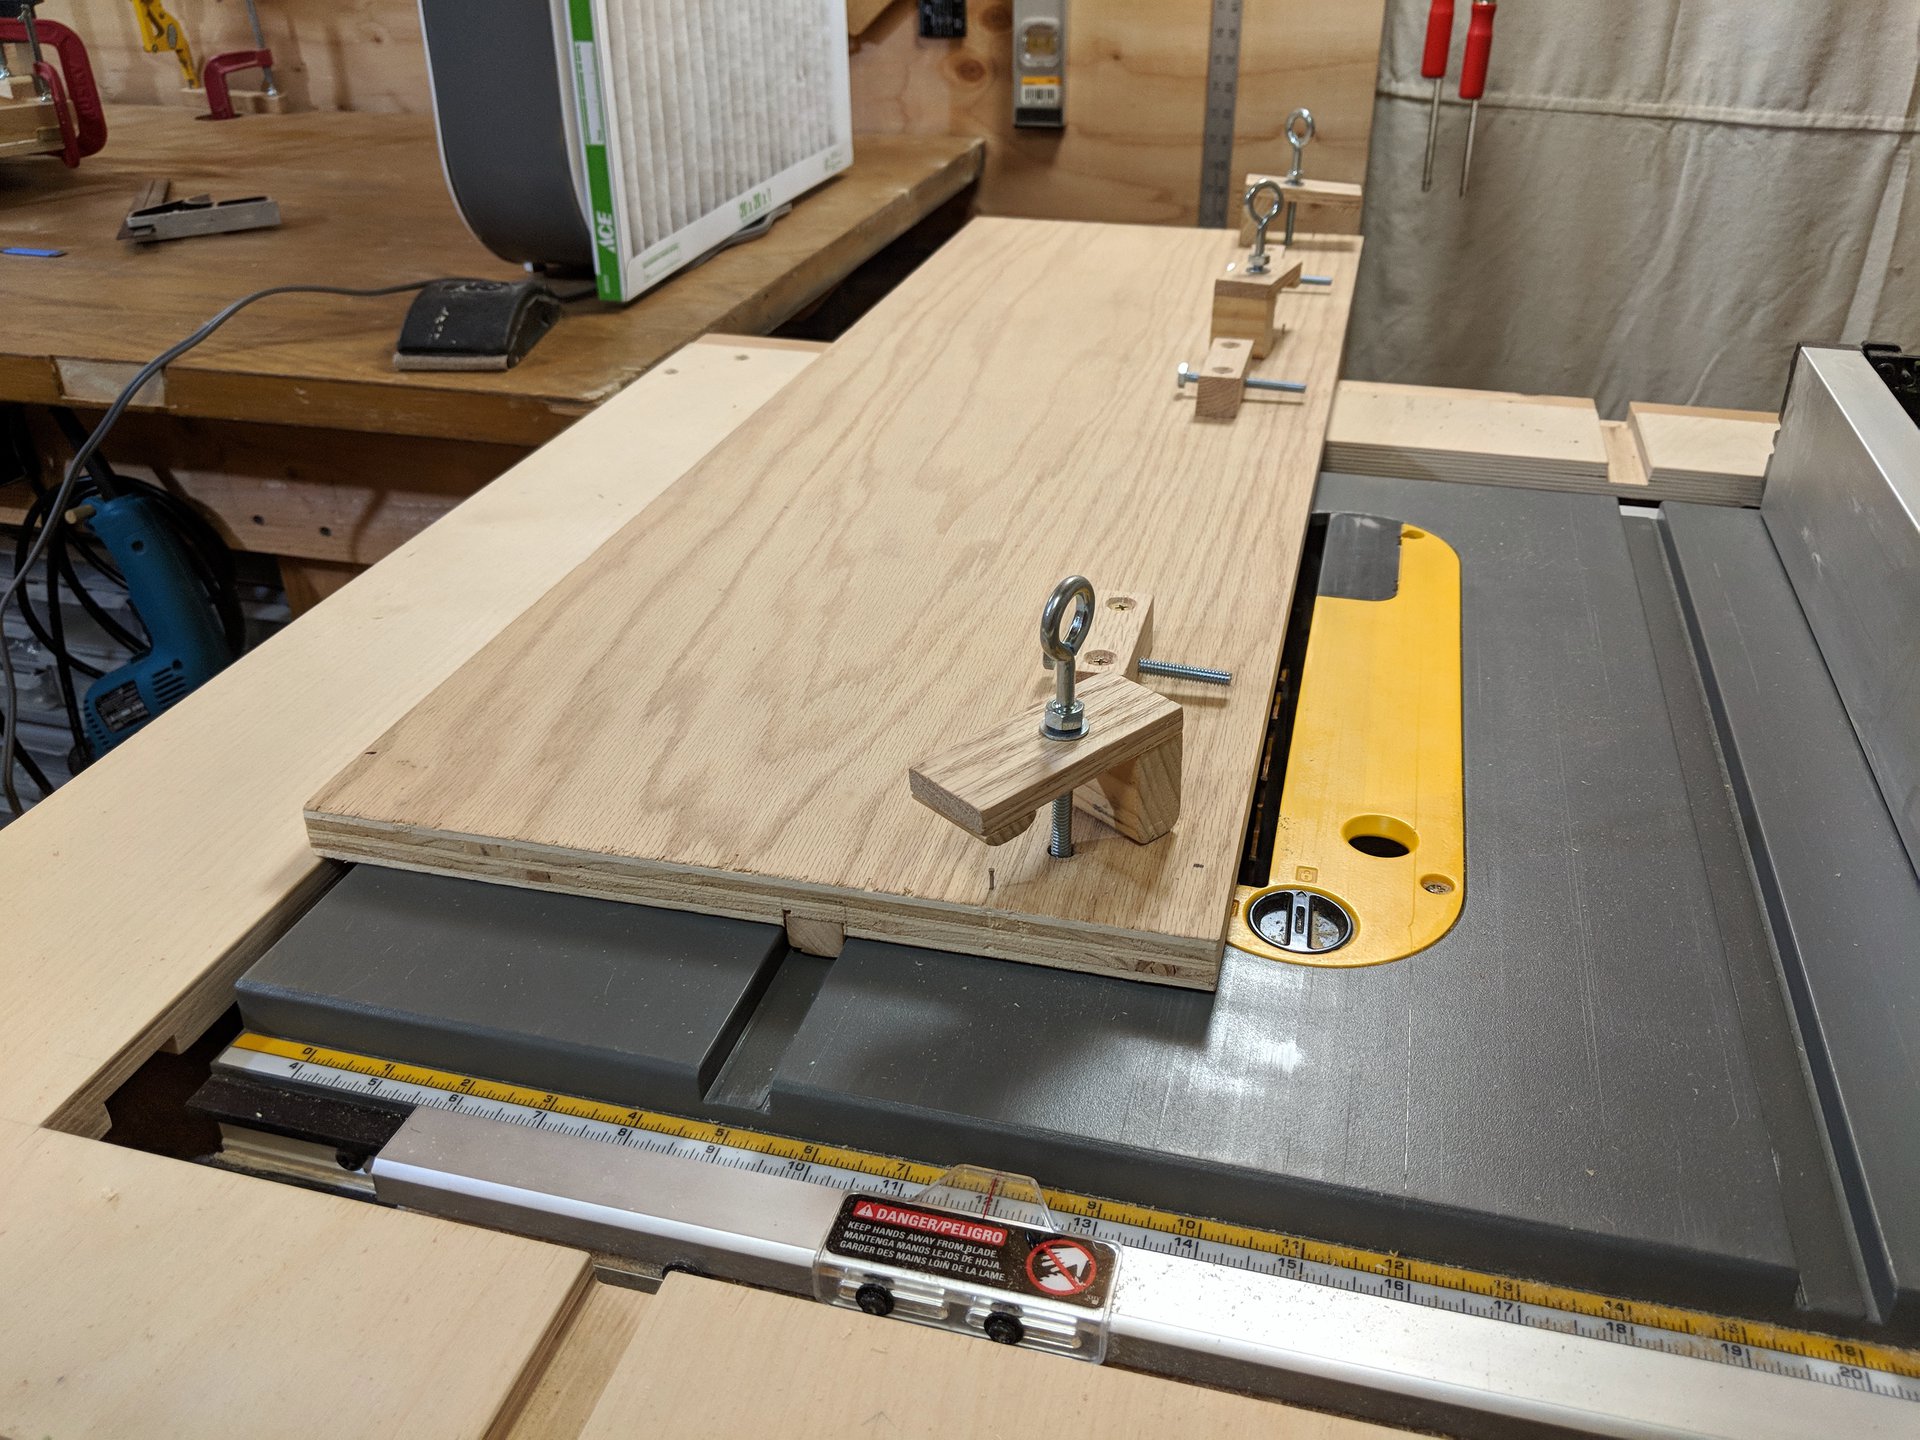
These clamps use another eye screw interfacing with a t-nut. This time however, the screw pulls instead of pushes. It pulls down on a clamping caul to leverage down on the frame without marring it. If you notice there's a small nail just next to the tall side of the caul, this is to keep it oriented properly when tightening down on the eye bolt.
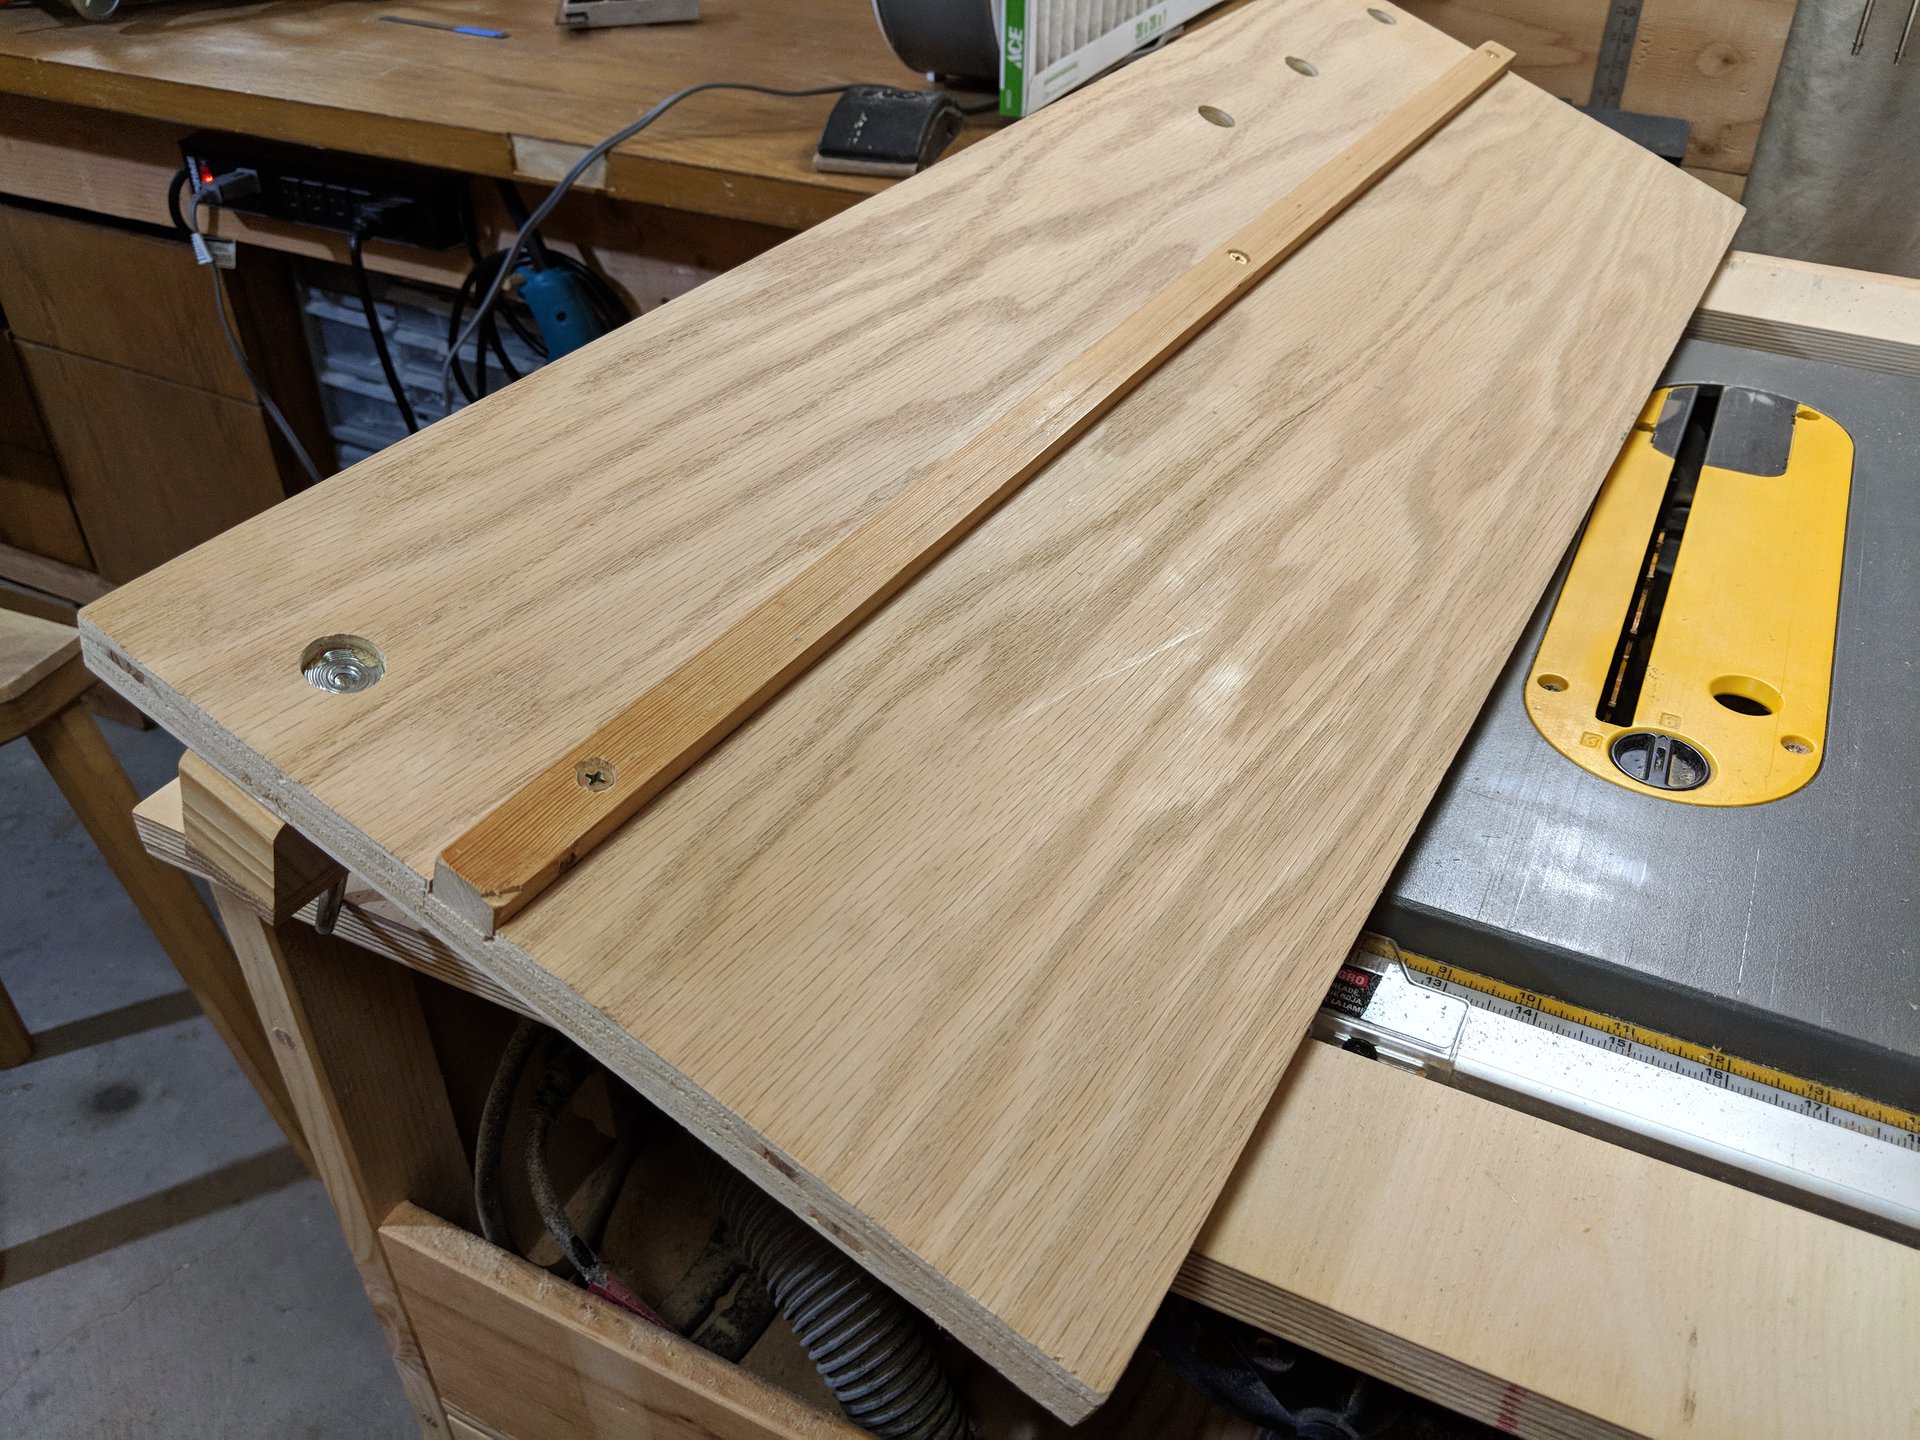
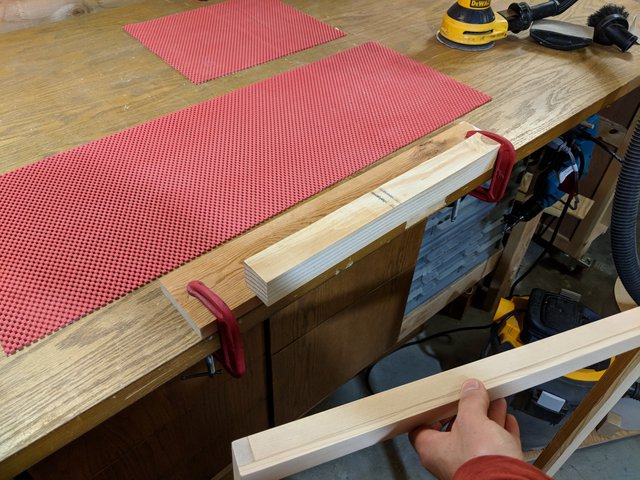
To make the rail which guides the sled through the table saw's slot, I used a not-particularly-straight scrap of pine board. But this is not a problem, as I can ensure straightness by mating it to the sled into a dado that I cut on the underside. Thus when it goes together, the rail is brought into straightness.
This table saw sled makes all the difference in the final outcome of the frame quality. It enables smooth and accurate trimming of the walls of the frame on all 4 sides. This removes the raw face of the wood pieces, the glue exterior glue squeeze-out, and the deliberately over-length protrusions from the ends of the boards.
I built custom hold-down clamps into the sled to securely hold the frame in place for the trim. They're positioned so as to be able to hold a frame down along a long edge, or along a short edge.
The jig has three stoppers for positioning the frame for clamping. They are adjustable by turning these hex head bolts in our out. When sizing the stock from which to assemble the frames, I include an extra 1/16" of an inch to provide for this amount being trimmed off. The adjustability of the jig ensures I can hit this right on.
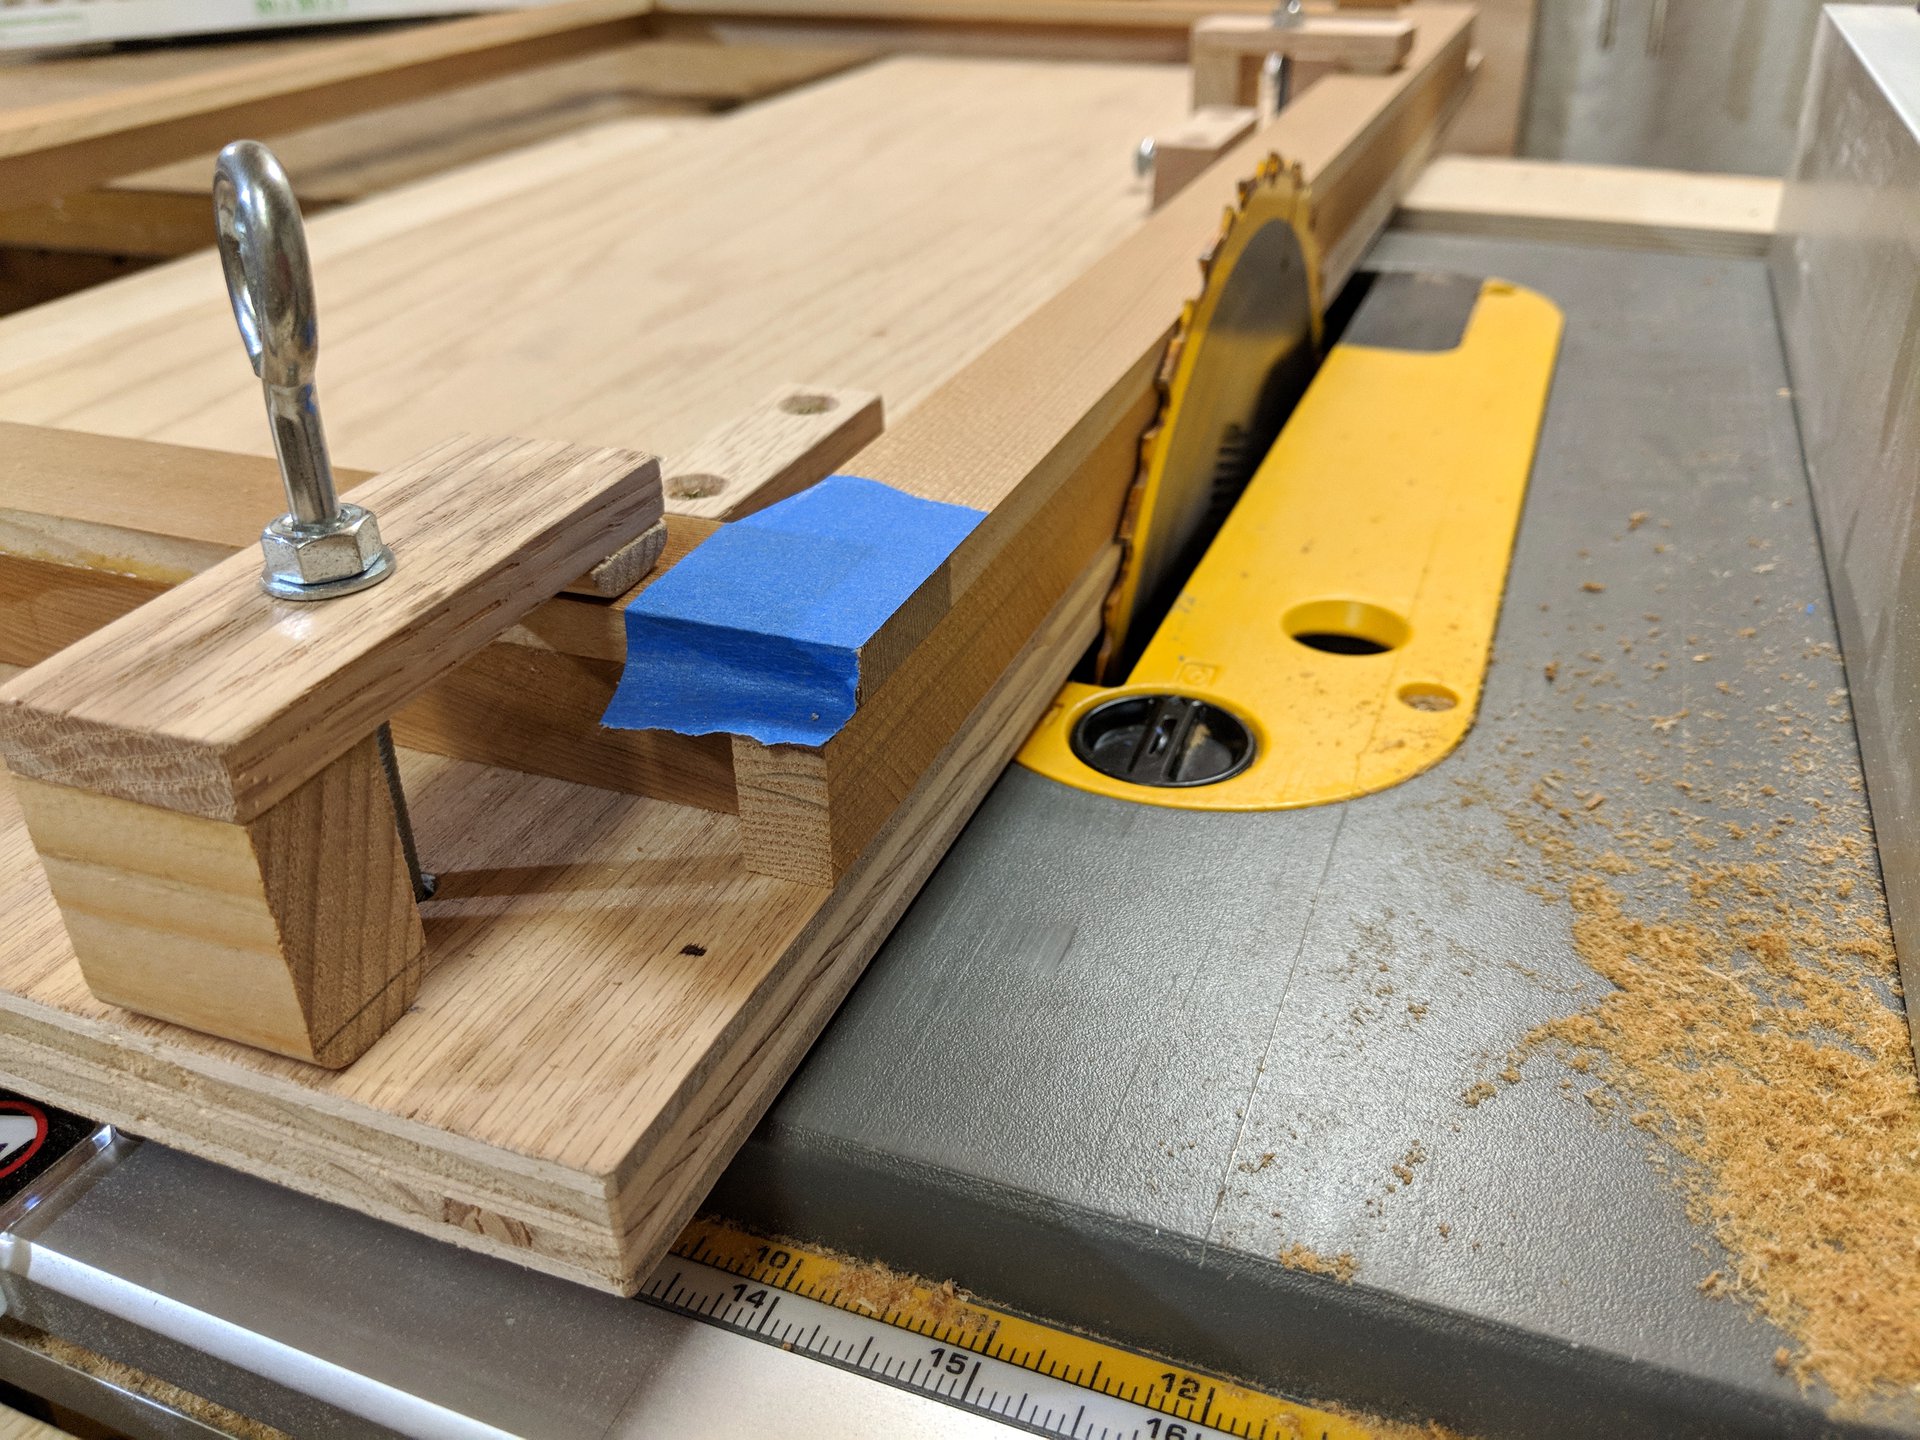
As it happens, the overlapping direction that I chose for this first set of frames has a slight downside when paired with this left-side table saw sled. That is, the blad exits across the grain on the face piece, which may lead to tear-out. For this batch I was able to remedy this issue using blue tape to bind the end grain together during the cut. For the next batch of frames, I'll reverse their "handedness" so that they cut flawlessly on this sled, no tape needed.
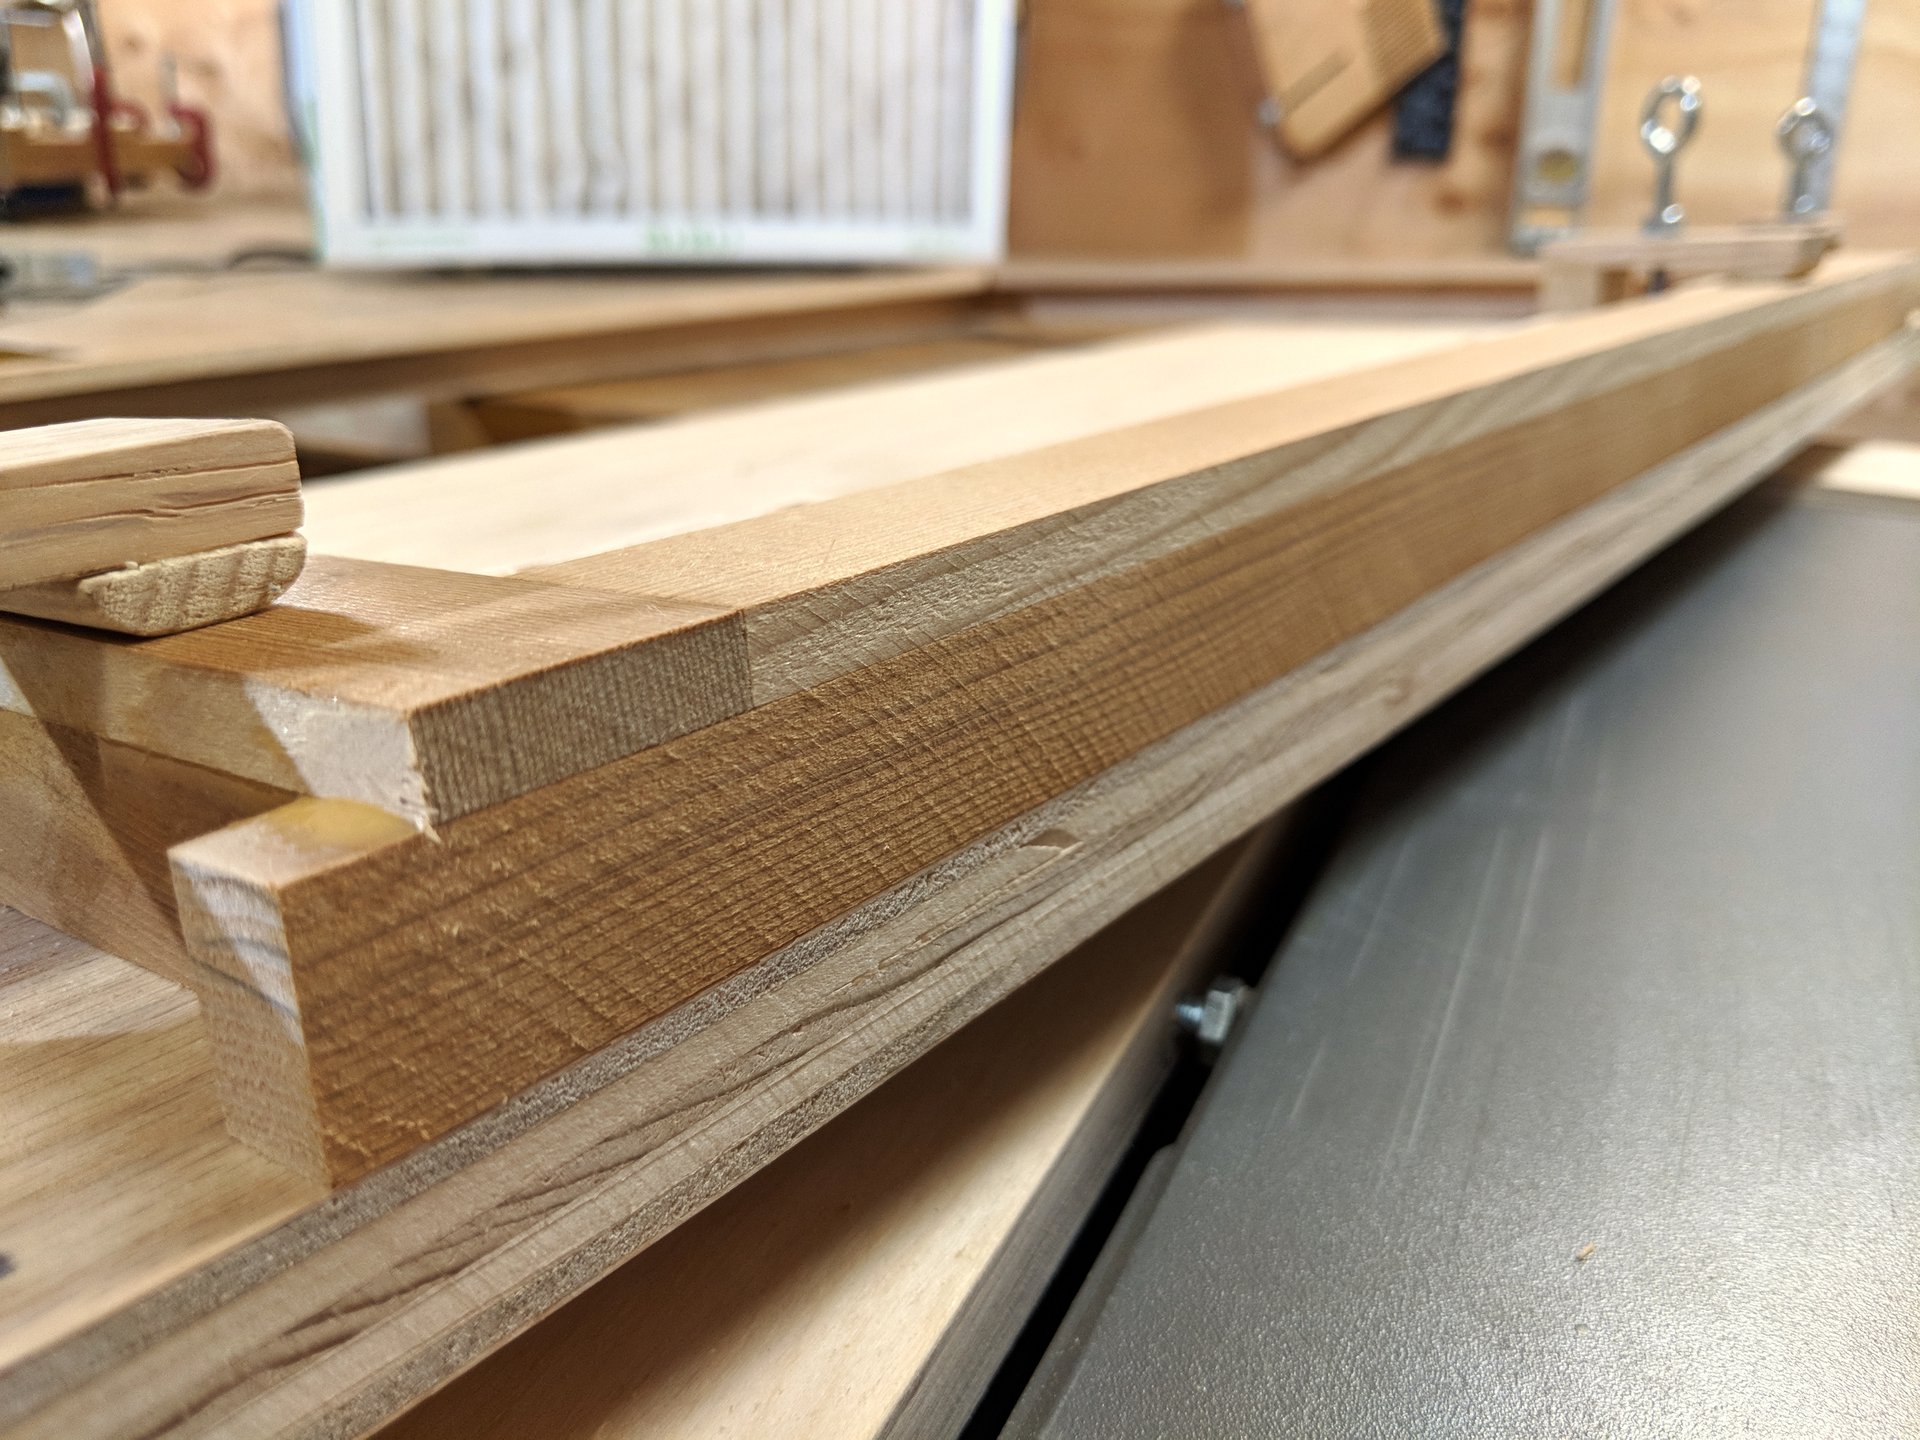
Here is the magic of this custom table saw sled, I can end up with a uniform surface across the glue joint. This takes care of the post-glue up work in one fell swoop.
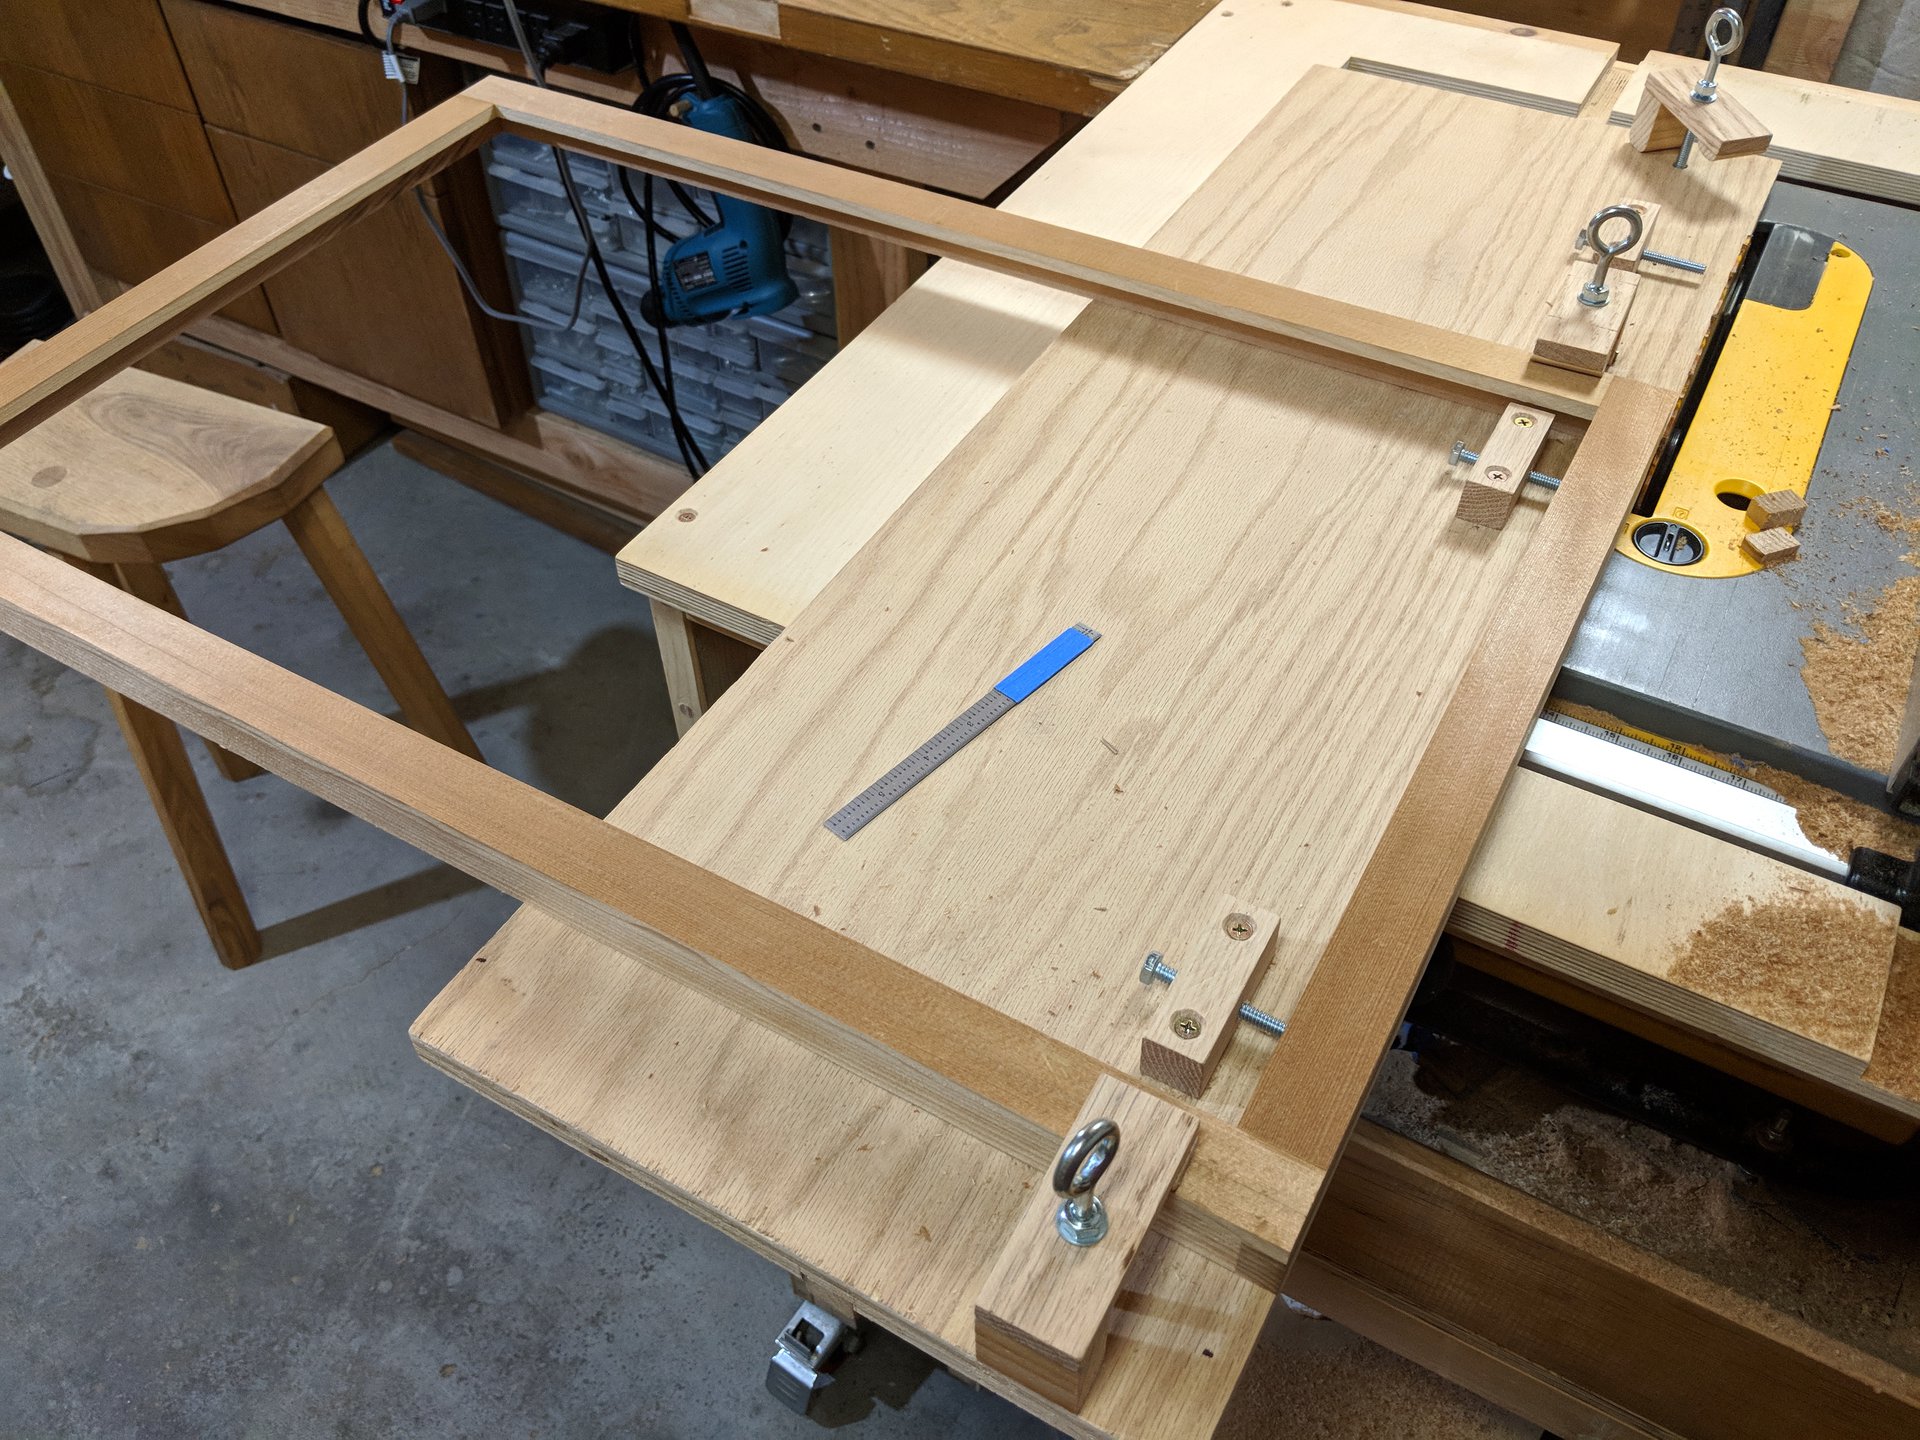
Here is how the setup looks when the sled is holding a frame oriented along the short edge. The middle clamp goes into action, but otherwise the same principles apply.
The output of the table saw sled is so satisfactory, only finish sanding is required.
Before deciding to use a table saw sled for this process, I considered how else such a mated glue joint might be finished adequately. I couldn't do it on my table saw against the fence, as it doesn't extend wide enough to trim the wide orientation of the frame. I don't have access to a jointer, and cleaning up the sides by sanding would be inefficient and imprecise. So I was quite happy when I came upon this system for trimming. Not only does it enable me to use the table saw, but the sled provides for it in a straightforward and completely effective way.
At this point the frames start to
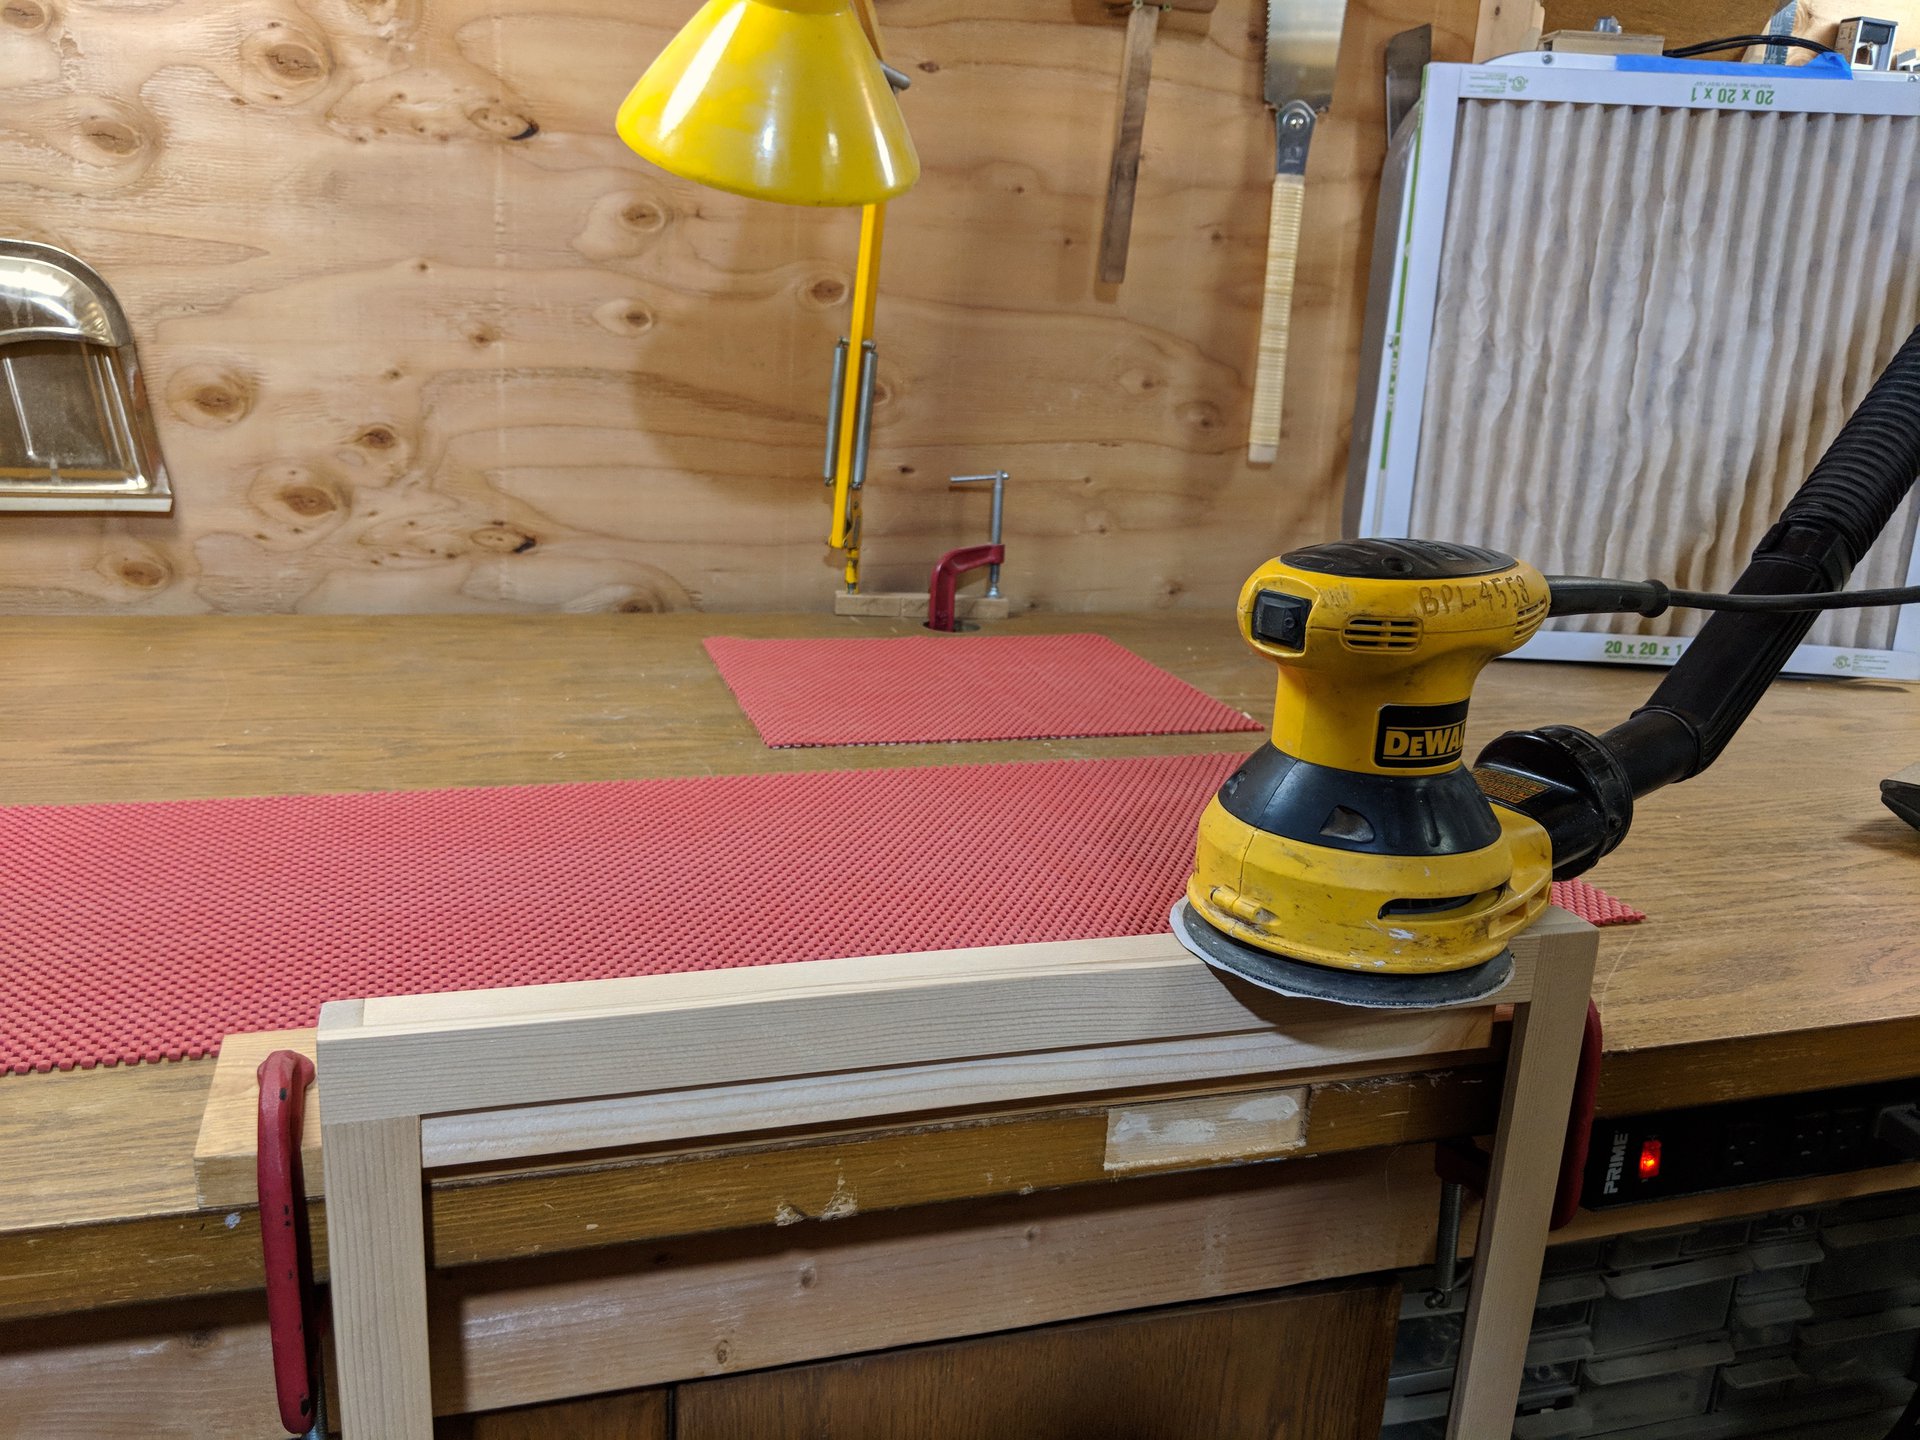
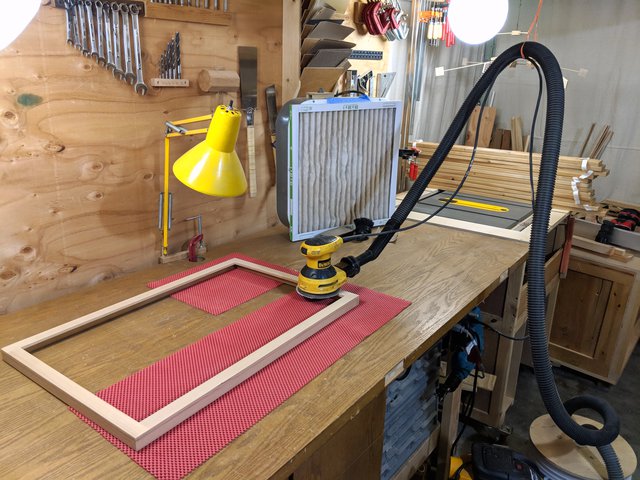
The grace of a sander like this is that you can hook it up to a dust collector and sand without filling the air with dust. I support the hose with a rubber band, which balances the system nicely.
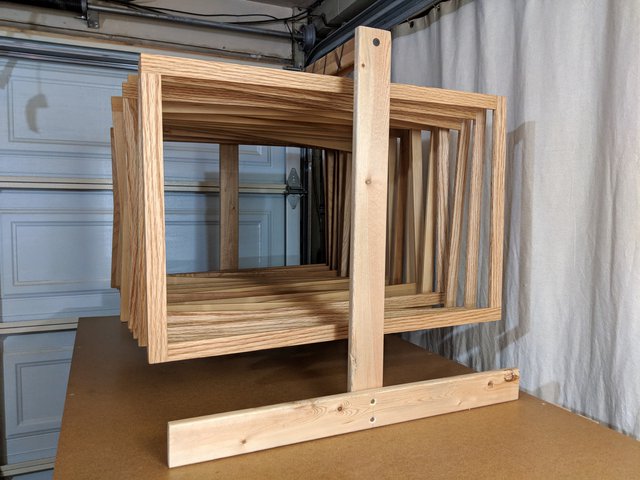
I mount a rail on the edge of the workbench so I can support the frame vertically for sanding the outside edges.
With this ledge, it's just as easy to sand the edges as it is to sand the face.
The palm sander gives an effective and beautiful finish to the boards. I elect to retain a hint of the saw marks from the table saw to provide a subtle rustic texture and leave a trace of the marks of the frame's construction.
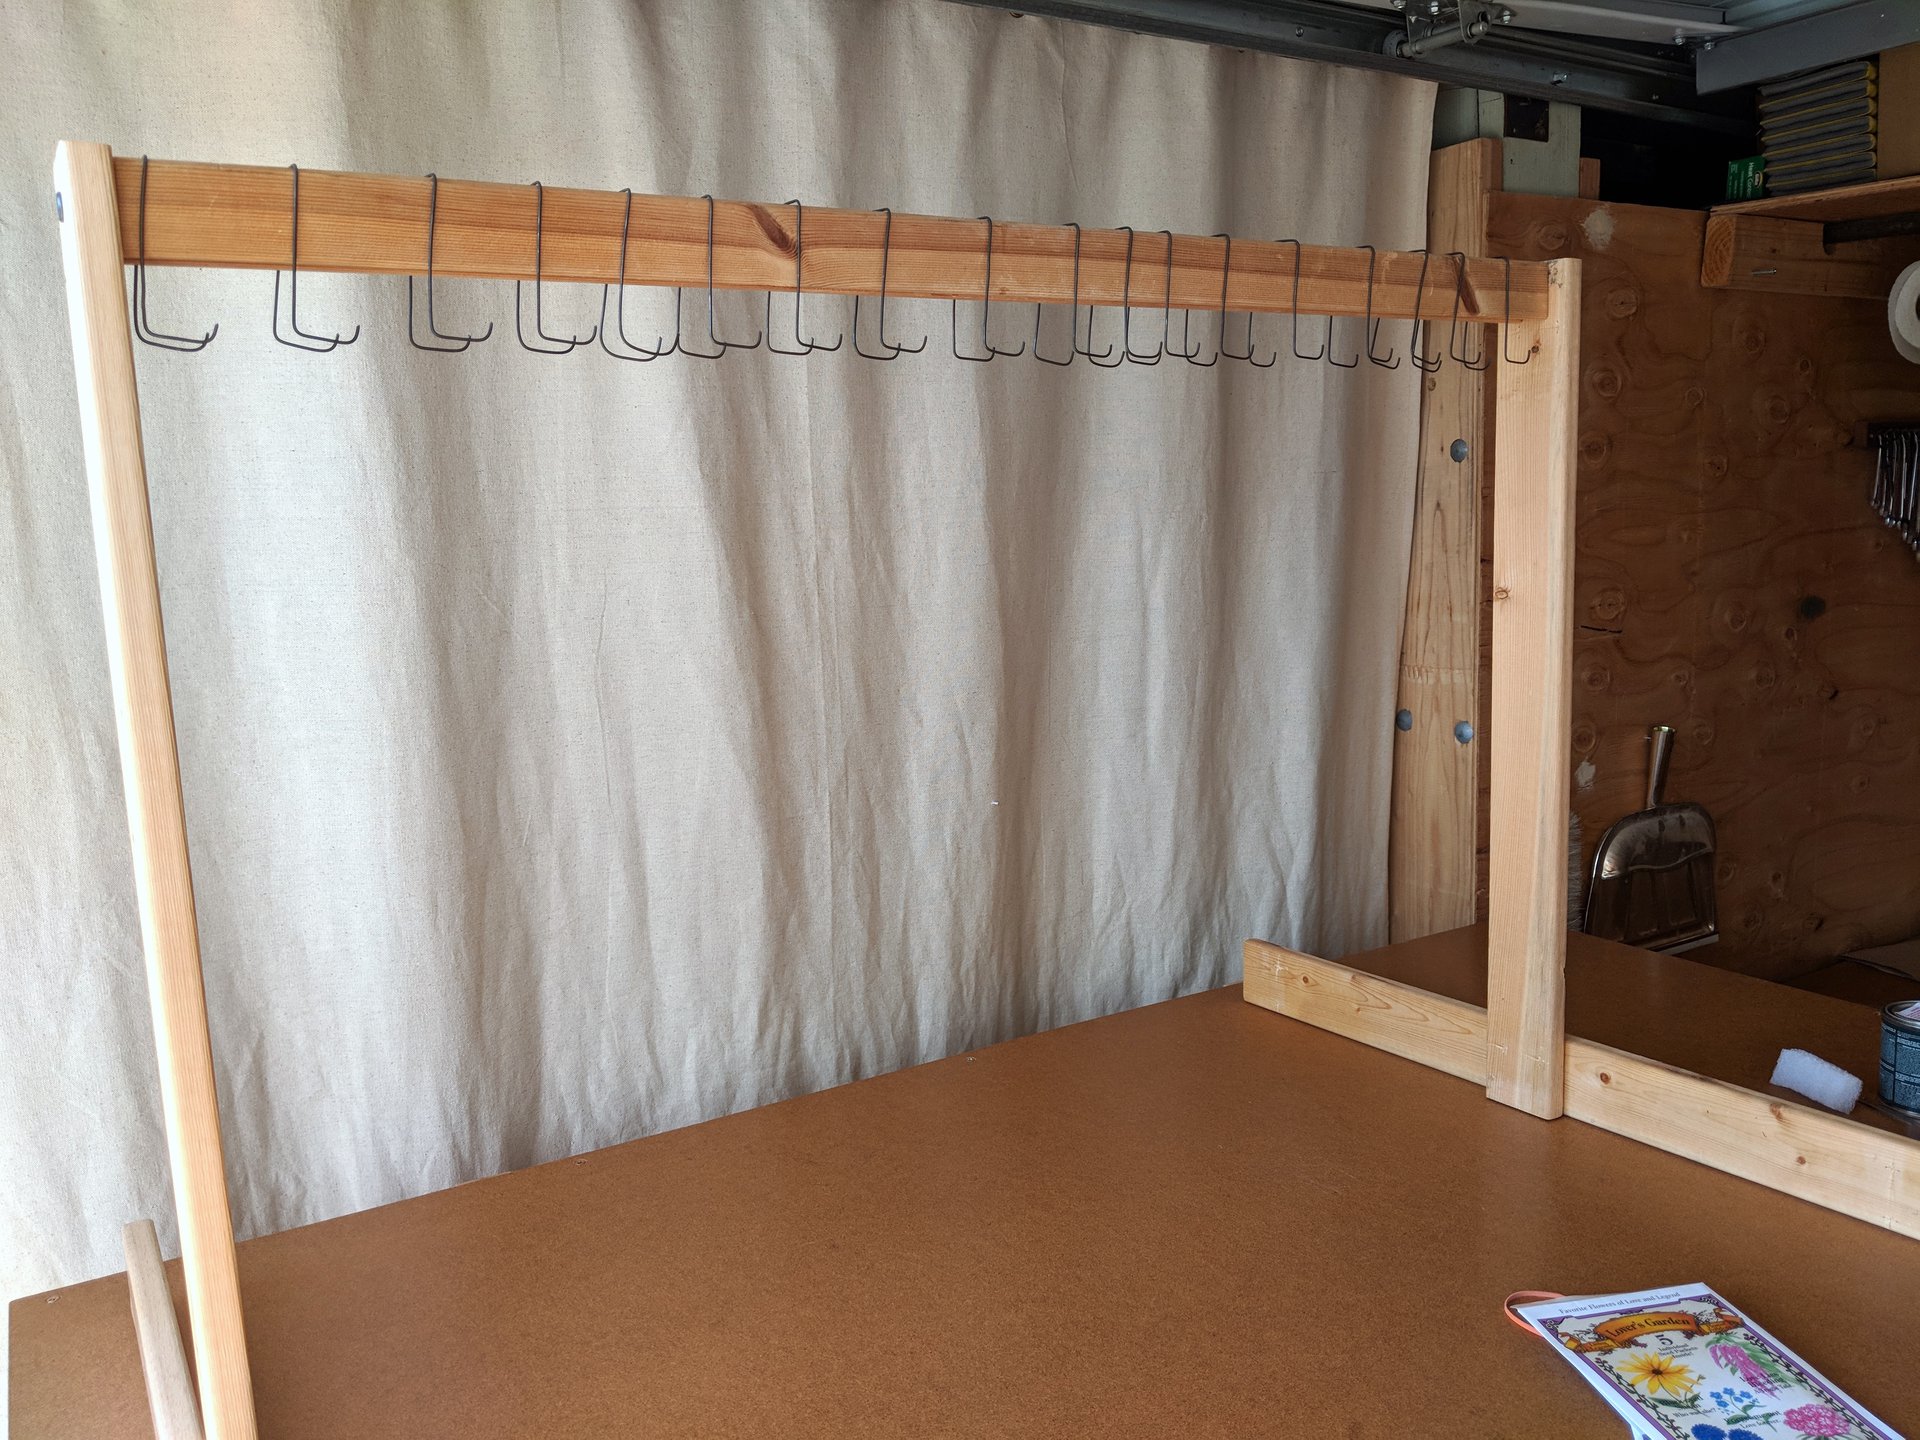
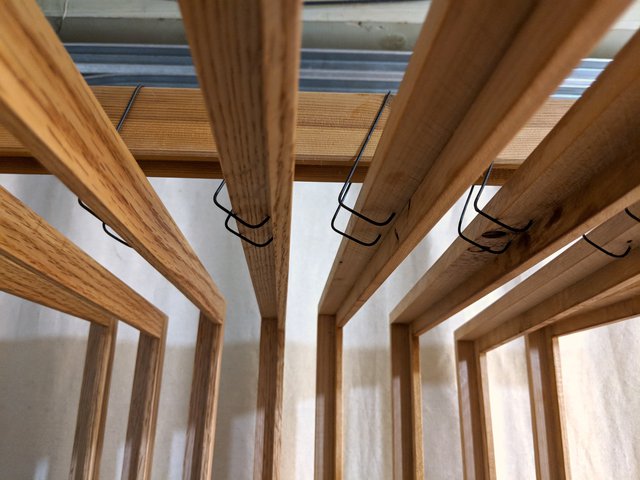
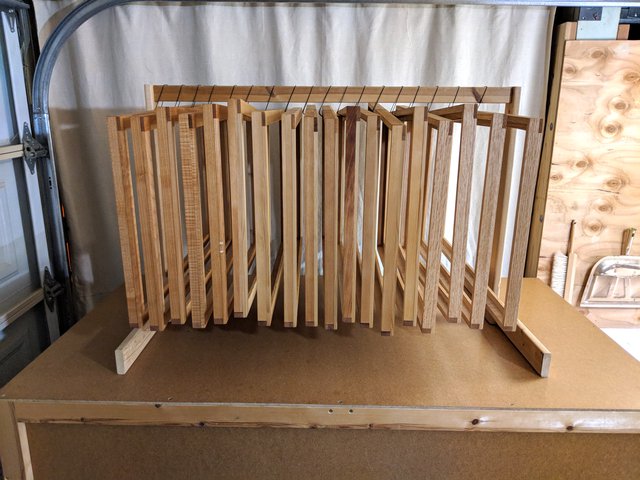
In preparation for varnishing, I prepare a scaffold with hooks so that the frames can all be hung up to dry, exposed to the air all around, after varnish is applied.
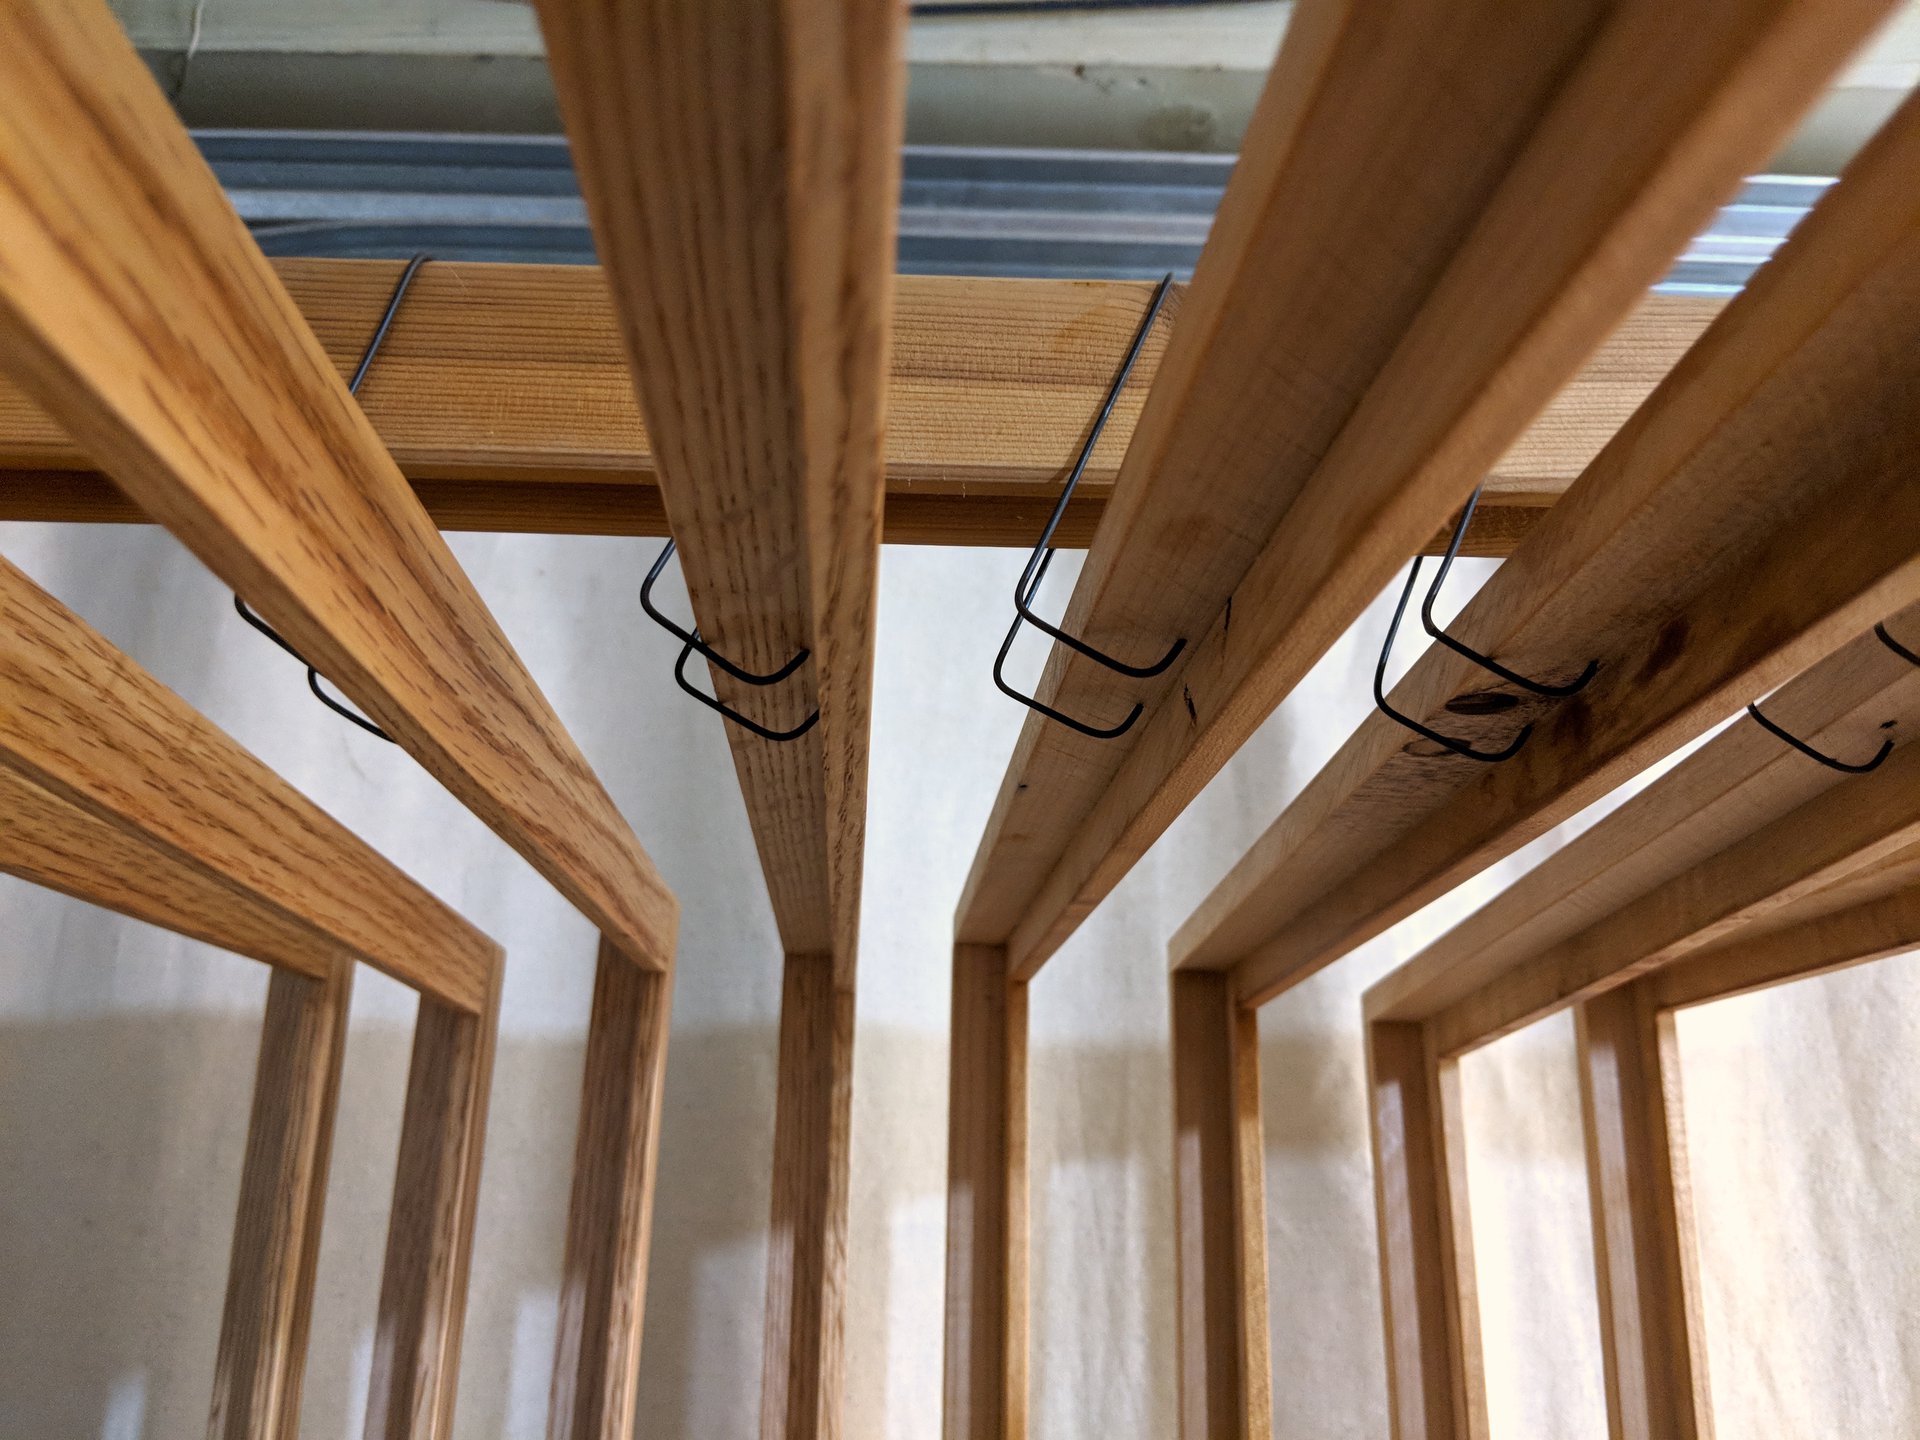
These hooks are made from wire and do just the trick for supporting a finished frame without exposing the freshly varnished surfaces to any contact.
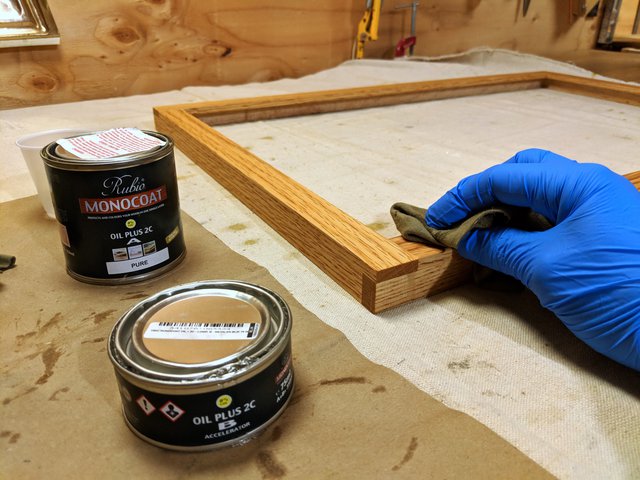
The varnish is applied only to the exterior surfaces of each of the frame. The rabbet and the the backside are left as raw wood to better adhere to the frame sealing tape that will protect the frame package within.
The application of finish brings a sense of satisfaction, the wood has transformed and the woodworking is complete.
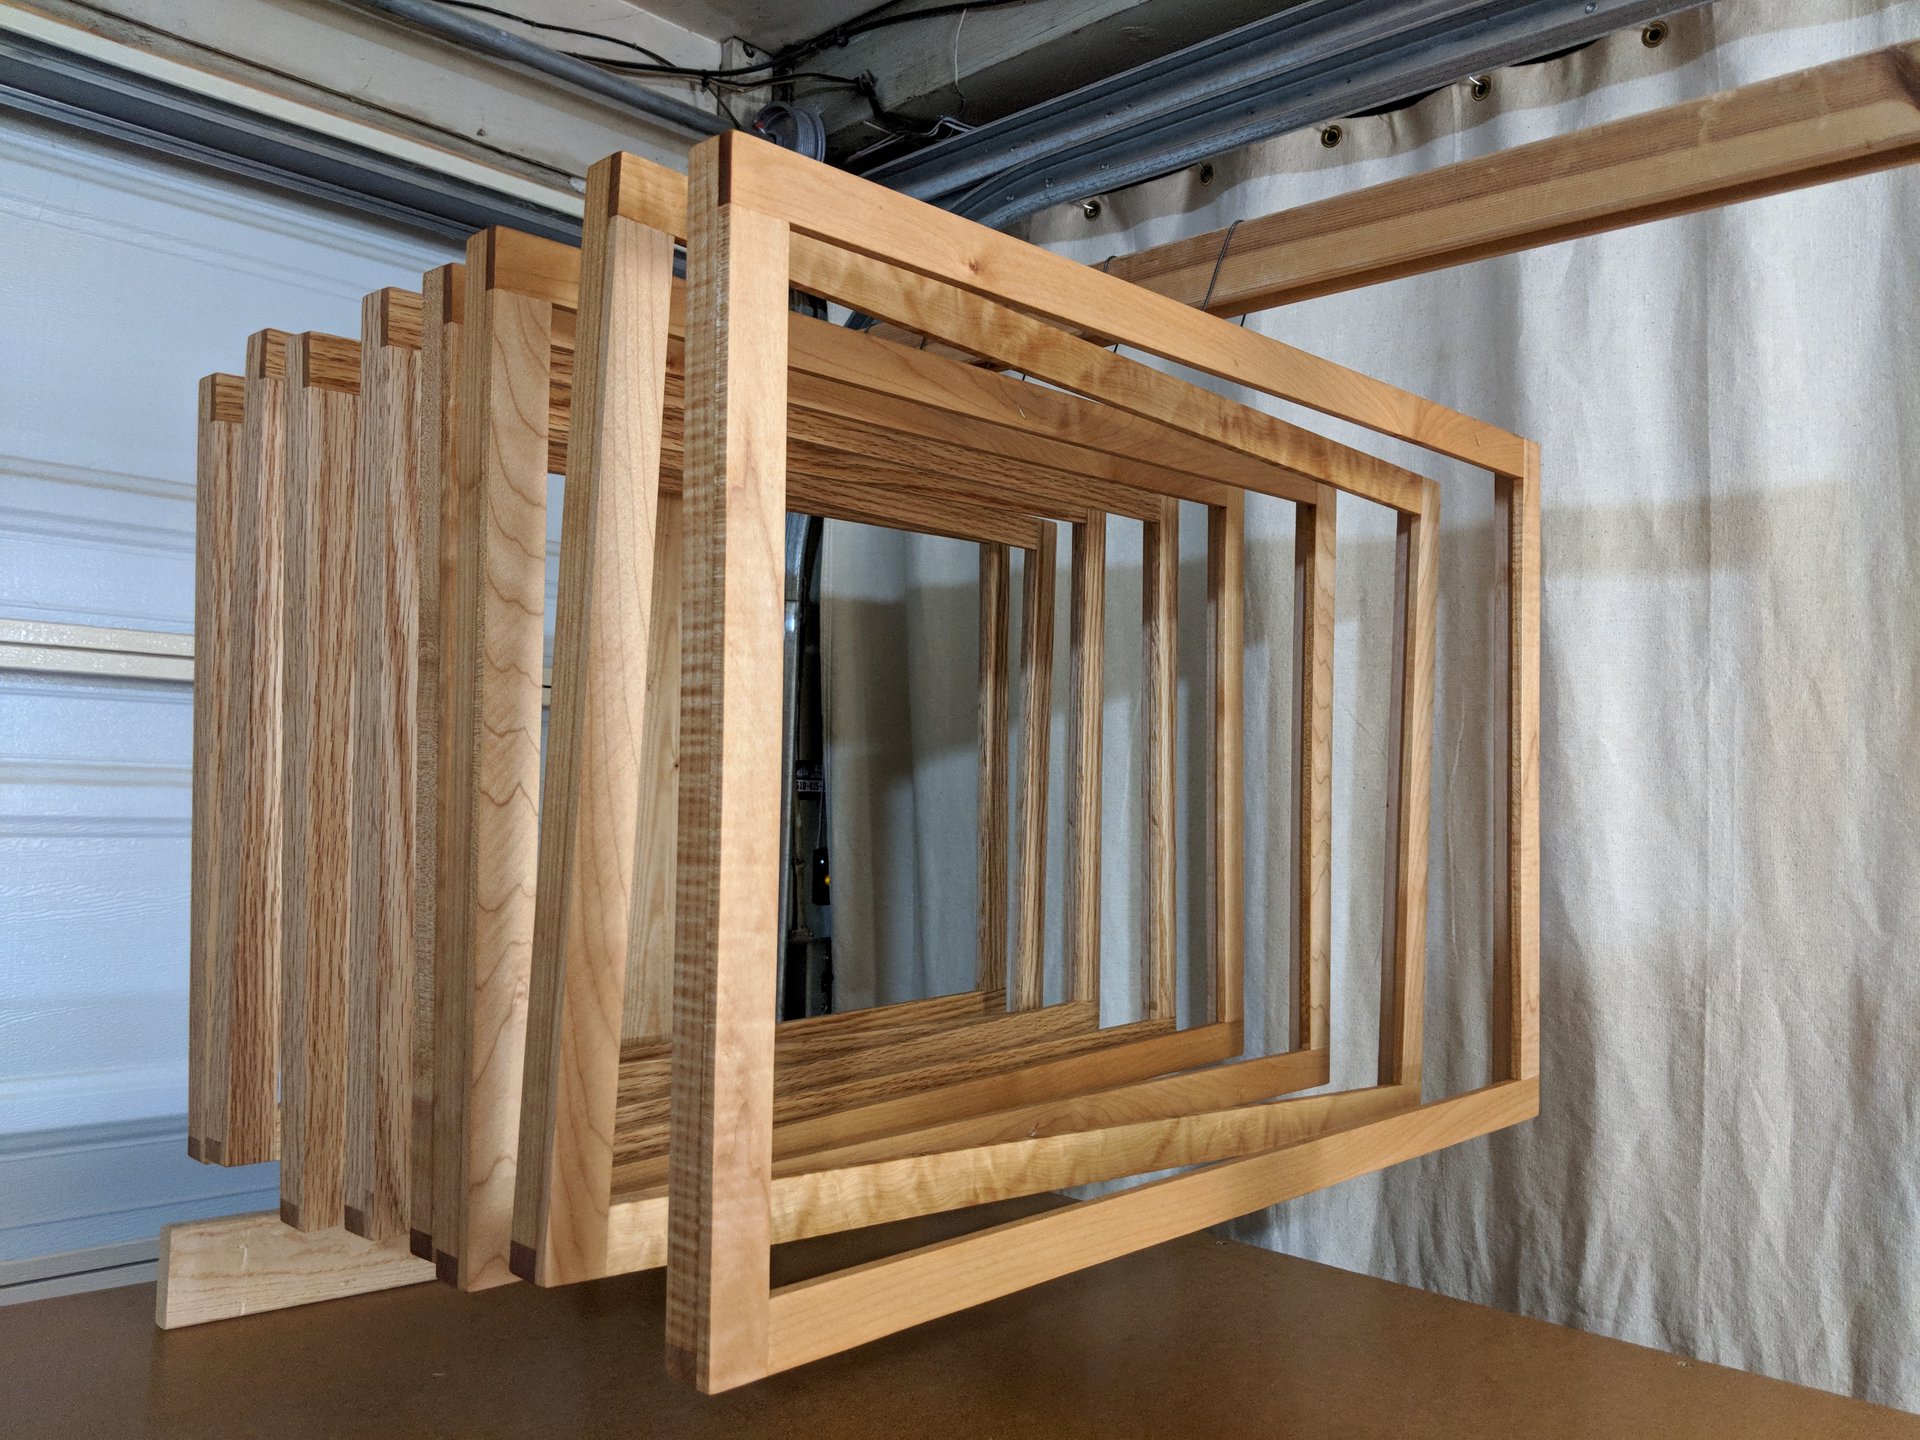
Now I leave them alone to hang for a week.
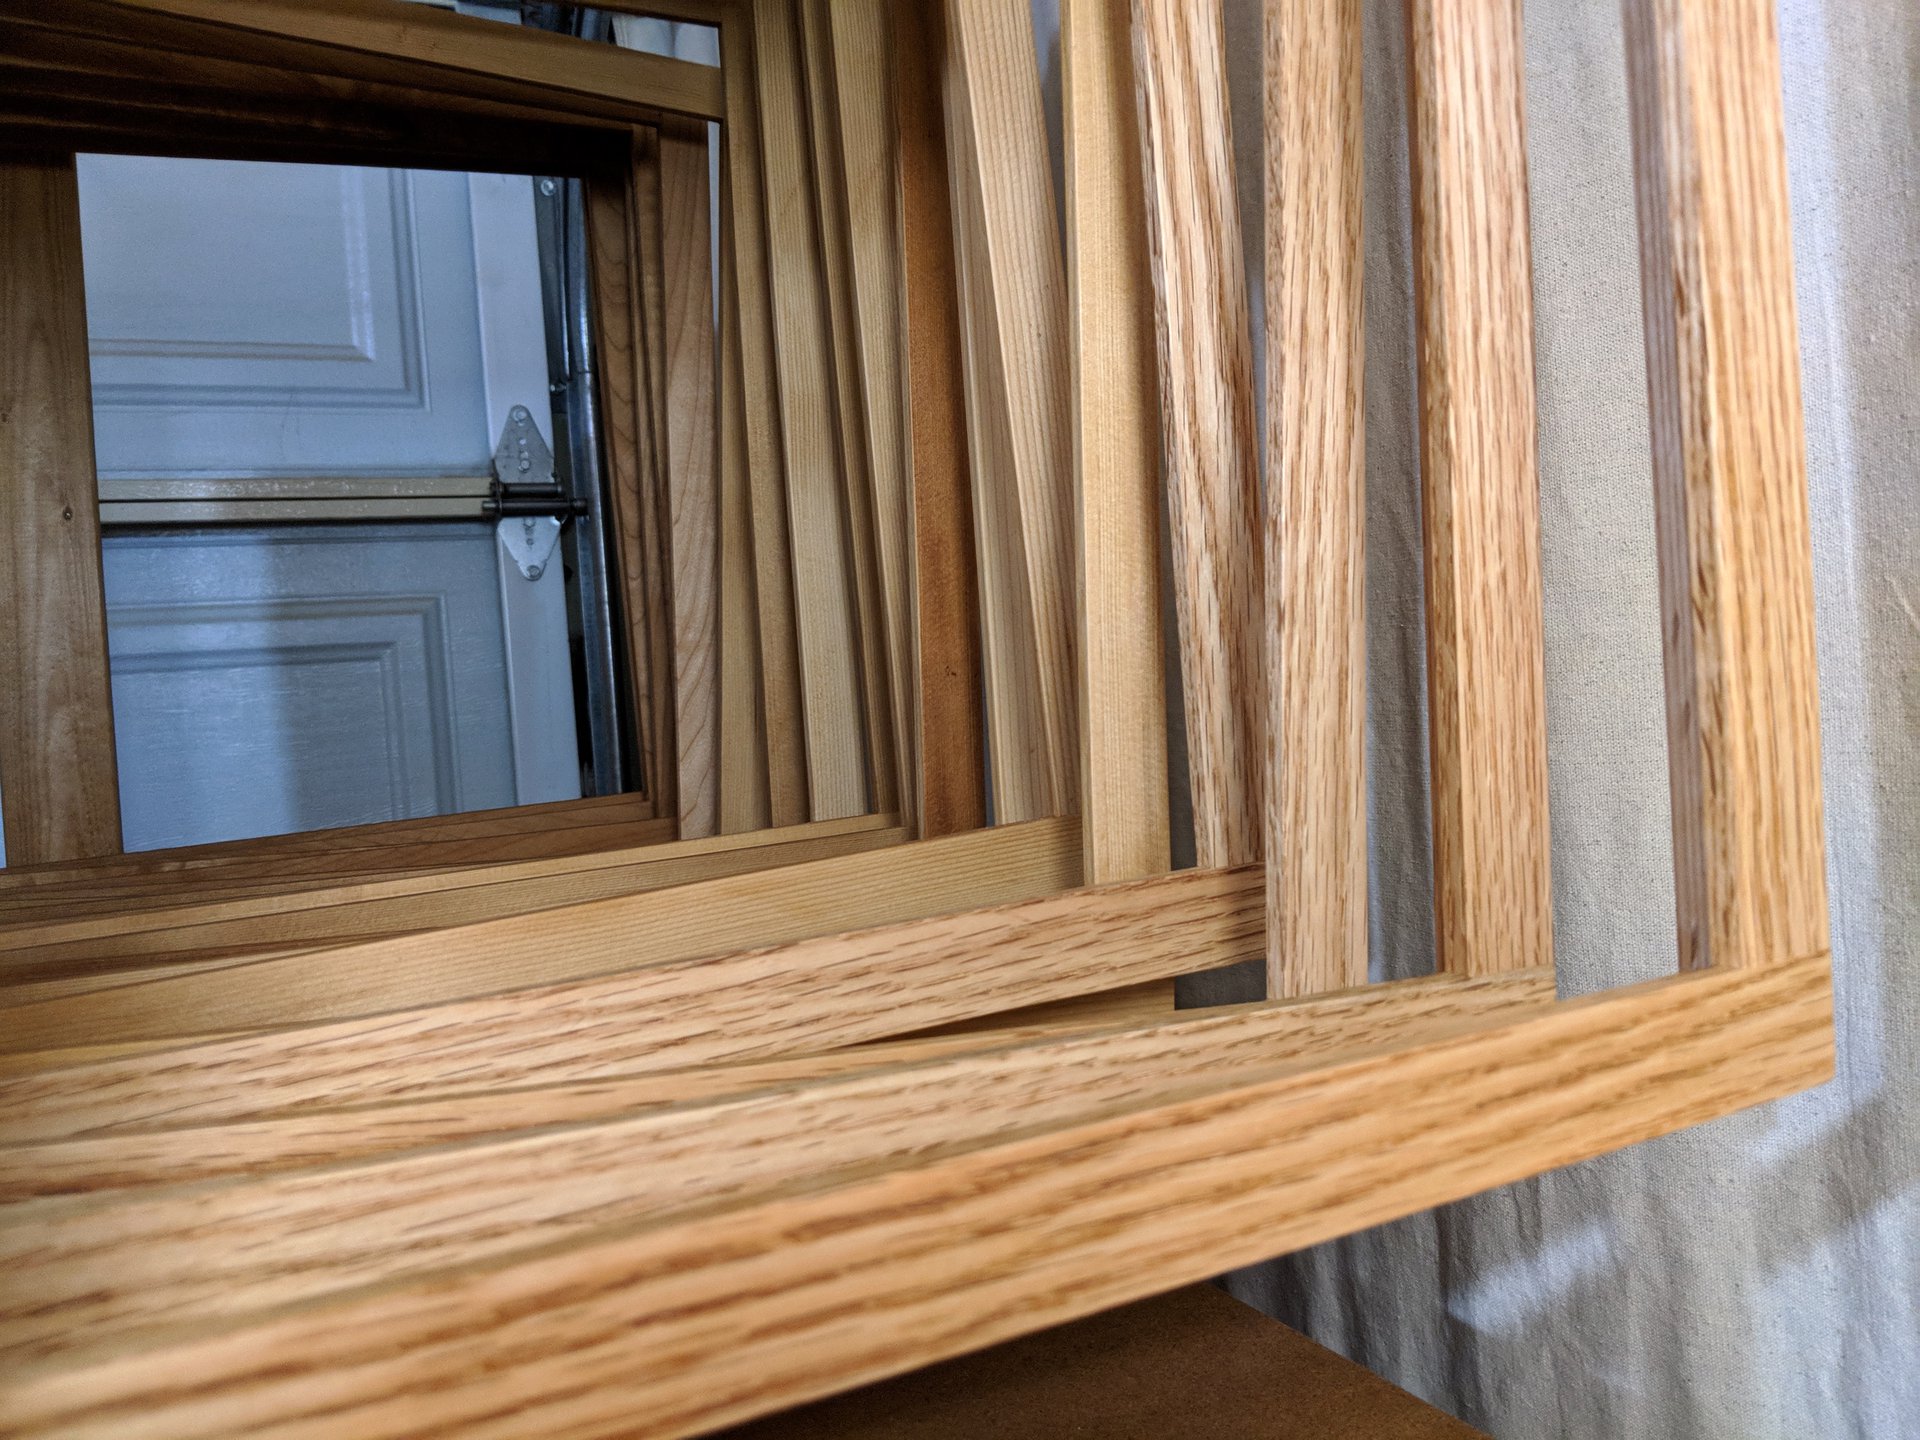
The wood grain will be accentuated and protected for years to come.
I use a special varnish with zero volatile organic compounds (zero VOC). This supports conservation grade framing as it protects the artwork. Each frame is allowed to dry for three weeks so that the varnish is fully cured before mounting the artwork and frame package within. As is my preference, I use an uncolored varnish to emphasize the natural colors of the wood. This brand of varnish has a special composition which binds to the wood more solidly than conventional varnish, and thus only requires one coat in two passes to complete – an application pass and a buffing pass.
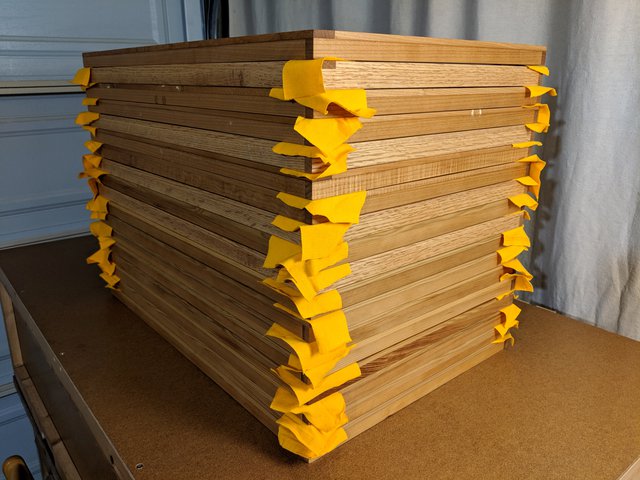
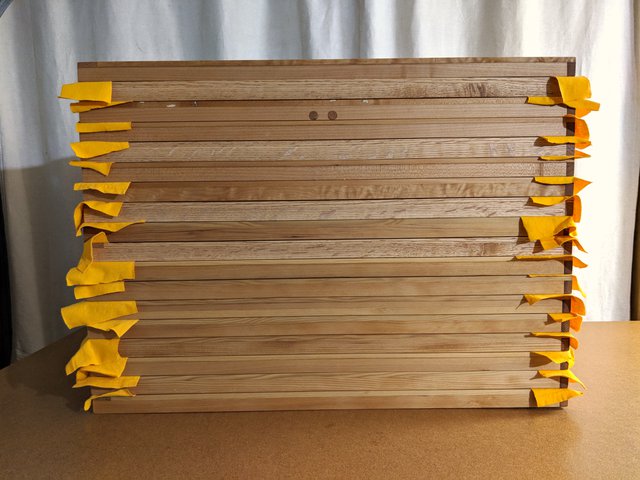
After a week on the drying rack I stack them flat, with segments of cloth in between to keep them comfortably separated. I let them rest for a further two weeks until they are completely cured.
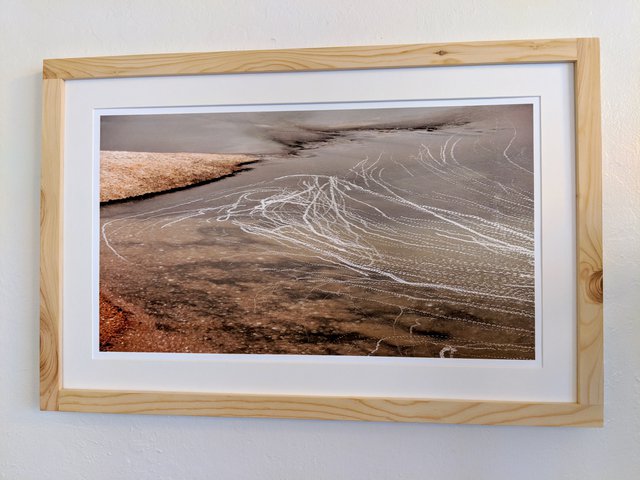
These frames are sturdy, square and true, ready to protect and display artworks in a capsule of preservation. I enjoy seeing the integration of the marks and imperfections you get from working with reclaimed wood. Here I find they add beauty without intruding, and even become integral to the piece.